GB-4
y
In the interests of road traffic safety, do not operate the unit
or view video software while driving a vehicle.
y
Make sure the unit is fastened securely to prevent from
moving outside of the vehicle in an accident.
y
When the inside of the cigarette lighter socket is dirty with
ashes or dust, the plug section may become hot due to poor
contact. Be sure to clean the cigarette lighter socket before
use.
y
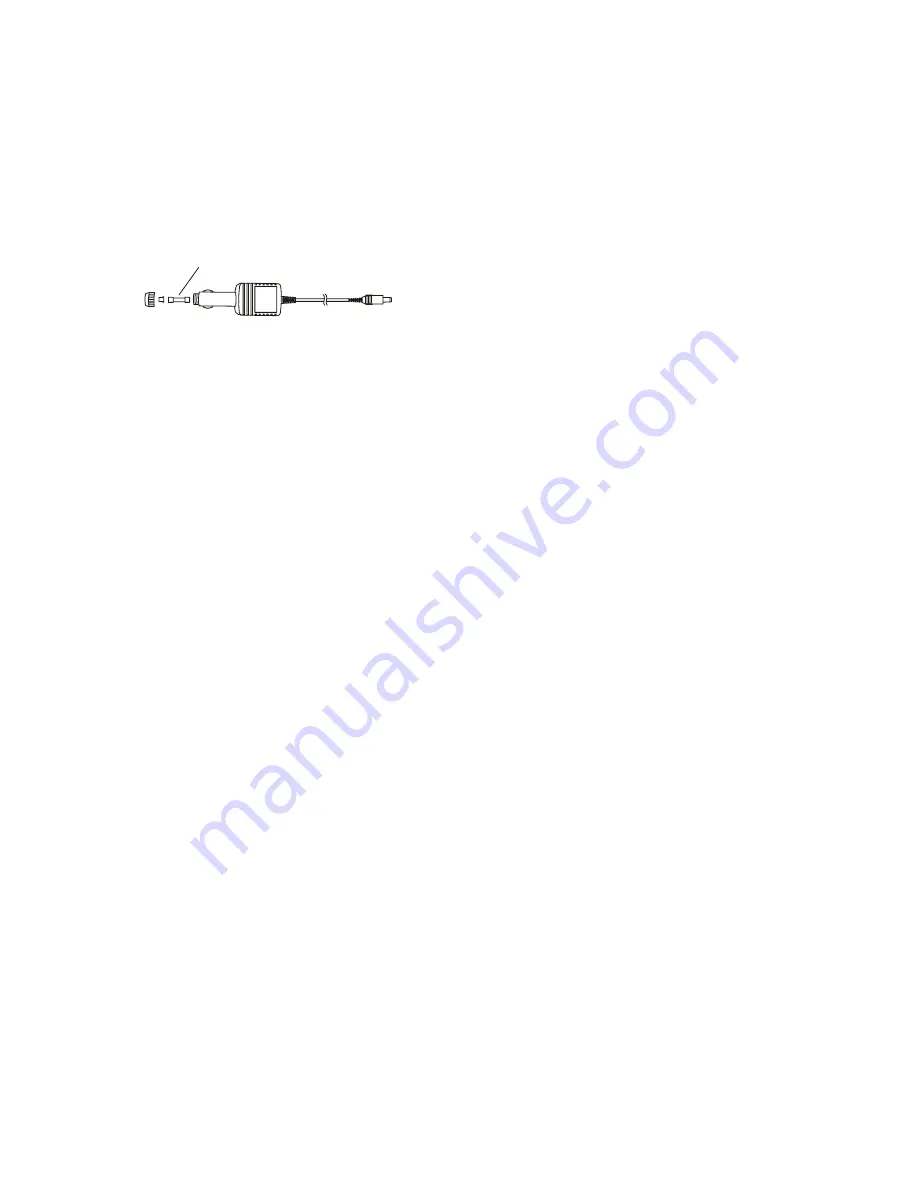
After use, disconnect the 12V car power adaptor from both
the unit and cigarette lighter socket.
FUSE REPLACEMENT
FUSE
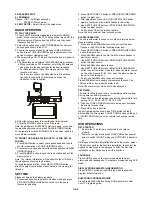
OPERATIONS
PREPARATION
Power on the TV set and select video input mode.
GET STARTED
1. Turn on the player via STANDBY button and press
FUNCTION button several times to switch to DVD mode.
The DVD/DVB-T indicator is lit.
2. Press CD door OPEN/CLOSE button on the unit to open the
disc tray.
3. Place a disc onto the disc tray.
4. Close the disc tray via CD door OPEN/CLOSE button and
the playback starts automatically.
5. When a menu screen appears on the TV, move the
NAVIGATION buttons or press the numeric buttons to select
a preferred track number to start playback.
ADJUST THE VOLUME
Press /- button to adjust the volume level (The LCD
shows the corresponding volume value during adjustment).
MUTE BUTTON
During playback, press MUTE button on the remote to mute the
unit (the LCD shows mute icon) and press VOLUME button or
MUTE button again to resume normal play.
SKIP AHEAD OR BACK
Press NEXT&TUNE UP or PREV&TUNE DOWN button once
during play to skip a chapter (DVD) or a track (CD) ahead or
backwards.
RAPID ADVANCE/REVERSE
During playback, press MEM UP & F.FWD button or MEM
DOWN & F.BWD button several times to scan the disc forward
or backward at X2, X4, X8, X20 normal speed.
Press PLAY button to resume normal play.
STOP PLAYBACK
Press STOP button during playback to stop playback; the
player activates its resume function when STOP is pressed in
PLAY mode; press PLAY button again, playback resumes at
the point it stopped previously; open the disc tray or press the
STOP button one more time to clear the resume function.
SLOW-MOTION PLAY (DVD)
Press SLOW button on the remote control during playback, the
disc will be played at 1/ 2 normal speed at first, each time this
button is pressed, the play speed becomes slower (down to 1/7
normal speed.)
Press PLAY button, normal play will resume.
REPEAT
Press REPEAT button during play, it will repeat play one
chapter/title or repeat all (DVD disc), or repeat play a track or
all tracks (for CD), or repeat the specified points (A-B).
SEARCH FOR PREFERRED SCENE
1. Press SEARCH button during play and highlight the item to
be played (Title, Chapter, or Chapter time) by navigation
buttons.
2. Input the desired number or time via the numeric buttons.
3. Press OK button to confirm and the playback from the
located scene starts.
4. To exit search menu, press SEARCH button directly.
Note: during DVB play mode, press SEARCH button to auto
searching the TV channels directly.
PROGRAM PLAY (UP TO 16 MEMORIES FOR DVD/CD)
1. Press PROGRAM/EPG during playback to display the
program menu.
2. Select location(s) to be memorized via NAVIGATION buttons
and then enter desired Titles/Chapters numbers via
NUMERIC buttons.
Note: Inputting leading zero is not necessary. If the
chapter/title/track number is behind the cardinal 10, press
the +10 first and then another unit digit. Some figure inputs
may be useless, because it's greater figure than total
title/chapter/track number on the disc.
Example: Track 3, press "3"
Track 12, press "+10" and then "2"
Track 21, press "+10" twice, and then "1"
3. To start programmed playback, select PLAY on the menu
and press OK button; pressing PROGRAM/EPG button
again to exit programming.
4. To clear all items, select the <CLEAR> on the menu, and
then press OK button.
5. You can also cancel program mode by clearing all the items
in the program menu by CLEAR button on the remote.
ZOOM PLAY
Press the ZOOM key continuously to zoom in the picture by 1,
2, and 3 times, zoom out by 1/2, 1/3, 1/4 normal size.
Press this key once more when the picture is at 1/4 size to
return to the normal size display.
Scroll to view the enlarged picture using Navigation buttons.
ON SCREEN DISPLAY INFORMATION
When the player is in operation, press DISPLAY button
continuously on the remote control, the screen will display parts
of information (current disc type, title number, chapter number,
playtime, audio language, audio type, subtitle language and
multi angle, etc) in a sequence.
CHANGING AUDIO SOUNDTRACK LANGUAGE (DVD
DISC)
It is possible to change the audio soundtrack language to a
different language from the one selected at the initial settings
(This operation works only with discs on which multiple audio
soundtrack languages are recorded).
Press AUDIO button during DVD disc play, the sound track
language changes with the current sound track number shown
on the TV screen.
NOTE: When no soundtrack languages are recorded, pressing
this button will not work.
MULTI-ANGLE VIEWING (DVD ONLY)
Press ANGLE/ST/MONO button during playback to display the
number of angles being played and then select a desired angle
to view the scene.


