background image

SOURCE

MENU

CH-

CH+

VOL-

VOL+

POWER

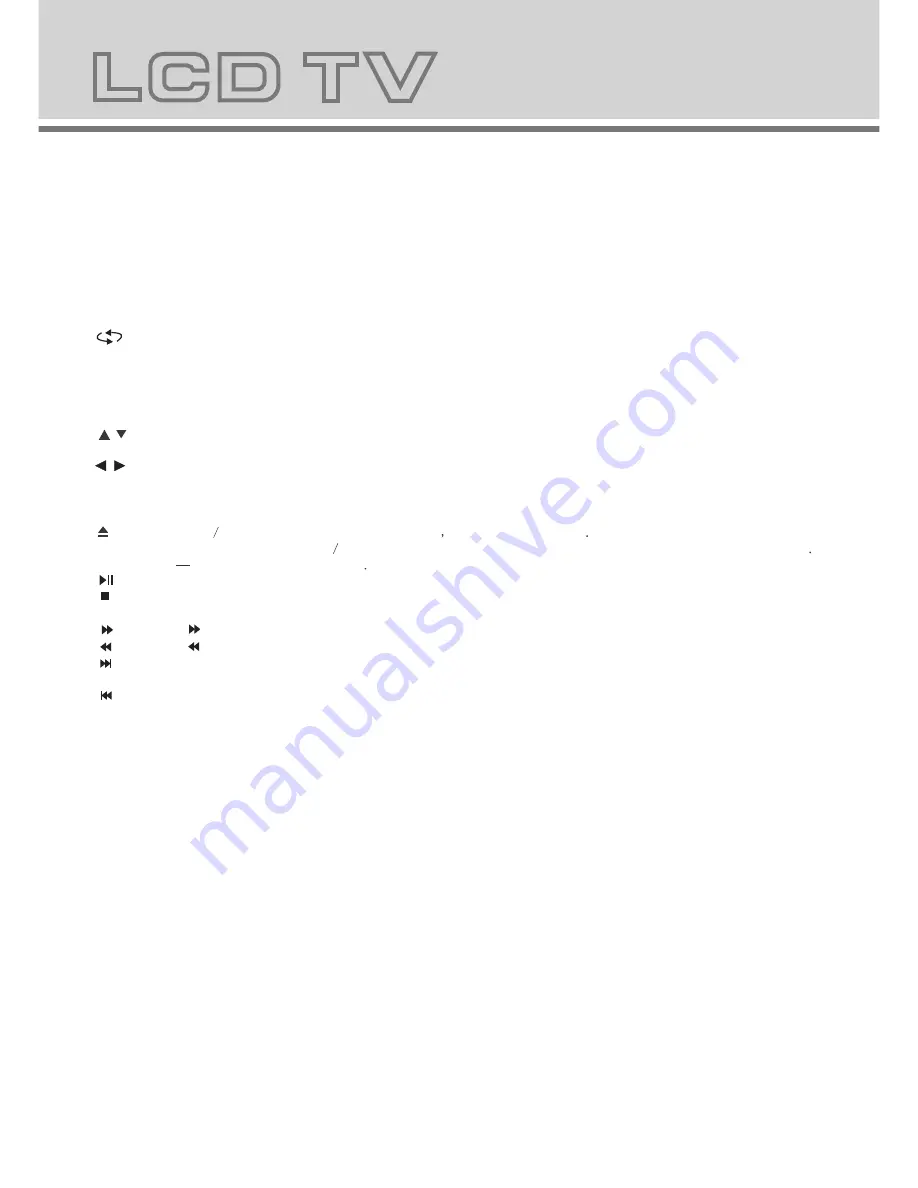
4.Remote control functions

5.LCD TV panel overview

TV Control Panel

TV Terminal connections

POWER: 

Power on/off button , press once to turn the TV on and press again to turn the TV off.

SLEEP:

 Sleep button , setting TV power off  time.

MUTE: 

Mute button , press once to disable the audio and press again to enable the audio.

0,1-9:

TV channel selection button.

-/--:

TV channel range selection button, select  a TV channel by entering 1,2 or 3 digits.To change the channel with the 

number keys on the remote control,press this button first to select number of digit,then press the channel number to change.

        : 

Previous channel button , return to the previous channel watched.

SOURCE:

 Signal source selection button (TV/SCART/PC-RGB/YPbPr/DVB/DVD).

P.STD: 

P.STD button , setting the picture mode for TV input mode.

S.STD: 

S.STD button , setting the sound mode.

DISPLAY: 

Press the display button to view the current channel. Press again to remove the channel information.

MENU:  

OSD menu button , to enter the TV setup menu.

(UP/Down): 

Up and down buttons of  the OSD menu. To change the OSD menu items and to increase or decrease 

the channel.

Left/Right): 

Left and right buttons of the OSD menu. To select the OSD menu items and to increase or decrease

 the volume.

VOL+/-: 

Volume adjusting button, to increase or decrease the volume.

/-:

Channel selection button, to increase or decrease channel.

   :Press the OPEN

CLOSE button when the power is  on

the disc  is pushed out

Put the disc  on the tray with the data  

side facing towards you .  Press  OPEN

CLOSE  again  to  close  the  disc  tray and  the unit starts playing automatically

(Without auto

play function for JPEG  discs)

      :When playing the disc,press PLAY/PAUSE once to pause,Press  PLAY/PAUSE again to return to normal play.
      :When playing DVD,SVCD,VCD,CD disc,press  STOP once,the unit will memorize  the previous ending point.Press
       PLAY/PAUSE  button to resume  play. Press STOP  for  the second time to stop  playback and clear the memory.
      :Press the        button for  quick forward search.
      :Press the        button for quick rewind search.
      :When playing a DVD disc,press NEXT to play the next chapter .when playing a SVCD,CD disc,press NEXT to  PLAY the
        next track.
      :When playing a DVD disc,press PREV to play the previous chapter.when playing a SVCD,VCD,CD disc,press PREV  
       to play the previous track.

Slow

:When playing SVCD,VCD,DVD discs,press SLOW  to  select slow  speed playing.press  PLAY/PAUSE to resume 

         normal play.
 

TITLE

:When playing a DVD disc,press TITLE to return to the main title page.


GOTO/TV.R

:


/

   /    (


The GOTO button lets you instantly select a title, chapter or time.Use the navigate buttons to highlight the digit 

                      you want to change.After you entered the desired value, confirm your choice with the ENTER button.In DVB-T 
                      mode, the TV. R button lets you switch between TV and Radio mode In DVD/CD.

press the REPEAT button  to repeat a title , chapter, track or whole disc.When playing a DVD dsic, press the 

                REPEAT button continually, the TV screen willshow  in sequence: chapter repeat, all repeat, repeat cancel. When 
                playing a VCD,CD disc the sequence will be: track repeat, all repeat, repeat cancel. When playing a MP3 disc the 
                sequence will be: single repeat, directory repeat, file repeat, repeat cancel.

SUBTITLE

 (for DVD and Super VCD discs)

- Press the 

SUBTITLE

 button once to display current subtitle.

- Press again to toggle between different subtitle modes in sequence.
 NOTE: For Multi-languages subtitle DVD & Super VCD discs, press the 

SUBTITLE

 button to select your favorite subtitle 

             language.


REPEAT: 

SETUP

:Press the SETUP button to open the setting menu. 

AUDIO

:Press the L/R button to choose a different audio channel.

INFO

:Press the INFO button for information.

1.Volume adjusting.
2.Channel selecting.
3.Main menu display and confirm.
4.Selecting exterior signal input.
5.On/off button.

RF(75    )

VGA

DC-12V

R

L

   PC 
AUDIO

1.PC AUDIO 
2.Antenna/close circuit  TV network port(75 Ohm VHF/UHF).
3.Audio-L-R input terminal.
4.

SCART input terminal ,suitable for a European export machine. 


5.Component input terminal.
6.VGA input terminal of simulation signal of PC.
7.DC 12V 5A  power input terminal.

1

2

3

4

5

1

2

3

5

4

1.STOP  button

2.PREV  button

3.PLAY/PAUSE  

4.NEXT  button  

5.OPEN/CLOSE  button  

SCART

Y

Pb

Pr

7

5

6

Summary of Contents for DVT-154

Page 1: ......

Page 2: ...USER MANUAL GEBRUIKSAANWIJZING BENUTZERHANDBUCH DVT 154 ...

Page 3: ...Contents Safety precaution 2 Accessories 3 Remote control manual 4 Remote control functions 5 LCD TV panel overview 6 Connecting to external devices 7 OSD basic adjustment 8 DVD Functions operating instructions 26 Supporting DVD format 25 Basic operation 24 Trouble shooting 34 Function Settings 29 MP3 JPEG Playback 28 Maintenance 35 Specifications 36 TV DVD DVB T Basic operation 15 Channel List 15...

Page 4: ...technician for inspection and if necessary repair Turn off and disconnect the power cable before cleaning or storing this product Ensure this product does not get wet or splashed Only use the A C power adapter supplied with your product or a replacement recommended by an authorised technician DON Ts Do not place naked flames such as lighted candles on or near the product Do not place objects fille...

Page 5: ...eded by covering ventilation openings with items such as newspapers table cloths curtains and the like Make sure the LCD TV stand is adjusted to a stable position Damage caused by using this product in an unstable position or by failure to follow any other warning or precaution contained within this user manual will not be covered by warranty This product is not intended for use by young children ...

Page 6: ...annel button TV setup menu ENTER 3 Remote control manual Bright sunlight or lighting may cause erractic remote operation OPEN CLOSE button PREV Information button TXT MIX PLAY PAUSE TELE TEXT CANCEL STOP EXIT button INDEX GOTO TV RADIO button REVEAL SLOW subtitle button DVD DVB Setup button AUDIO SIZE TITLE EPG button HOLD MENU PBC Favorite button SUBPAGE SUBTITLE button REPEAT TIMER button FORWAR...

Page 7: ...D disc press STOP once the unit will memorize the previous ending point Press PLAY PAUSE button to resume play Press STOP for the second time to stop playback and clear the memory Press the button for quick forward search Press the button for quick rewind search When playing a DVD disc press NEXT to play the next chapter when playing a SVCD CD disc press NEXT to PLAY the next track When playing a ...

Page 8: ...button RF 75 VGA DC 12V R L PC AUDIO 1 PC AUDIO 2 Antenna close circuit TV network port 75 Ohm VHF UHF 3 Audio L R input terminal 4 SCART input terminal suitable for a European export machine 5 Component input terminal 6 VGA input terminal of simulation signal of PC 7 DC 12V 5A power input terminal 1 2 3 4 5 1 2 3 5 4 1 STOP button 2 PREV button 3 PLAY PAUSE 4 NEXT button 5 OPEN CLOSE button SCART...

Page 9: ...f DVD 480I 480p 576I 576p 720P 1080I Video recorder Camera DVD VIDEO L R Left right S Video 1 VIDEO L R S Video use a common Audio in 2 VIDEO L R of DVD is corresponding to VIDEO L R of LCD TV 3 Scart to Scart from a VCR 4 PC to VGA OK 5 VIDEO L R from a DVD The rear of TV Notes VCR 7 ...

Page 10: ...ntrast of the picture BRIGHTNESS BRIGHTNESS Press the buttons and then use to adjust the brightness of the picture SHARPNESS SHARPNESS COLOUR COLOUR Press the buttons and then use to adjust the color saturation Press the buttons and then use to adjust the sharpness level of picture VIDEO MENU BRIGHTNESS 50 BRIGHTNESS 50 CONTRAST COLOUR SHARPNESS 50 40 50 1 Use to select what you want to adjust in ...

Page 11: ...ESET in AUDIO menu The following sound effects are available THEATRE PERSONAL VOICE MUSIC VOLUME VOLUME AUDIO PRESET AUDIO PRESET BASS BASS TREBLE TREBLE BALANCE BALANCE Press the buttons and then use to adjust the sound level Press the buttons and then use to adjust the audio output between left and right speakers Press the buttons and then use to increase or decrease the level of the lower pitch...

Page 12: ...AFC AFC FINE TUNE FINE TUNE If the image received is not very good you can press to select the Fine Tuning item in menu Then press the buttons to adjust and improve the image quality SWAP SWAP Press the buttons and then use to display the SWAP menu on screen Swap option allows you to swap the current channel When set to On the program number will be swapped when you select the swapped channel with...

Page 13: ...he buttons to select up and down Press to increase or decrease the frequency DOWN UP 264 25MHz Press the buttons and then use to search stations that can be received automatically It s recommended that you use Auto tuning during installation of this unit AUTO SEARCH AUTO SEARCH During searching you can press MENU or EXIT to stop searching at any moment and return to the previous menu AUTO SEARCH P...

Page 14: ...e to select ON or OFF to display the blue screen when no signal NOISE REDUCE NOISE REDUCE Press the buttons and then use to select ON or OFF to reduce the noise of the picture and provide clearer picture INPUT SOURCE INPUT SOURCE Press the buttons and then use to select the input source Press the buttons and then use to select FULL 4 3 ZOOM ZOOM RESET RESET Press the buttons and then use to reset ...

Page 15: ...G Choose one of three automatic color adjustments Set to 6500K to enhance hotter colors such as red or set to 9300K to see less intense colors with more blue Press the buttons and then use to select one of USER 9300K 6500K When you select USER a sub menu will display then you can use to select and adjust each item USER COLOUR SETTING RED 171 GREEN 171 BLUE 171 AUTO CONFIG AUTO CONFIG Press the but...

Page 16: ...n use to adjust the phase of the picture CLOCK CLOCK Press the buttons and then use to adjust the clock of the picture Press SOURCE button to select a source from TV SCART PC RGB YPbPr DVB DVD TV SCART YPbPr PC RGB DVB DVD SOURCE SELECT 14 ...

Page 17: ...CREEN 1 Press the buttons select each menu 2 Press the button and then use the buttons to select and adjust the available menus 3 Press DVB SETUP or the button to return to previous menu and press EXIT to return to TV viewing 4 Press ENTER to confirm your settings NO SIGNAL OR NO SERVICE There is no signal or service input Channel List Channel List 1 Press the DVB SETUP button on the remote contro...

Page 18: ...lete the channel and press DVB SETUP to return to the previous menu If you want to restore the channel that has been deleted you should search it again Lock Unlock Press to select the item you want to Lock Unlock and press ENTER to confirm it There is a pin code menu as seen on the screen below Press the number buttons directly to enter the pin code that is made up by six numbers the default passw...

Page 19: ...favorite list 5 Press DVB SETUP to return to the previous menu then press ENTER to go back to TV viewing System Settings System Settings 1 Press the DVB SETUP on the remote control to bring up the main menu on the screen and use to select the System Settings menu 2 Press ENTER to confirm your selection and there will be a System Settings menu as shown on the screen below Time Settings Use to selec...

Page 20: ...n allows you to set the language of the audio you can Press to select the language Parental Control Use to select the Parental Setting item and then press ENTER to confirm it If the lock is already set enter the pin code as requested Chang Password This function allows you to change the pin code you should enter a new pin code twice and press ENTER to confirm it Level You can Press to select an ag...

Page 21: ...t Restore to Defaults Press ENTER to enter the restore to defaults menu and use ENTER to activate it else use the DVB Menu to return to the previous menu Clear Channels Press ENTER to enter the clear channels menu and use ENTER to activate it else use the DVB Menu to return to the previous menu Country Select Press ENTER to enter the country select menu and use to select the country Default France...

Page 22: ...then press ENTER to confirm it Software Version Use to select the Software Version item and then press ENTER to refer to the version of software Hardware Version Use to select the Hardware Version item and then press ENTER to refer to the version of hardware Signal Information Use to select the Signal Information item and then press ENTER to refer to the signal quality and strength of signal Chann...

Page 23: ...Save Scan Mode Press and then use to select one of the update mode options Append Replace Start Scan Press ENTER to start scan Sort Channels Use to select the Sort Channel item and then press ENTER to confirm it Name Upward Press ENTER to go up in the channel list by name Name Downward Press ENTER to go down in the channel list by name Encrypt Press ENTER to sort the channel list by encrypting EPG...

Page 24: ...ce more to exit teletext mode and return to normal TV viewing RED GREEN YELLOW BLUE Press these buttons to access directly to the corresponding color pages displayed at the lower parts of the teletext screen PAGE SELECTION Press UP and Down buttons to select the preceding or following page You can also enter the page number three digital directly using the number buttons to select the page and if ...

Page 25: ...DVD Operation DVD Operation ...

Page 26: ...u For Super VCD VCD2 0 discs the screen will display the Super VCD VCD2 0 Disc Menu PBC OFF Press the D MENU button to display the PBC status Playback the Super VCD VCD2 0 discs the default PBC status is ON For DVD discs use the navigation buttons to select and Play the highlighted contents For Super VCD VCD2 0 discs use the numeric buttons to play your favorite content directly Press the ENTER or...

Page 27: ...45mins Approx VCD 12cm 74mins Approx CD 12cm 74mins Approx HD CD 12cm 74mins Approx MP3 JPEG 12cm 600mins Approx Digital audio NOTE Also support DVD R CD R CD RW playback WARNING DO NOT INSERT OR PLAY 8CM DISC THEY WILL GET STUCK Region Code 2 As it is usual for DVD movies to be released at different times in different regions of the world all players have region codes and discs can have an option...

Page 28: ...ckward also has audio output just only for forwardx2 For DVD discs if you backward to the first title chapter it will start from the beginning For Super VCD VCD discs in PBC ON status if you backward to the first track it will start from the beginning NOTE During Forward or Backward playback the sound will be off 4 Slow motion for DVD Super VCD VCDdiscs While playing the disc you may use the slow ...

Page 29: ...e status Repeat mode status Current track time Press the INFO button again to turn off the on screen display 8 Goto for DVD Super VCD VCD CD CD G HD CD and Mp3 JPEG discs This function allows you to play your favorite Title Chapter track Press GOTO button to activate the on screen scroll down menu for editing According to the highlighted area enter your favorite Title chapter Track number by the n...

Page 30: ...iscs Press the MUTE button to mute the audio output There will be an symbol indicating MUTE on screen In case there is no audio output try to press the MUTE button to cancel mute Press again to cancel or Press VOL VOL to cancel and adjust the volume 12 Volume for DVD Super VCD VCD CD CD G HD CD and Mp3 JPEG discs Press the VOL VOL buttons to adjust the output volume NOTE Playback DVD discs in orig...

Page 31: ...Function Settings Function Settings DVD Function General setup DVD Function General setup Press the DVD DVB setup button to activate the DVD player OSD menu Press the buttons to move between the different sub menus Press the buttons to highlight the prefered option confirm with the ENTER button Press the DVD DVB setup button to exit the OSD menu or move to EXIT SETUP and press the ENTER button to ...

Page 32: ...VD in its original aspect ratio so depending on the size of your television screen you may see black borders above and below the picture 16 9 Wide Choose this setting if you have a widescreen television NOTE Playback screen size may vary according to the discs contents For discs with 4 3 contents using any mode would only display a 4 3 screen Screen ratio selection should be according to the conne...

Page 33: ...uage setting is English Audio Language Use the navigation buttons to select the AUDIO LANG setup icon press the ENTER button to confirm There are 8 languages for your selection press the buttons to toggle between the different languages ENGLISH GERMAN SPANISH FRENCH NETHERLANDS Press the ENTER button to confirm NOTE If the selected language is not included in your DVD disc content it will select t...

Page 34: ...anguage Use the navigation buttons to select the MENU LANG setup icon press the ENTER button to confirm There are 8 languages for your selection press the buttons to toggle between the different languages ENGLISH GERMAN SPANISH FRENCH NETHERLANDS Press the ENTER button to confirm Audio Setup Audio Setup Tone Use the buttons to adjust the Tone setting GERMAN SPANISH FRENCH NETHERLANDS ...

Page 35: ...is smallest When selected OFF the peak signal value is biggest Dual Mono You can select four different audio outputs STEREO MONO L MONO R MIX MONO The audio out description of these Selections is shown in the table below MODE LEFT SPEAKER RIGHT SPEAKER STEREO STEREO L STEREO R L MONO L MONO L MONO R MONO R MONO R MONO MIX MONO L MONO R MONO L MONO R MONO 33 ...

Page 36: ...atteries Power is suddenly turned off Is the sleep timer set Check the power control settings Power interrupted No broadcast on station tuned with auto activated Picture appears slowly after switching on This is normal the image is muted during the startup process Please contact your service center if the picture has not appeared after five minutes No or poor color or poor picture Adjust the color...

Page 37: ... of time you will have your new TV Be sure to turn the power off and unplug the power cord before you begin any cleaning Cleaning the screen Cleaning the screen 1 Here s a great way to keep the dust off your screen for a while Wet a soft cloth in a mixture of lukewarm water and a little fabric softener or dish washing detergent Wring the cloth until it s almost dry and then used it to wipe the scr...

Page 38: ...Receiving Channel Video Standards Supported Composite Video input NTSC PAL SECAM NTSC PAL SECAM S Video Input Antenna RF Audio Output Speaker Built In Input Connections TV Input Analogue TV Antenna 1 RF 75 Ohm YPbPr 1 3 pin DVB BUILT IN VGA Input 1 15 pin D Sub SCART Input 1 21 pin SCART L R Audio Input For AV S Video PC Audio in 1 White RCA Red RCA Stereo Mini Phono Jack Input 3 5mm VGA Resolutio...

Reviews: