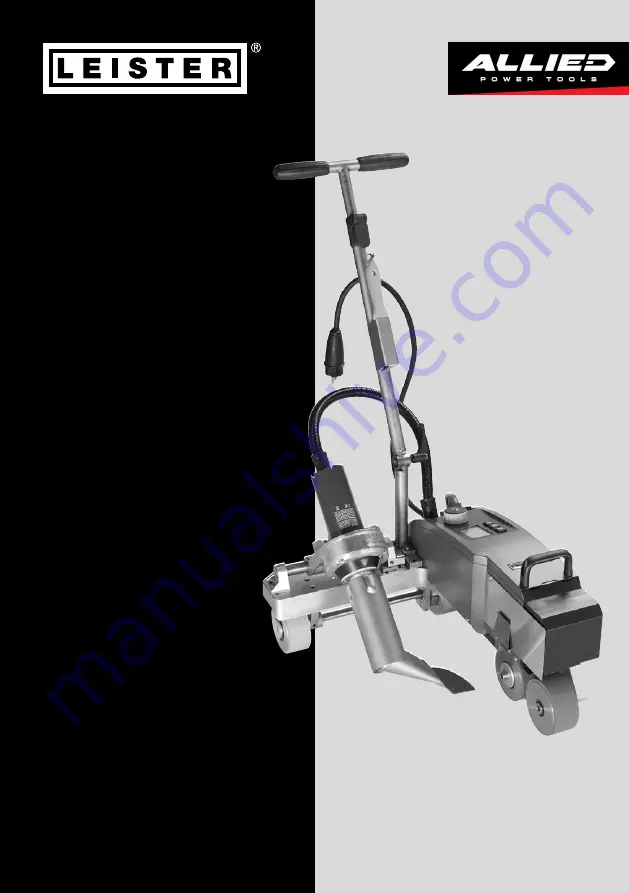
VARIMAT V2
Leister Technologies AG
Galileo-Strasse 10
CH-6056 Kaegiswil/SwitzerlandTel. +41 41 662 74 74
Fax +41 41 662 74 16 www.leister.com
[email protected]
Page 1: ...VARIMAT V2 Leister Technologies AG Galileo Strasse 10 CH 6056 Kaegiswil Switzerland Tel 41 41 662 74 74 Fax 41 41 662 74 16 www leister com sales leister com...
Page 2: ...rials This device has been developed and produced according to the latest welding technologies Every VARIMAT V2 passes stringent quality checks before leaving the factory in Switzerland Table of conte...
Page 3: ...ice Warning Connect tool to a receptacle with protective earth terminal Any interruption of the protective earth conductor inside or outside the tool is dangerous Use only extension cables cords with...
Page 4: ...LpA dB 70 LpA dB 70 Weight kg 35 lbs 77 without power supply cord Dimensions L W H mm 650 430 330 inch 25 17 13 Mark of conformity 2 Protection class I 1 Technical data and specifications are subject...
Page 5: ...16 5 4 10 11 17 9 8 12 14 18 19 20 21 22 23 24 25 26 28 31 33 25 Cheese head screw 26 Lower guide bar 27 Upper guide bar 28 Clamping lever upper guide bar 29 Holder for power supply cord 30 Round belt...
Page 6: ...ping screw lower guide bar 31 and move guide bar 27 into transport position tighten clamping screw lower guide bar 31 Close carrying case at sides Close carrying case at top Transport For transporting...
Page 7: ...nto the required position using clamping screw lower guide bar 31 and upper guide bar 27 using clamping lever upper guide bar 28 Clip strain relief of power supply cord 1 in holder 29 Check the basic...
Page 8: ...ding work use e Drive press 2 x to switch off heating In this way the welding nozzle 9 is cooled down and the blower automatically switches off after approx 4 minutes section 1 8 Cooling down Turn off...
Page 9: ...rs If however the heating element temperature is higher than 80 C when switching on the display will immediately change to the Cool down mode section 1 8 Cooling down in which the blower is always ope...
Page 10: ...entage indication changes with the symbol The welding result can be affected depending on the undervoltage overvoltage If no button is pressed after a definite time welding nozzle 9 NOT in welding pos...
Page 11: ...and drive counter You can change to the relevant menu by pressing the Heating or Blower button 1 4 Setting the welding temperature The welding temperature can be changed with the Heating button The we...
Page 12: ...down You can change to the relevant menu using the Drive button or Heating button 1 6 Length measurement blower and drive counter This menu Fig 4 appears if the Drive button is pressed for at least 3...
Page 13: ...d Perform a test welding according to the welding instructions of the material manufacturer and the national standards or guidelines Approve the test welding 1 Work mode 1 8 Cooling down If the symbol...
Page 14: ...hed in Standby mode the display will change back to the initial state For setting the standby time section 2 2 Standby setup 1 Work mode 1 10 Error message If a malfunction occurs in the automatic hot...
Page 15: ...perating preparation page 23 The set welding temperature is not reached The air volume is set too high Insufficient voltage Startup mechanism not working Adjust drive sensor see page 23 Device does no...
Page 16: ...ve counter reaches 400 h or the blower counter reaches 2000 h the message Maintenance servicing will appear on the display the next time the main switch 3 is switched on This message is displayed for...
Page 17: ...tzerland Tel 41 41 662 74 74 Fax 41 41 662 74 16 www leister com sales leister com Copyright by Leister BA VARIMAT V2 08 2009 07 2020 Art 137 889 part 1 Allied Power Tools 12 76 Rushdale St Knoxfield...