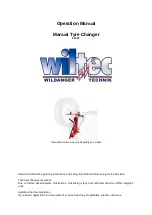
Launch TWC-401NIC, Operation Manual
The Launch TWC-401NIC comes with a comprehensive Operation Manual to guide you through every step of installation and operation. Download the manual for free from manualshive.com to ensure seamless use of this high-quality product. Get all the information you need at your fingertips for optimal performance.
Share
Download


Reviews:
No comments
Related manuals for TWC-401NIC
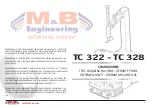
TC 322
Brand: M&B Engineering Pages: 27
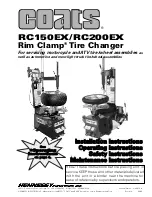
Coats Rim Clamp RC150EX
Brand: HENNESSY INDUSTRIES Pages: 32
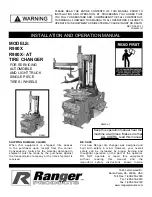
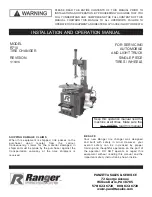
R980X
Brand: Ranger Products Pages: 52
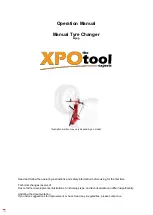
61909
Brand: XPOtool Pages: 9
61909
Brand: WilTec Pages: 9

TC 325
Brand: M&B Engineering Pages: 52
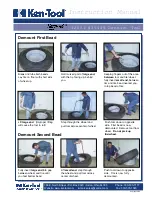
Serpent T2001
Brand: Ken-Tool Pages: 2

CT2597
Brand: Neilsen Pages: 8
R710
Brand: Ranger Products Pages: 12
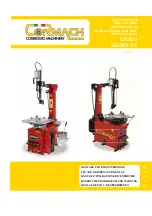
LIGRO
Brand: Cormach Pages: 157
AQUILA TORNADO
Brand: Mondolfo Ferro Pages: 552
MONSTER AGTT
Brand: Corghi Pages: 218

C896CMLL
Brand: Daytona Pages: 21

CHD-9041
Brand: Coats Pages: 28

TWC Series
Brand: Launch Pages: 28
BALATRON B433.G3
Brand: Fasep Pages: 35
R980AT-L
Brand: Ranger Pages: 88
SUPER VIGOR 2450
Brand: Cormach Pages: 38


