14 of 49
June 2012
Operation
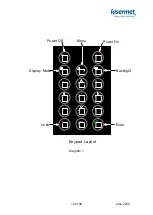
Refer to the keypad diagram 1 to identify the keys.
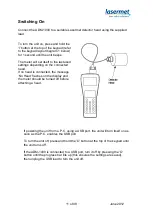
Connect the ADM-1000 to the head using the supplied cable, and switch the
unit
on by holding the ‘
I
’ button at the top of the keypad until the unit beeps.
The unit sets itself to the last used settings.
If a photodiode head is connected, the wavelength of incident radiation will
need to be entered to get the correct reading. See the section ‘Wavelength’
below.
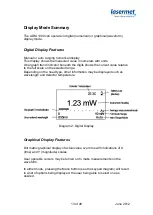
Display Mode
To switch between digital and graphical display modes, press the Display
Mode button
(see diagram 1). The last used range settings are used in
each mode.
Range
In the digital display mode, the full-scale range can be set manually or
automatically (auto-range).
The auto-range function is not available in the waveform display mode.
Manual Range Setting
If the word ‘AUTO’ is shown at the bottom right corner of the display, this
indicates that the meter is in auto-range
mode. Press the ‘5’ key to remove
the ‘AUTO’ indication and enable manual range setting.
To set the full scale range, press the down arrow (2) to increase sensitivity or
up arrow (8) to reduce it.
Alternatively press Menu, scroll down to Range using the up arrow (8) or
down arrow (2) buttons, press
(Enter), scroll down the list and press
to
select the desired range or Undo (
X
) to revert to the original display.
Note that the range setting on the digital display is independent of the range
set on the graphical display, and more ranges may be available on the
graphical display.


