background image

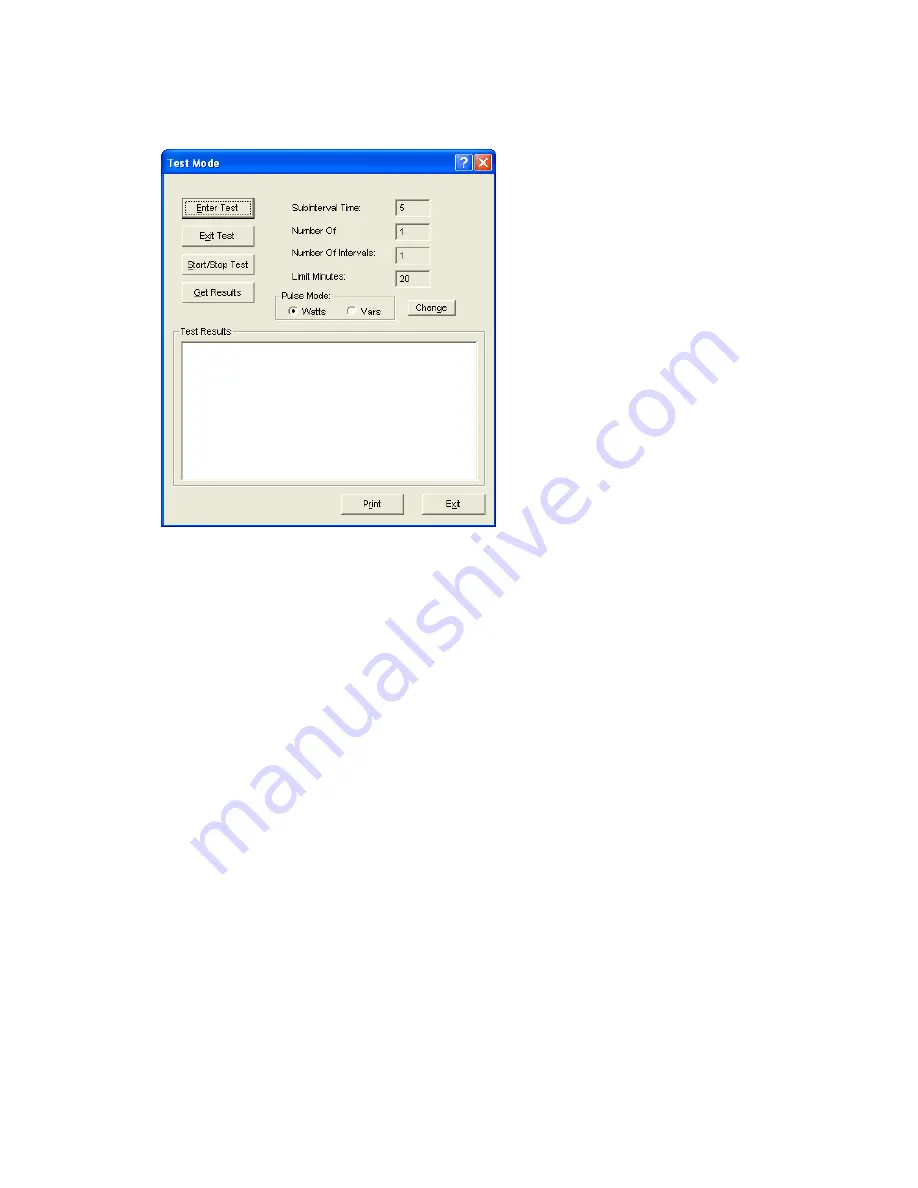
Test Mode Screen 


8.


The test “Subinterval Time” (length of demand subinterval), “Number OF Subintervals 
(number of subintervals per demand interval)”, “Number Of Intervals” (number of 
demand interval for test to run) and “Limit Minutes” (the amount of time the meter will 
remain in test mode without activity) the entrees cannot be changed after the meter has 
been programmed. 

9.


Have the meter out of service or take the meter out of service if you are not using the 
customer’s load for the test. 

10.


Click “Enter Test” to put the meter into test mode. Note: this will stop the meter from up-
dating the active (billing) registers. 

a.


The display on the meter will indicate the meter has entered into test mode. Click 
“Start Test” in the software. 

11.


Set-up the test equipment and apply the test load. 

12.


Click “Start Test” 

a.


The test mode displays will appear on the face meter. If the test seconds is at the 
top of the list it can be seen counting up. Note: There will be no demand values 
until the test has completed or the test has been stopped by clicking “Stop Test”. 

13.


An alternate method for starting the test would be to power the meter down and the 
power the meter up. On power-up the meter will start the test. This method was provide 
so a number of meters (gang testing) could start there test at the same time. 

14.


When the test has been completed or stopped. The meter display will show “Test Mode 
Complete”. And you can read the results from the meter display or retrieve the results 
using MAXcom. 


Summary of Contents for MAXsys E850 Elite

Page 1: ...ems This will take the user to a sub menu where they can select the optical port To select the optical port the user will select the more ports option that will bring up another menu with optical port After selecting optical port the screen will display the Cal Pulse mode When testing for meter accuracy it is recommended that no test should be run for less than 30 seconds The 30 second test is rec...

Page 2: ...eferred is to use the MAXcom software this will prevent you from accidently doing a demand reset The other method is to remove the cover and press and simultaneously hold the S1 Mode Select button on the lower left side of the DPM display card and then press and hold the demand reset button until the meter goes into test mode Do Not press the demand reset first Method 1 Using Maxcom Software 1 Sta...

Page 3: ... will indicate the meter has entered into test mode Click Start Test in the software 11 Set up the test equipment and apply the test load 12 Click Start Test a The test mode displays will appear on the face meter If the test seconds is at the top of the list it can be seen counting up Note There will be no demand values until the test has completed or the test has been stopped by clicking Stop Tes...

Page 4: ... press and hold the S1 Mode Select button on the lower left side of the DPM display card and then press and hold the demand reset button until the meter goes into test mode Do Not press the demand reset first 5 This will put the meter into test mode Note This will stop the meter from up dating the active billing registers a The display on the meter will indicate the meter has entered into test mod...

Page 5: ... using the buttons on the face of the meter 10 You can run another test be pressing the demand reset a This will clear the old test data and the test will start 11 When you have completed your testing a Remove the testing equipment 12 Take the meter out of test mode by simultaneously press and hold the S1 Mode Select button on the lower left side of the DPM display card and then press and hold the...

Reviews: