TEST MODE
When the meter is placed into test mode the meter will stop incrementing all of the register this
includes Energy, demand and instantaneous values. The output relays will be turned off and the
data recorder will not record data while the meter is in test mode. Only values from table 36 (test
display) will be active. If the user includes any of the normal display items coming from table 3
(instantaneous/last demand values) and table 15 (energy and Max demands) the readings will be
the values that the meter was reading at the time the meter was placed in test mode. There are
two (2) ways to put the meter into test mode. The first (preferred) is to use the MAXcom
software this will prevent you from accidently doing a demand reset. The other method is to
remove the cover and press and simultaneously hold the S1 Mode Select button on the lower left
side of the DPM (display card) and then press and hold the demand reset button until the meter
goes into test mode (Do Not press the demand reset first).
Method 1
Using Maxcom Software:
1.
Start-up the MAXcom software.
2.
Switch to the “Data Collection Mode” within MAXcom.
3.
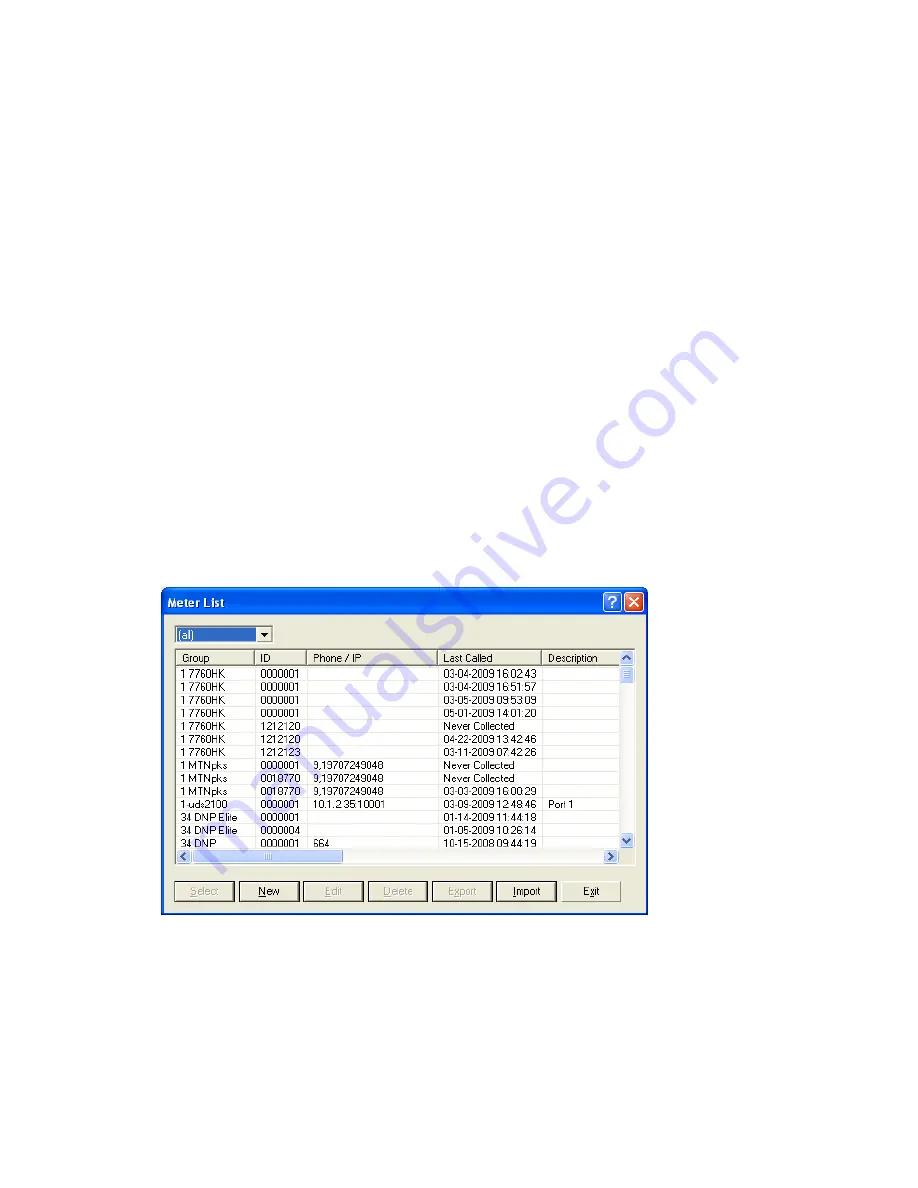
Open the unit manager and select the meter from the meter list. If the meter is not in the
list you will need to make new file.
4.
Connect your computer to the meter using one of the communications ports.
5.
Select the “connect to meter” ICON.
6.
After MAXcom connects to the meter the “Enter/Exit Test Mode” ICON will be enabled.
7.
Click the Enter/Exit Test Mode ICON.


