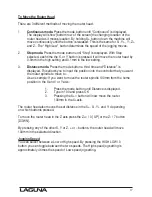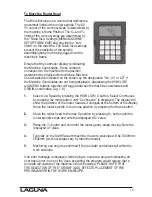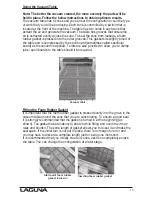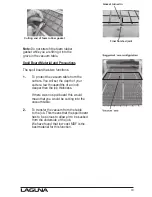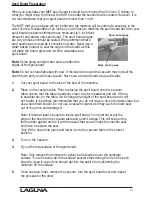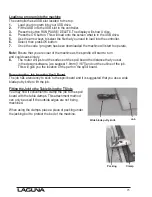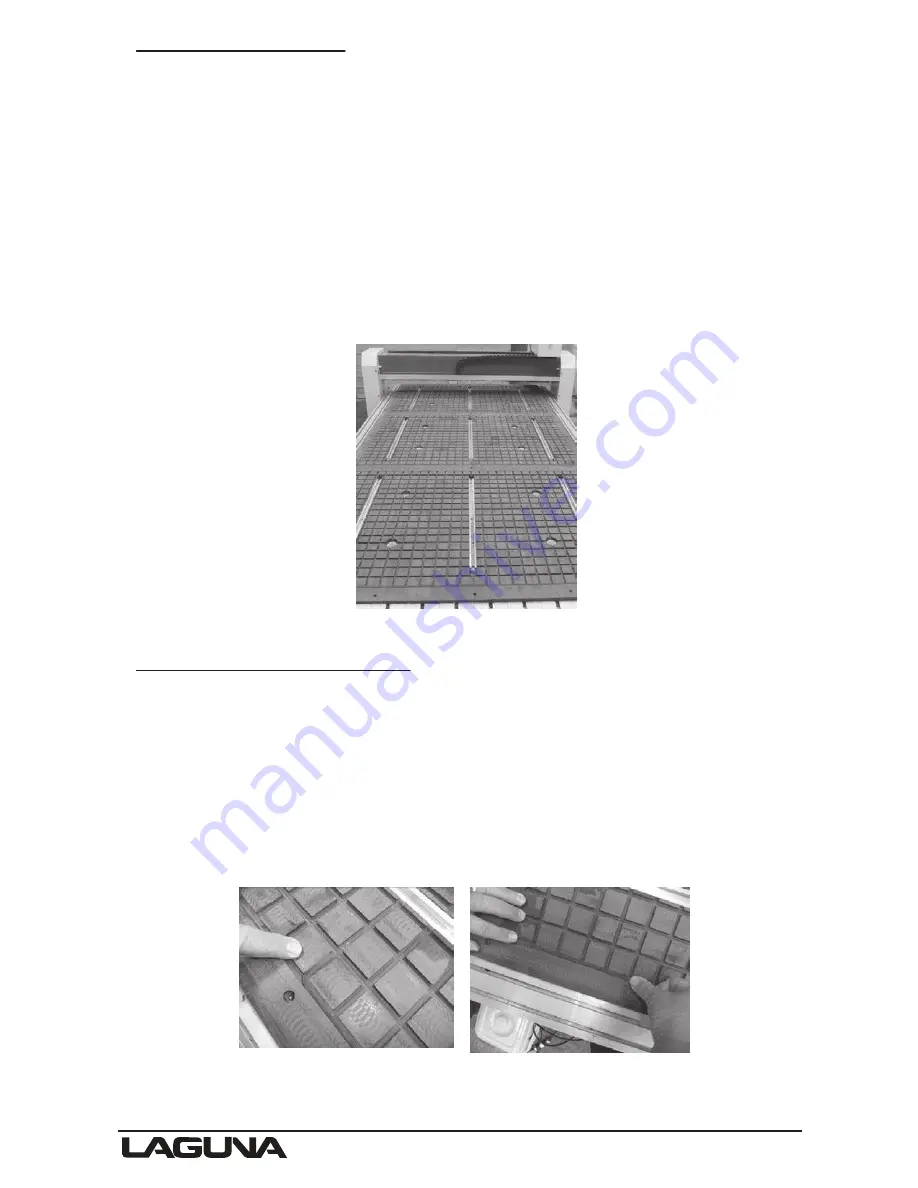
Vacuum table
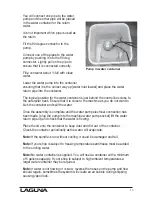
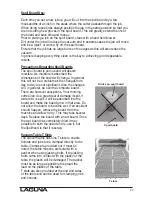
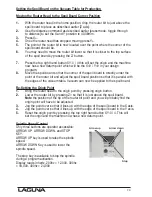
Start point foam rubber
gasket turned in
Inserting foam rubber gasket
Using the Vacuum Table
Note: The better the vacuum created, the more securely the parts will be
held in place. Follow the below instructions to obtain optimum results.
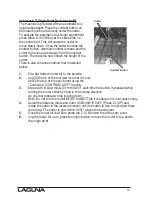
The vacuum table has 6 zones and you can set the configuration to suit the type
of work that you will be producing. Each zone is controlled by a switch that is
located at the front of the machine. The table has two holes in each zone that
extract the air and generate the vacuum. The table has grooves that ensurethe
air is extracted evenly across the zone. To seal the zone from leakage, a foam
rubber gasket is pressed into the outer grooves. This gasket sits slightly proud of
the table and is compressed by the spoil board [sometimes called sacrificial
board] as the vacuum is applied. T slots are also provided to allow you to clamp
jobs / spoil boards to the table should it be required.
Fitting the Foam Rubber Gasket
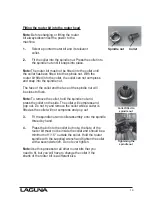
It is important that the foam rubber gasket is pressed evenly into the grove in the
vacuum table around the zone that you are constructing. To ensure a good seal,
it is strongly recommended that the gasket is turned in at the beginning [as
shown]. The gasket has a tendency to stretch while fitting and over time it may
relax and shorten. The extra length of gasket allows you to re-set it and make the
seal again. If the initial turn is not put in place, there is no margin for error and
you may have to discard a complete length just for being one inch short.
It is recommended that you initially create 3 zones, each one completely across
the table. You can change the configuration at a later stage.
19
Summary of Contents for Laguna Series
Page 2: ......

