Page
9
of
23
Cha
p
ter:
4
Qu
ick
Sta
rt
Se
ctio
n
9
b.
Once the spindle is in position, press the
XY-->0
button to set the XY origin point.
c.
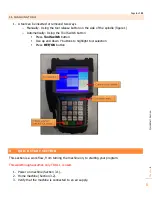
On the controller, you will see the X and Y axis coordinates go to zero (figure 4).
For mutli-tool programs JUMP to section 5
11.
Set the Z origin point [Manually]
a.
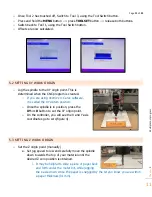
Set jog speed to low and carefully move the spindle down towards the top of your
material until the desired Z zero position is obtained.
i.
It may be helpful to slide a sheet of paper back and forth under the bit, while
jogging the z-axis down. Once the paper is snagged by the bit you know you are
within a paper thickness (0.1mm) of your material.
b.
Press the
ZC-->0
button.
c.
On the controller, you will see the Z-axis coordinate go to zero (figure 4).
12.
Press
REF/OK
button
.
a.
This will retract the spindle to a safe starting location.
13.
Put on your
SAFETY GLASSES
and run the program!
a.
In case of an emergency or machine failure, you can hit the E-STOP button on the
control cabinet. [In most cases the stop/cancel button on the handheld controller is a
preferred stopping method.]
b.
Press the
RUN/PAUSE/DELETE
button to start the program.
c.
Accept the default runtime parameters by pressing
REF/OK
14.
While the program is running:
a.
Feed rate can be adjusted by pressing the
Y+
or
Y-
buttons.
i.
Y+ will increase the feed rate by 10%.
ii.
Y- will decrease the speed by 10%
iii.
The max speed is determined by the program file.
15.
Program End.
a.
At the end of a program the spindle will STOP and the Z-axis retract to a safe clearance
height.


