user manual | page 22
7) From the
Volume Scheme:
button, choose the number of
partitions you want to divide the drive into by clicking on the pull
down menu starting with
Current
(Mac OS 10.x gives you the
option of dividing the drive into at most 8 partitions). You can
customize the size of the partitions by using the slide bar between
the partitions in the
Volume Scheme:
area.
8) In the
Volume Information
section, create a name for each
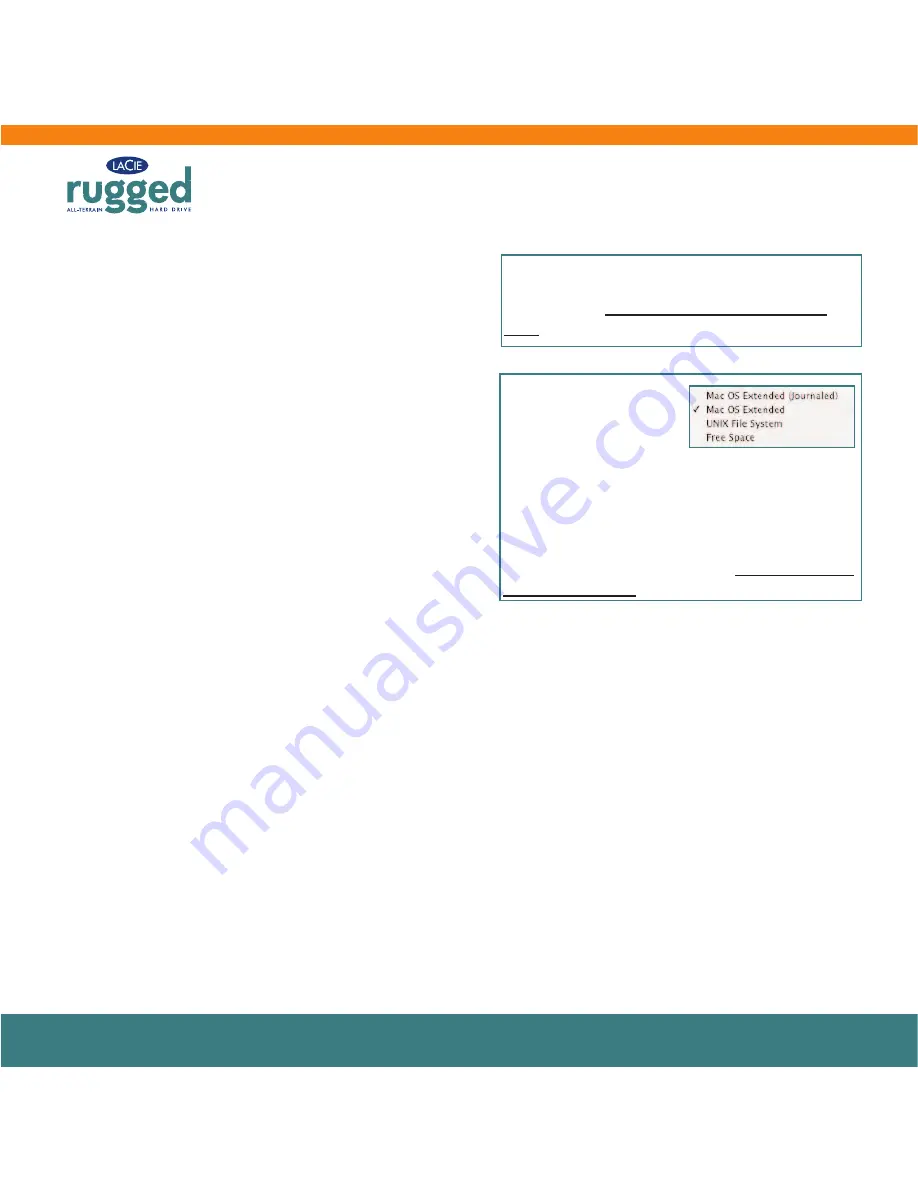
partition, choose the volume format (Mac OS Extended, Mac OS
Standard, MS-DOS File System or UNIX File System) and the
volume size.
9) In the
Options
section, click the
Install Mac OS 9 Disk Drivers
box if you plan on sharing the drive between the Mac OS 9.x and
Mac OS 10.x.
10) Once you have finalized the volume format, number of partitions, size and options, click OK. The following message will
appear:
“Warning! Saving the new volume will erase all existing volumes. This can NOT be undone. Are you sure you
want to do that?”
Click
Partition
to continue.
11) Mac OS 10.x will automatically setup the disk with the partitions and volume format you selected, and your new drive
will be available for use.
4. Using Your LaCie Drive
Tech Note:
For a more detailed discussion on the
various file system formats and partitioning, please
refer to section 5.1.1. File System Formats – Mac
Users.
Tech Note:
Under Mac
OS 10.3.x, the default
format setting is Mac OS
Extended (Journaled).
Journaling provides a continuous record of changes to
files on the hard drive. You will not be able to format
in the MS-DOS File System, either, unless you choose
the Erase tab in the Disc Utility window and create an
entire MS-DOS File System volume. For more
information, please refer to section 5.1.1. File System
Formats - Mac Users.


