How to Perform a Study
NXT Owner’s Manual NXT-UM01, MAN2010
27
b)
In the
Device Manager
window, identify the Bluetooth Dongle NXT, Urocap NXT,
Roam NXT, and Pump NXT and verify each device is properly connected as
indicated by a green checkmark.
c)
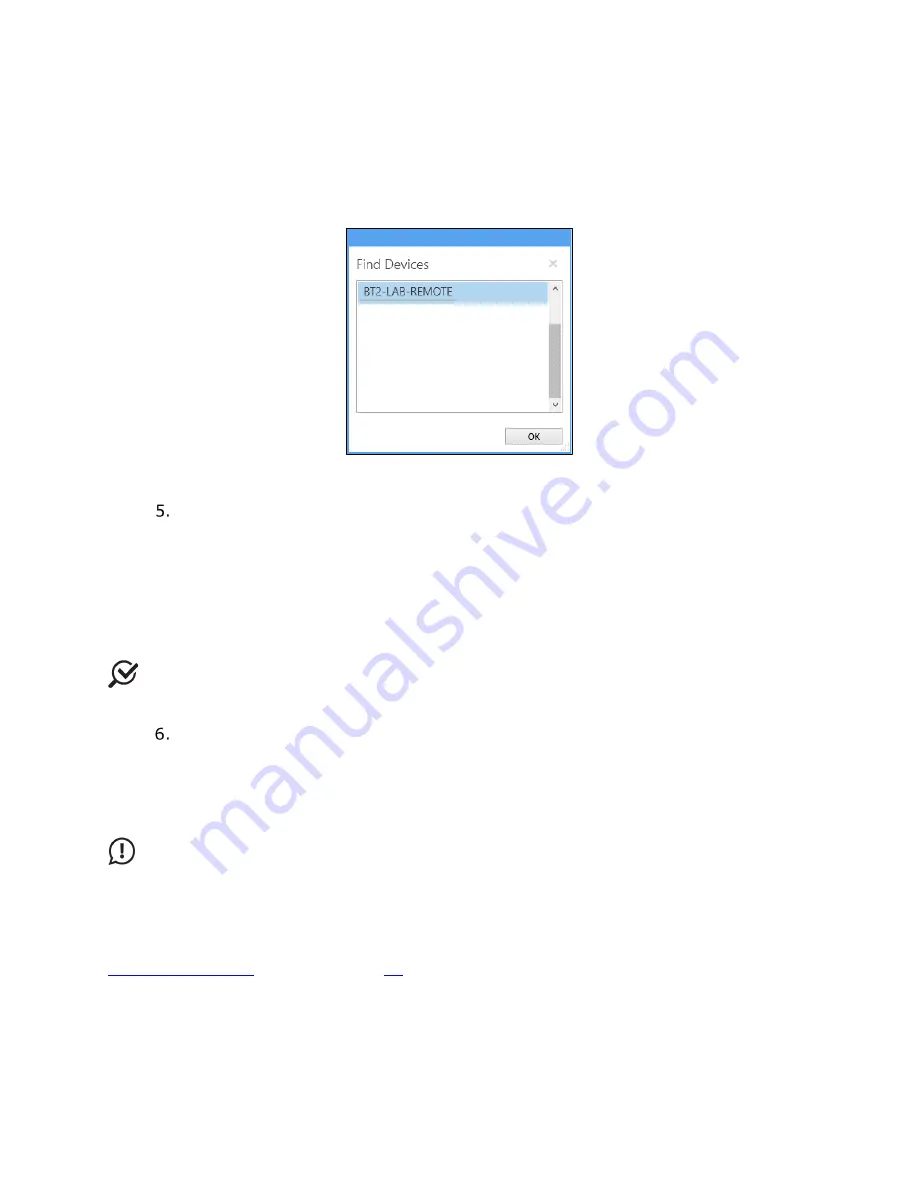
To connect the Remote Control NXT, ensure the remote control is active then click
the
Search for devices
button. This will cause the
Find Devices
window to pop-
up (Figure 13). Select the Remote Control NXT and click the
OK
button.
Figure 13: Find Devices Window
Choose the patient from the
Patients
section.
a)
If the patient already exists in the system, select the patient and proceed to the
next step.
b)
To add a new patient, click the
New Patient
button in the
Patients
section.
Enter the patient information in the
Patient Details
section under the
Info
tab
(Figure 30) and click the
Save
button to save the new patient details. If required,
input any relevant past medical history under the
History
tab. Once the patient
has been added, select the patient and proceed to the next step.
NOTE:
The following fields are mandatory for completing new patient setup
: First
,
Last
, and
Birth Date
.
To begin the study, ensure a patient is selected in the
Patients
section. Within
the
Patient Details
section, select any applicable symptoms under the
Symptoms
tab immediately prior to starting the study. Symptoms are not
automatically saved in the patient details section. Symptoms are saved in the
study report. Next, select
the applicable study under the
UDS
tab and click
the
Start Study
button.
IMPORTANT
: Patient and test option must be selected to access the
Start Study
Button. If the
Start Study
Button remains inaccessible after this step, verify that all
devices required for the study type are connected in the
Device Manager
and that
all
hardware channels are set.
For more information on troubleshooting study start and workflow configuration, refer to the
Study Management
section on page
50
.


