


LabelTac
®
Pro X | REFERENCE GUIDE
HOW TO
|
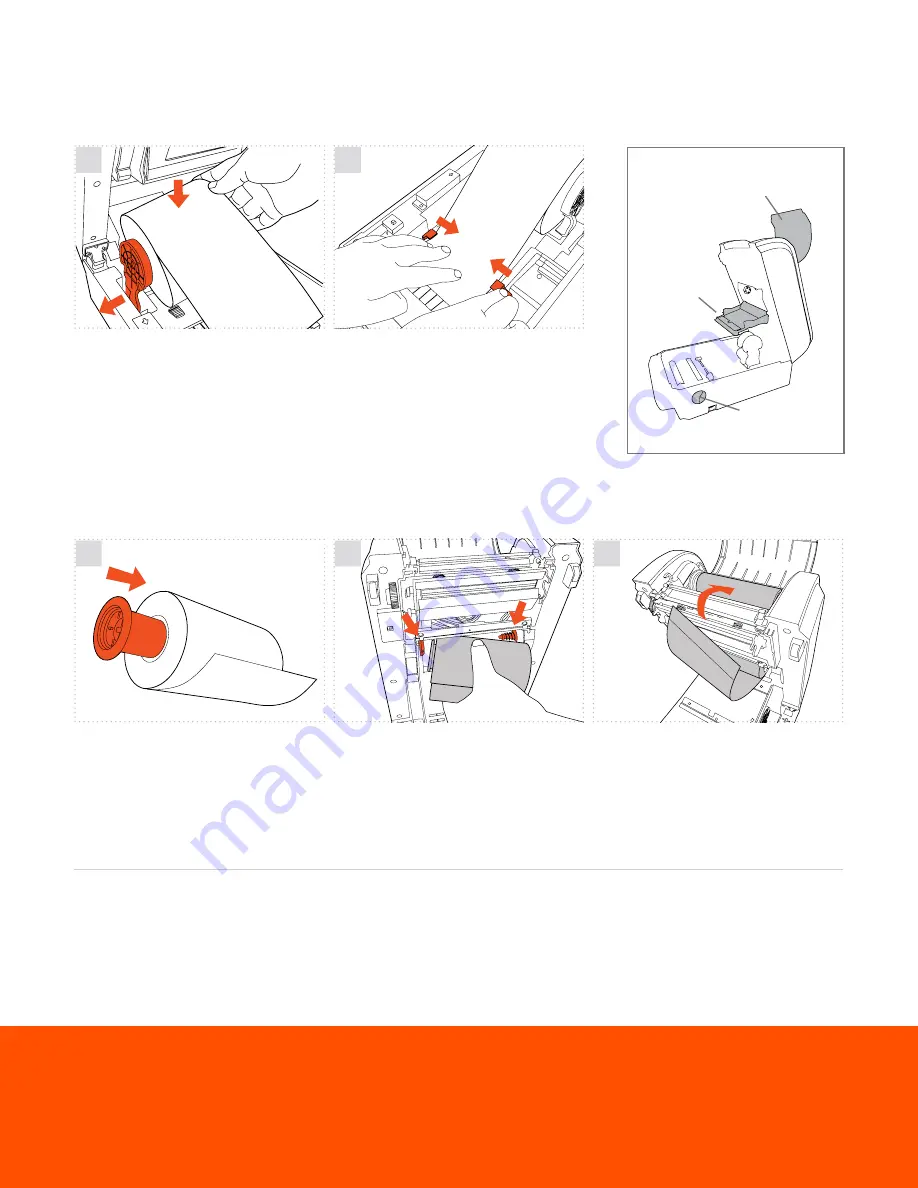
LOAD LABEL SUPPLY
HOW TO
|
LOAD PRINT RIBBON
Open the printer using the two cover
latches. Spread the supply holders apart by
sliding the arms. Both arms will separate
evenly. Insert the roll of supply as shown.
The holders will close to retain the roll.
Your printer holds ribbon in place using two
black plastic cores. Insert one plastic core
into your print ribbon, and the other into the
blank core included in the ribbon box.
Route the supply under the supply guides.
Adjust the guides by sliding back or forth as
needed to keep the supply centered. Continue
routing the supply over the black platen roller.
The end of the supply should stick out a little
at the front of the printer.
Open the printer. Then open the ribbon
access cover and media cover. Insert the
ribbon into the rear ribbon hub by pressing
the right side of the ribbon into the spring
loaded holder. The left side of the roll goes
onto the yellow hub.
Now insert the blank core into the upper
ribbon hub in the same fashion. Pull the end
of the ribbon down through the printer and
up and over the blank core. New rolls have
an adhesive edge to attach to the blank core,
otherwise use tape. Wind the core up until
the ribbon is tight.
1
1
Check out videos on loading supplies and learn some helpful label making tips on our YouTube channel
youtube.com/labeltac
2
2
3
labeltac.com/support
1-877-356-6584
Need some more help with your printer?
Cover Latch
Ribbon Access
Cover
Media Cover


