38
8. Click “Exit” button to exit the Ethernet interface setup and go back to Diagnostic Tool main screen.
Factory Default button
This function will reset the IP, subnet mask, gateway parameters obtained by DHCP and reset the
printer name.
Web setup button
Except to use the Diagnostic Utility to setup the printer, you can also explore and configure the printer
settings and status or update the firmware with the IE or Firefox web browser. This feature provides
a user friendly setup interface and the capability to manage the printer remotely over a network.
6. Troubleshooting
6.1 Common Problems
The following guide lists the most common problems that may be encountered when operating this
bar code printer. If the printer still does not function after all suggested solutions have been invoked,
please contact Advanced Labelling Ltd for assistance.
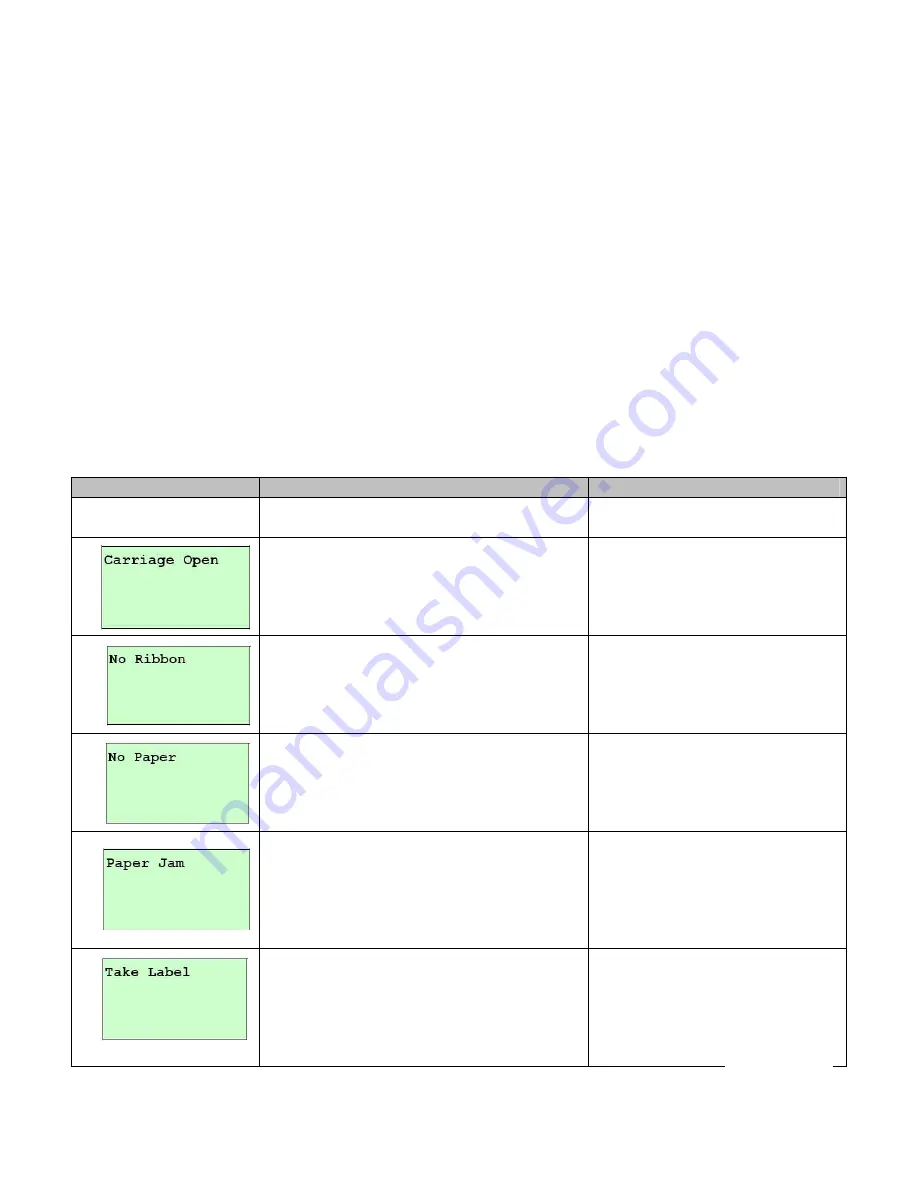
Problem
Possible Cause
Remedy
Power indicator does
not illuminate
Power cord not properly connected.
Restore good connection.
Printer carriage open.
Fully close printer carriage.
Running out of ribbon.
Ribbon installed incorrectly.
Load with new ribbon.
Check ribbon path through
printer.
Running out of label.
Label installed incorrectly.
Gap/black mark sensor out of calibration.
Load with new label.
Check label path through
printer.
Recalibrate gap/black mark
sensor.
Gap/black mark sensor out of calibration.
Paper size does not match software
setting.
Label stuck inside printer mechanism.
Recalibrate gap/black mark
sensor.
Review measurements
specified in labelling software.
Inspect printer mechanism and
clear blockage.
Peel function enabled.
If peeler module installed,
remove label.
If no peeler module installed,
disable peel function.
Check connections to peeler
module.
continued…


