13
Preparation prior to the autoclaving
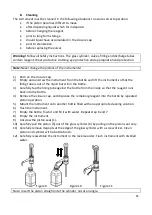
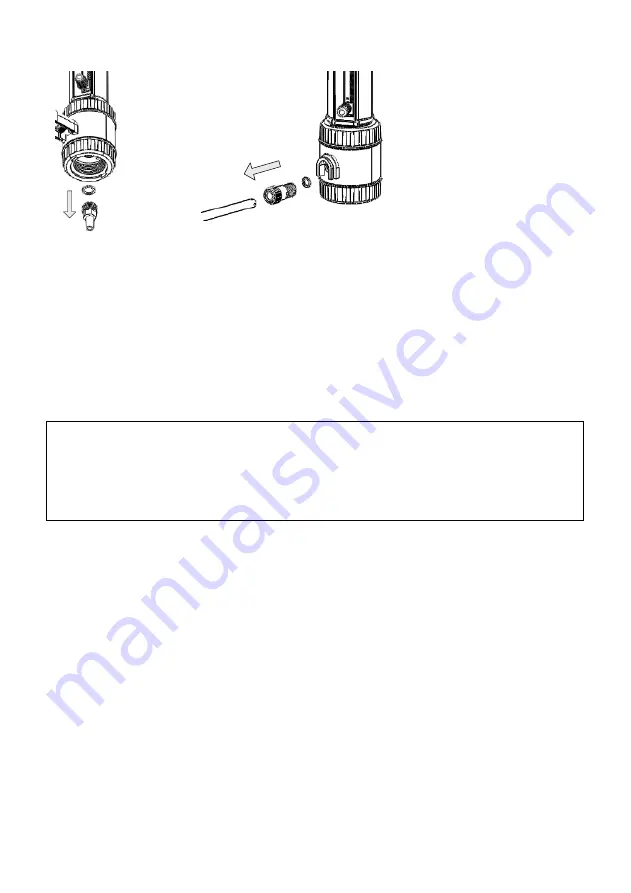
Figure 14
Figure15
Unscrew filling valve (13) and discharge valve (8).
Replace built-in PTFE-rings (12) with the supplied elastic O-rings.
Screw in the filling valve (13) and discharge valve (8) and tighten them firmly using
the mounting tool.
1.
Clean the instrument before sterilization.
2.
Remove the discharge tube (10) with removed closure cap (11), filling tube (14), and
put all parts on a towel. Avoid contact with hot metal surfaces.
3.
Lay the instrument with piston in down position
on the towel.
4.
Autoclave all parts.
Note:
Allow to cool down in the closed autoclave to avoid deformation through too rapid cooling.
After every autoclaving, inspect all parts for deformities or damage. If necessary, replace them.
Do not reassemble the instrument until it has cooled down to room temperature (cooling time
approx. 2 hours).
Mounting tool can be steam sterilized at 121 °C.
10.
Checking the Volume
The accuracy and coefficient of variation of the instrument are determined gravimetrically as
follows:
Set to the nominal volume.
Dispense distilled H
2
O.
Weigh the dispensed quantity on an analytical balance.
Calculate the dispensed volume taking the temperature into account.
Perform at least 10 dispensing and weighing operations.
Calculate the accuracy (A%) and the coefficient of variation (CV%) by means of the
formula used in statistical quality control. The proceeding is described e.g., in DIN EN
ISO 8655-6. Observe the operating manual of the balance manufacturer and the
corresponding standards.
Summary of Contents for 550.001.305
Page 16: ...16...


