background image

11

12

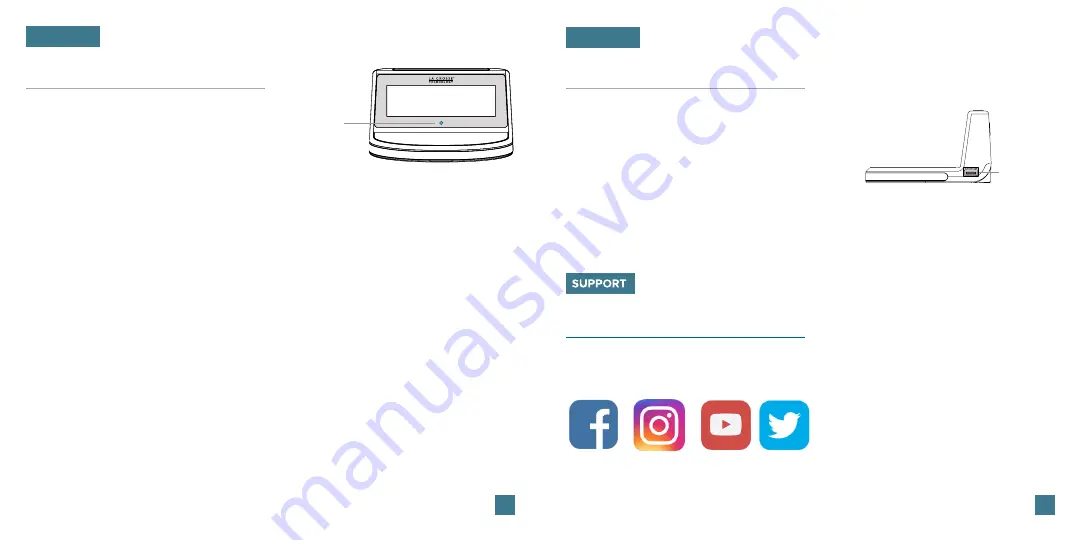
USB Charging Port

CHARGING

There is a 1 Amp USB Charging Port located on 
the right side of your alarm clock.

•  

Connect your external device’s USB charging

   cable (not included) into the USB Charging Port.

•  

Charging times may vary.

•  

USB Power Output: 1 Amp maximum current

Right View

1 Amp USB

Charging Port

CHARGING

Wireless Charging FAQs

Q. Why is the blue light blinking?


A.

 Phone is not centered on the charging pad.


A.

 Your phone must be Qi Enabled to charge.

      A. 

If the phone has a large/thick case, it may interfere with charging.


A.

 Foreign objects on the charging pad may make the light blink.

Q. Why is the table surface getting warm?


A. 

Ensure the clock is on a hard, clean surface.


A.

 Do not place on cloth, paper, or other items that may obstruct airflow.


 A.

 Clear dust or other obstructions from the vents on the bottom of the clock.

Important:

Wireless charging uses magnetic induction to charge your compatible smartphone. Do not 
place anything between your phone and the charging pad. Keep the charging pad clear of all 
foreign objects. Magnetic mounts, magnetic cases, or other objects between your phone and 
the wireless charger may reduce performance or damage magnetic strips or RFID chips found 
in some credit cards, security badges, passports, and key fobs. If your phone case holds any 
of these sensitive items, be sure to remove them before charging or make sure they are not 
between the back of your phone and the charging pad.

Blue 

LED Light

Follow La Crosse Technology on Facebook, Instagram, Youtube, and Twitter.

Stay in Touch

Ask questions, watch setup videos, and provide feedback on our social media 

outlets.

Summary of Contents for C75785-AU

Page 1: ...SET UP GUIDE MODEL NUMBER C75785 AU GLOW WIRELESS CHARGING ALARM CLOCK...

Page 2: ...ings Menu at any time by pressing the SNOOZE LIGHT button 02 02 02 03 04 04 05 05 06 06 APPENDIX ALARM Setting the Alarm Activate Deactivate Snooze Duration 07 08 08 GLOW LIGHT Glow Light Selection Gl...

Page 3: ...Brightness Press to increase decrease values in Settings Menu hold to change values quickly Press to snooze sounding alarm adjust backlight or hold for Auto Dim settings Press to change Display Modes...

Page 4: ...2 3 4 Hold the SNOOZE LIGHT button to enter the Auto Dim Settings Menu Program your LCD display to automatically dim during preselected times Press the buttons to turn the Auto Dim feature on or off P...

Page 5: ...time reaches 0 the alarm will sound again Setting the Alarm ALARM ALARM 1 Hold the button on the back of the clock to enter the Alarm Settings Menu 2 Use the buttons to set your desired time Press to...

Page 6: ...urn off the Glow Light CHARGING 5W Wireless Charger Glow Light Charging your Phone Place your phone on the platform Your phone should sit flush and centered on the charging pad The blue Charging Indic...

Page 7: ...per or other items that may obstruct airflow A Clear dust or other obstructions from the vents on the bottom of the clock Important Wireless charging uses magnetic induction to charge your compatible...

Page 8: ...r duplicated or processed using electronic mechanical or chemical process without the written permission of the publisher This booklet may contain errors or misprints The information it contains is re...

Page 9: ......

Reviews: