Kystar KS800 2K HD Big LED Display Video Processor
Multi-Window Processor
21
Note: Select “PIP”, click “OK” and a red square will appear behind “PIP”, which indicates that it has been
successfully selected; after selected, it will not jump to the “Main Menu” interface automatically and you need to
click on “MENU” to return to the “Main Menu” interface.
Step 7:
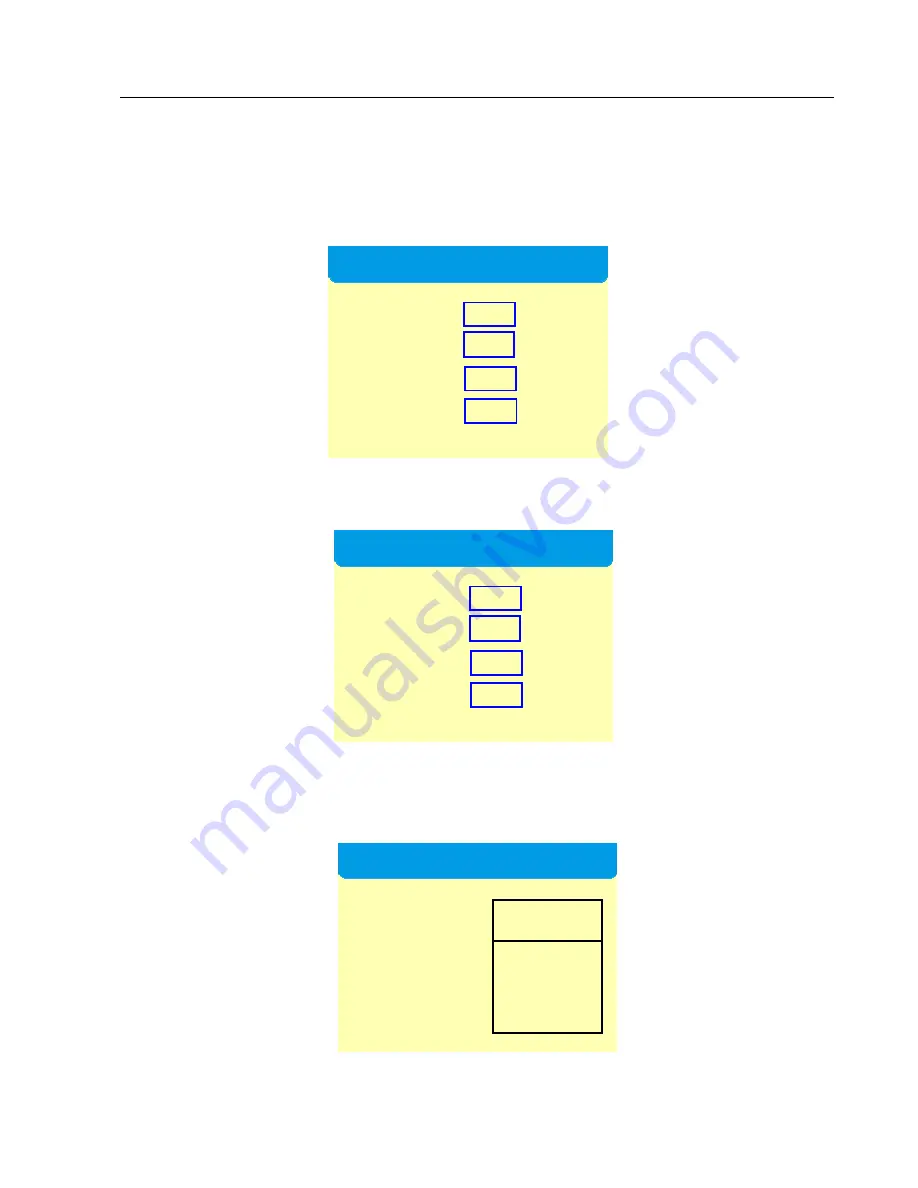
Click the “MENU” button on the front panel, select “Scaler” in the “Main Menu” to enter the “Image 1
Para” interface and then you can set the location and size of the first image.
Step 8:
Click the “WIN2” button on the front panel to enter the “Image 2 Para” interface and you can enter the
location and size respectively of the second image.
Note: After the “Image 1 Para” has been entered, you do not need to click “OK” but just click “WIN2” to enter
the “Image 2 Para” interface; after the “Image 2 Para” has been entered, then click “OK”.
Step 9:
Click “OK” to return to the “Main Menu” interface and then select “Save Mode”.
Step 10:
Select “Mode 1”, click “OK” and it will prompt “Saved Successfully”. That’s all for device debugging.
Image 1 Para
H Pos 0
V Pos 0
H Size 0
V Size 0
Image 2 Para
H Pos 0
V Pos 0
H Size 0
V Size 0
Save Mode
★ 【Mode 1】
Mode 2
Mode 3
Mode 4
Mode 5
Note


