Using Playback “
p
” Mode Functions
72
p
[RESIZE] Resizing and Trimming Images
You can change (resize) image dimensions and clip (trim) images. Since an image
that has been resized or trimmed is saved as a new image, it is possible to keep the
original image.
●
You cannot use this operation while the SD memory card is write-protected. For write protect,
see page 15.
●
Files can be created under the name from [R00_0001jpg] to [R00_9999jpg] in the memory
card. You cannot resize more than 9999 images in this card.
To Resize an Image
1
Turn on the power and set the mode select dial to “
p
”.
2
Press the MENU button to display the menu icons.
3
Press Left or Right on the directional keypad to
select
[RESIZE], then press the
e
button.
4
Select [EXECUTE RESIZING], then press the
e
button.
5
Press Left or Right on the directional keypad to
select the image, press Up on the directional key-
pad to select [OK], then press the
e
button.
6
Set the area to be resized.
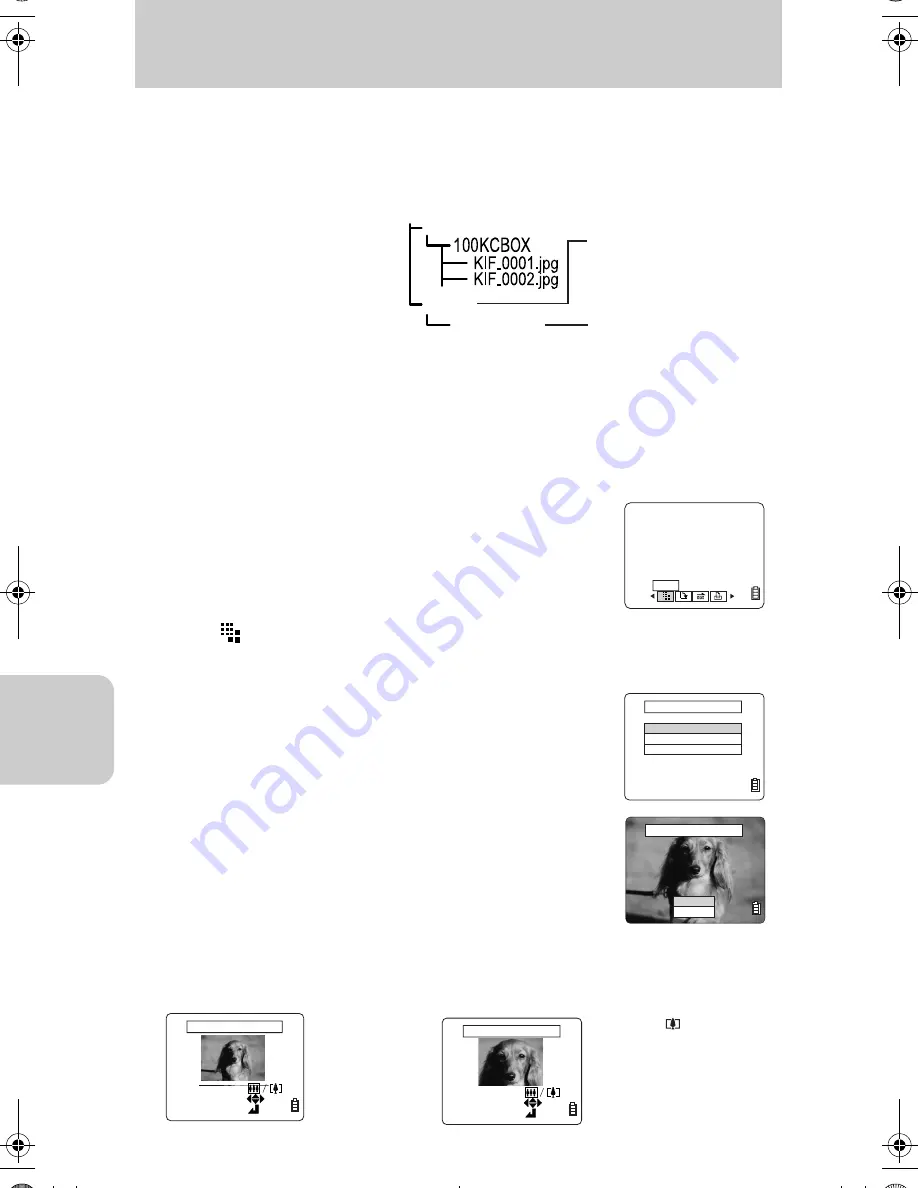
DCIM
RESIZE
R00_0001.jpg
●
Resized images are
recorded in the directory
as shown on the right.
A new folder is created.
Resized image file
RESIZE
RESIZE MENU
EXECUTE RESIZING
RESIZED IMAGE PLAYBACK
RETURN
SELECT RESIZE IMAGE
OK
CANCEL
SELECT AREA
CHANGE ARE
ENTER
ZOOM AREA
SELECT AREA
CHANGE ARE
ENTER
ZOOM AREA
Press the “
” button to
enlarge the image (2x or
4x magnification). Use the
directional keypad to set
the area, then press the
e
button.
When enlarging the area
When changing image
dimensions only
Press the
e
button.
00_8CQ.book Page 72 Wednesday, May 14, 2003 8:10 PM


