


Configuration Editor
108
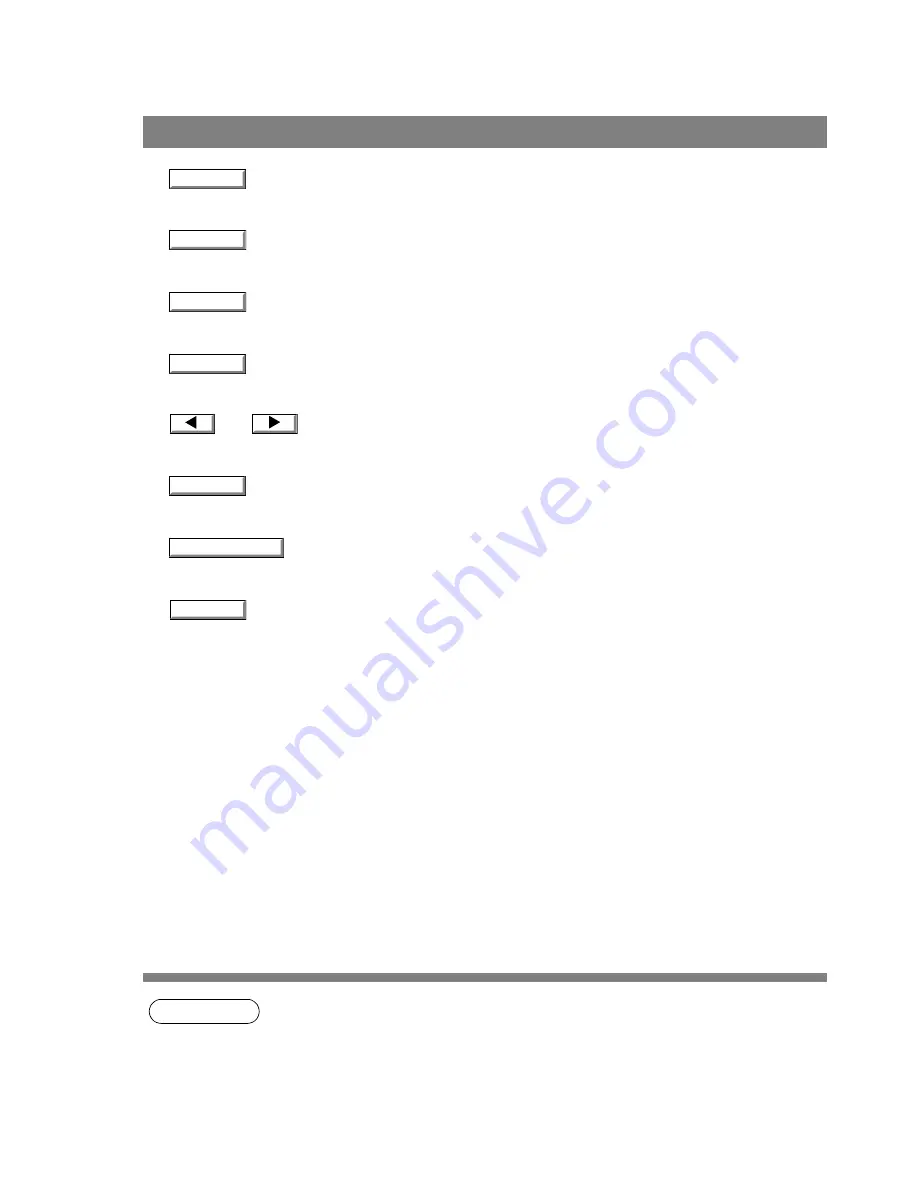
Main Window
•
button
Retrieve the current settings of the selected folder from the device.
•
button
Write's the settings in the folder to the device.
•
button
Opens the settings in the folder from a file.
•
button
Saves the settings in the folder to a file.
•
and
buttons
Switch between pages if the settings have two or more pages.
•
button
Displays the help screen.
•
button
Displays version information.
•
button
Close the Configuration Edit utility. If the data has not been sent after being modified on the screen, a
confirmation message for sending the data is displayed.
NOTE
1. Only settings in the setting folder that are currently selected are applicable to retrieving/writing
on the device, or retrieving/writing of a file.
2. Current settings of each folder are read from the device by double-clicking a folder in the left of
the dialog box.
3. The setting menu’s are different depending on the machine to be used with this MFP utility.
4. KM-F1050 is not available with this feature.
Retrieve
Retrieve
Write
Open File
Save File
Help
About...
Exit