!!!!!!!!!!!!!!!!!!!!!!!!!
!!!!!!!!!!!!!!!!!!!!!
!!!!!!!!!!!!!!!!!!!!!!!!!!!!!!!!!!!!!!!!!!
- 1 -
ʳʳʳʳ
KYE System Corp., LTD
Maintenance Manual
Page 1: ...1 KYE System Corp LTD Maintenance Manual...
Page 2: ...placement step 9 2 5 Signal cable and ribbon wire replacement step 9 2 6 Diode Capacitor IC Switch Earphone Jack replacement step 10 2 7 Transducer disassembly and assembly step 11 2 8 Amplified IC re...
Page 3: ...olving flow chart The flow chart for sales service unit returned from customer Jack Board Main Board R Speaker Adapter L Speaker Return defective unit Analysis rooting Cause Confirming the inferior is...
Page 4: ...signal Mechanical PCBA Replace LED Burnt out Problem Analysis Root cause Counter measure LED is broken The copper foil is chapped Replace LED Replace ribbon wire The ribbon wire is broken transducer...
Page 5: ...ountermeasure Problem analysis Root cause Countermeasure System down Cable Adapter Replace adapter Main board Amplifier Switch broken DC Jack broken The ground lead of power IC U2 is failed Replace sw...
Page 6: ...uit cable is failed Earphone Jack failed Replace earphone jack Replace Cable Jack board Problem analysis Root cause Countermeasure Problem analysis Root cause Countermeasure Others Switch NG Switch is...
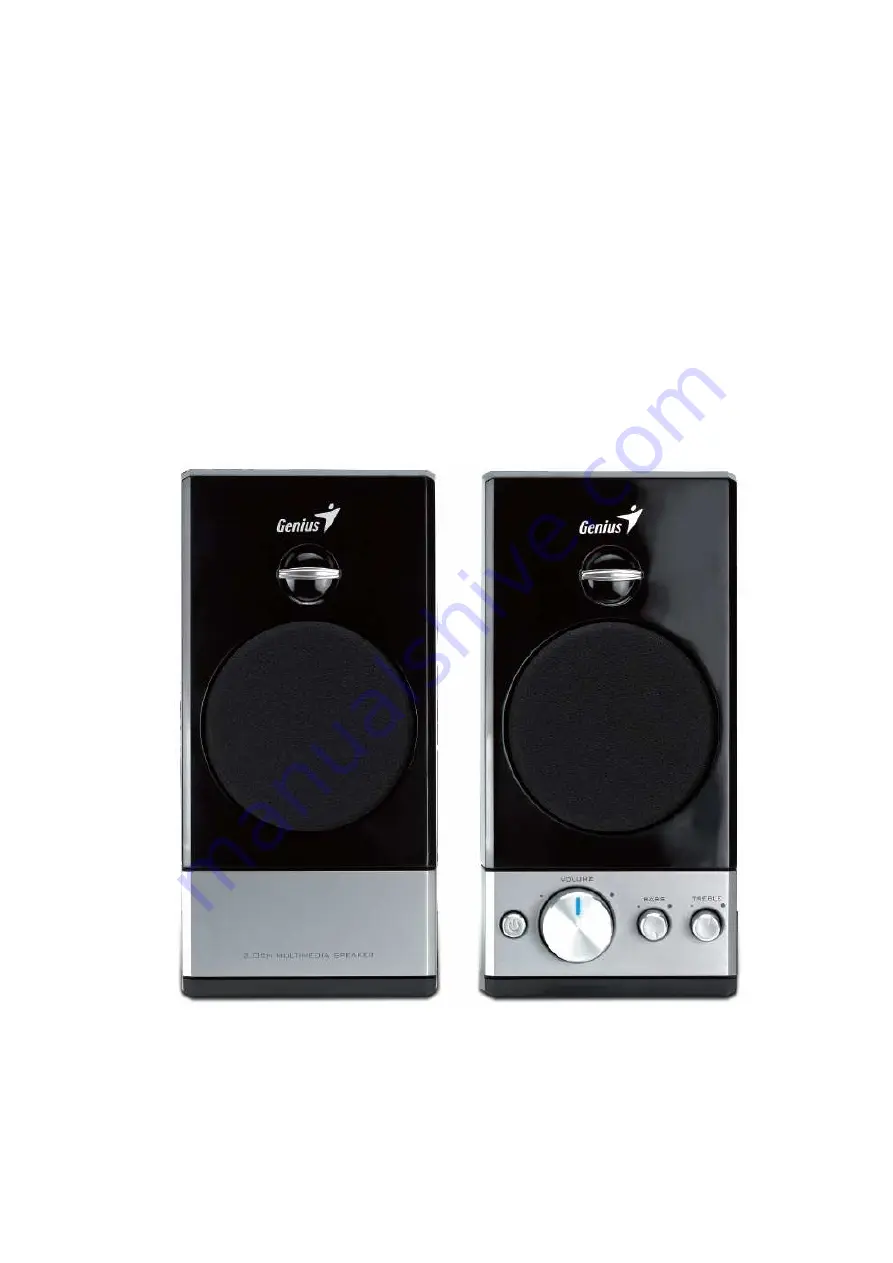
Page 7: ...o special Jigs or fixture could use screwdriver nail solder iron Multi meter etc instead Main box contents Front and rear cover screw transducer buzzer PCBA combination Volume Knob Switch button cloth...
Page 8: ...efer to the following steps 1 Remove the VOLUME BASS TREBLE knob Please refer to picture 1 2 2 Take apart the cabinet refer to picture 1 3 3 Remove the 5pcs of screw from potentiometer and take out th...
Page 9: ...and joint wire step Confirm the corresponding Audio wire color before taking apart of the wire drop the machine cleaner at the yellow glue position every two or three minutes repeat this action about...
Page 10: ...isassembly and assembly step According to the method of Master disassembly and assembly step remove the screw 4PCS 3 5TP2 from A to D in series refer to picture1 9 take out of the speaker and then wel...
Page 11: ...al paste at the touch surface refer to picture 2 4 2 9 IC Transistor and Potentiometer disassembly step Check the component by using the multi meter first heat up the welding position by the solder ir...
Page 12: ...lothing grill framework refer to picture marked a then load the driver refer to picture marked a another three corners should be placed at the same time refer to picture 2 6 Remark the method of take...
Page 13: ...to avoid the IC is damaged 2 As the Speaker is the key part please pay more attention to protect the surface of the speaker no scratch and pressure when sending back it to avoid the unnecessary damag...
Page 14: ...14 4 2 Main unit assembly explode diagram...
Page 15: ...15 Satellite assembly explode diagram...
Page 16: ...C27 220UF 1 2_VCC R10 1K LED1 POWER VCC_12V R33 220R R36 10K C39 1UF SP_L SP_R SP_L_OUT SP_R_OUT VCC_18V R32 100R 1 2_VCC R1 1K R2 1K R37 220R EAR_L EAR_R 1 2 3 P3 PHONE JACK 3P 1 2 3 P1 DC JACK 1 2...
Page 17: ...66 G LED3 5 7mA LED1 02100759 LED Cable LED1 00800809 Speaker 3 4 10W 2 13700163 VR A100K 2 L 15 16 PCB TYPE VR1 VR2 13700045 VR B10K 2 L 15 16 PCB TYPE 3dB VR3 06100268 Power 2P2T H 12 5 PBS 22H01T25...