Chapter 7 - TV Measuring Range
75
106 V3.2
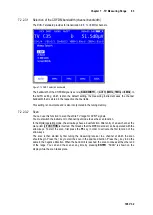
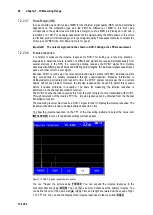
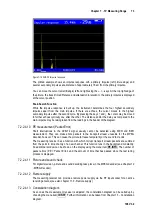
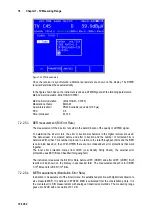
After activating a new menu will appear where the DTMB mode can be adjusted.
Figure 7-21 DTMB selecting carrier mode
The single carrier mode (C1) is activated with
SINGLECAR
whereas the receiver is set to multi
carrier mode (C3780) with
MULTICAR
.
Scan
7.2.2.5.1
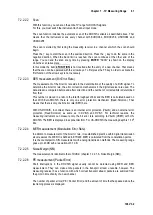
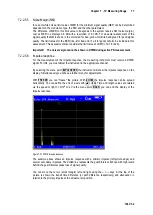
You can use this function to scan the entire TV range for DTMB signals. To do this, you must
switch the instrument to channel input mode.
In the digital operating mode, the arrow keys have a dual function. After entry of a new channel, the
menu item
2.FUNCTION
is inverted.
That means that the MPEG decoder can be operated with the arrow keys. To start the scan, first
press the
F5
key in order to activate the first function of the arrow keys.
The scan is then started by first tuning the measuring receiver to a channel at which the scan
should begin. Press the
↑
key to start the scan in the positive direction. Press the
↓
key to do the
same in the negative direction. When the band limit is reached, the scan continues at the other end
of the range. You can end the scan at any time by pressing
↑/↓
or
ENTER
. “SCAN” is shown on the
display while the scan takes place.
DTMB parameters
7.2.2.5.2
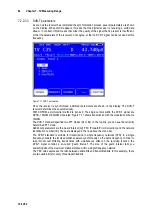
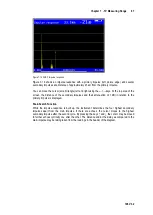
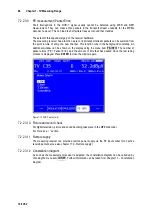
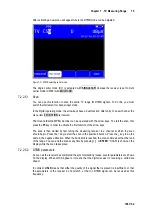
As soon as the receiver has completed the synchronization process, several parameters are shown
on the display. When LOCK appears, it means that the digital receiver is receiving a valid data
stream.
In contrast,
UNLK
means that either the quality of the signal that is present is insufficient, or that
the parameters of the receiver do not match, or that no DTMB signal can be received at this
frequency.

