Step 3: Mount the base
69
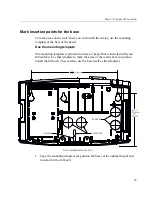
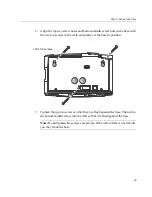
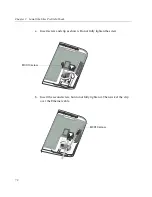
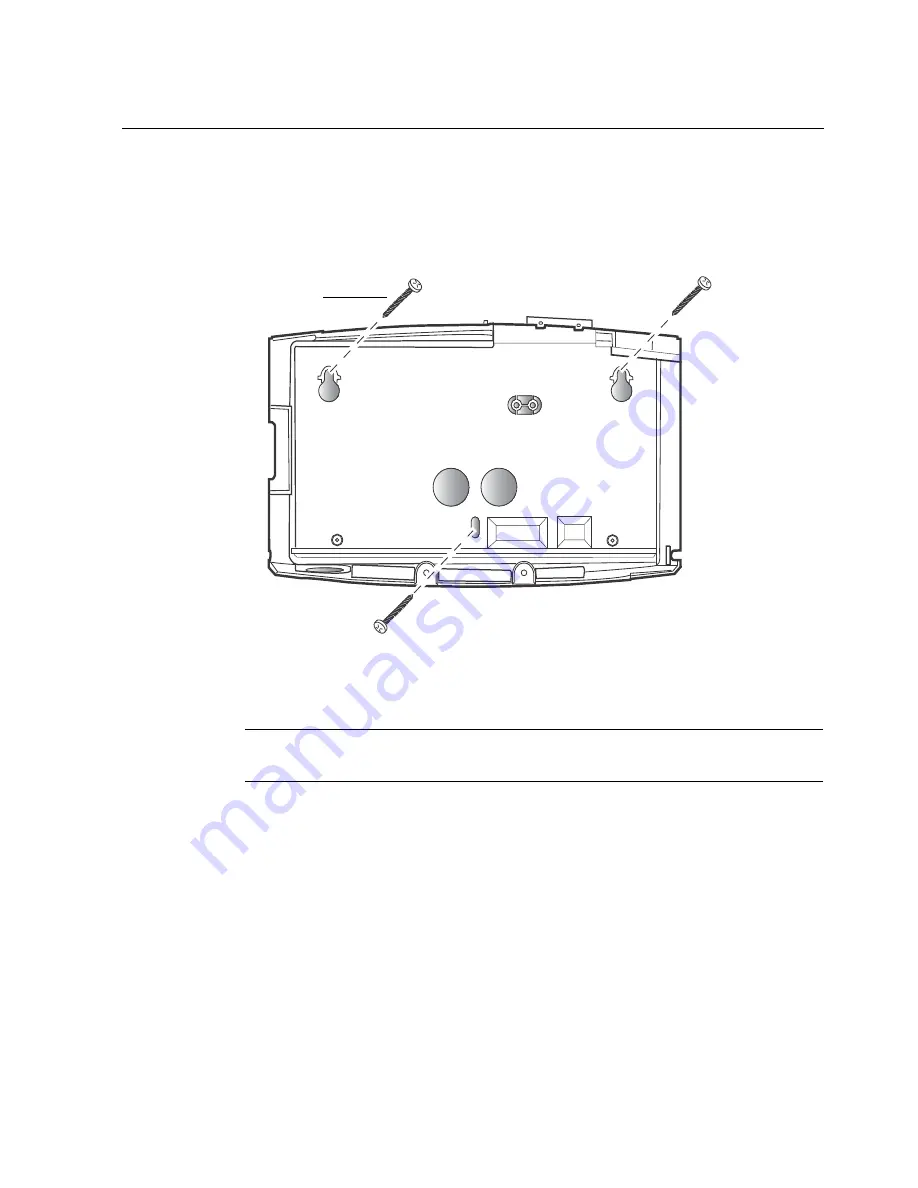
2. Align the top two screw holes and bottom middle screw hole in the base with
the two top screws in the wall, and gently set the base in position.
3. Tighten the top two screws so that they are flush against the base. Then drive
the bottom middle screw into the wall so that it is flush against the base.
Note:
Do not tighten the screws excessively. If the wall surface is not smooth,
you may crack the base.
10X1-1/4
screws
Summary of Contents for InTouch 9100 Slim Profile
Page 9: ...Chapter 1 Before You Install the InTouch ...
Page 21: ...Chapter 2 Install the Standard Model InTouch ...
Page 50: ...Chapter 2 Install the Standard Model InTouch 50 c Tighten both screws ...
Page 60: ...Chapter 2 Install the Standard Model InTouch 60 ...
Page 61: ...Chapter 3 Install the Slim Profile InTouch ...
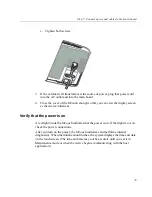
Page 75: ...Step 6 Secure the cables with the strain relief clip 75 ...
Page 84: ...Chapter 3 Install the Slim Profile InTouch 84 ...
Page 85: ...Chapter 4 Troubleshooting and Preventive Maintenance ...
Page 94: ...Chapter 4 Troubleshooting and Preventive Maintenance 94 ...
Page 95: ...Appendix A Replace a Series 4000 Device with the InTouch ...


