Appendix B Open and Disconnect the InTouch
132
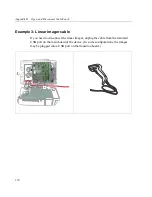
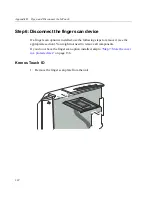
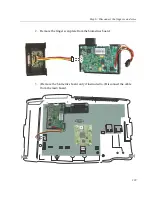
Step 6: Disconnect the finger scan device
If a finger scan option is installed, use the following steps to remove it (see the
appropriate section). You might not need to remove all components.
If you do
not
have the finger scan option installed, skip to
“Step 7: Store the cover
in a protected area”
on page 136.
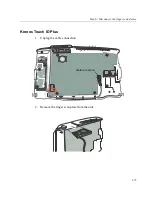
Kronos Touch ID
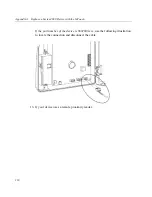
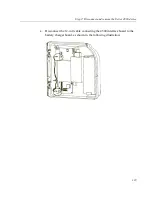
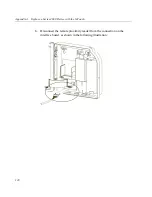
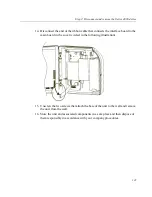
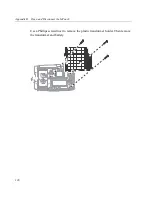
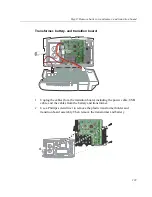
1. Remove the finger scan plate from the unit.
Summary of Contents for InTouch 9100 Slim Profile
Page 9: ...Chapter 1 Before You Install the InTouch ...
Page 21: ...Chapter 2 Install the Standard Model InTouch ...
Page 50: ...Chapter 2 Install the Standard Model InTouch 50 c Tighten both screws ...
Page 60: ...Chapter 2 Install the Standard Model InTouch 60 ...
Page 61: ...Chapter 3 Install the Slim Profile InTouch ...
Page 75: ...Step 6 Secure the cables with the strain relief clip 75 ...
Page 84: ...Chapter 3 Install the Slim Profile InTouch 84 ...
Page 85: ...Chapter 4 Troubleshooting and Preventive Maintenance ...
Page 94: ...Chapter 4 Troubleshooting and Preventive Maintenance 94 ...
Page 95: ...Appendix A Replace a Series 4000 Device with the InTouch ...

