4
START-UP
12
OPTICHECK
www.krohne.com
06/2014 - 4003706601 - QS OPTICHECK R01 en
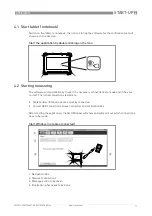
The navigation tabs (from left to right) follows the same order as the verification workflow
process. Here the tab "Start
Start
Start
Start" is shown as active. Invalid or unavailable tabs in the menu bar are
been grey out and cannot be chosen. During the verification process, the availability of the tabs
changes according to the actual step in the verification process.
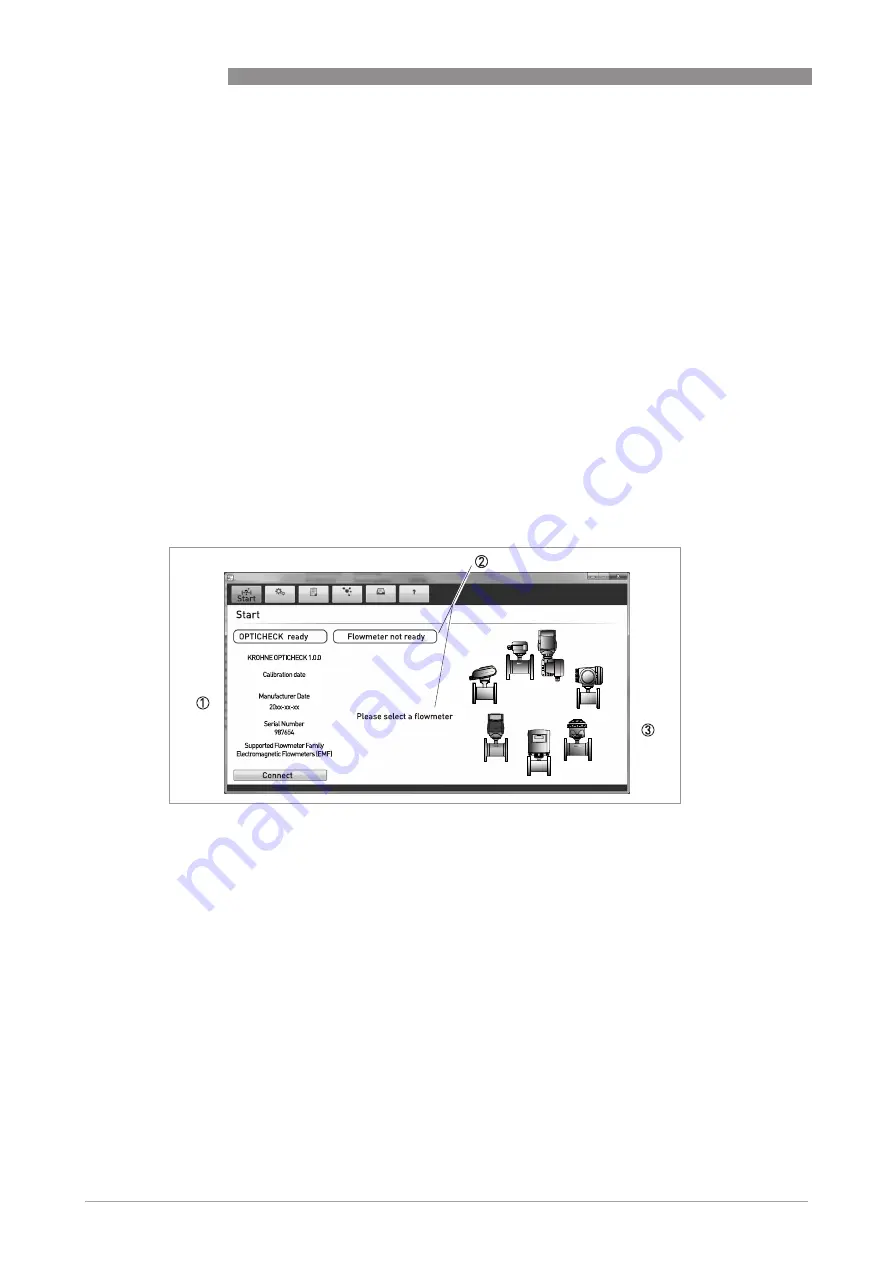
After the system check, messages will show under
2
and
3
, if the system is correctly
connected. As example in the figure (on previous page) is shown that the OPTICHECK verification
tool must be connected first.
The illustration on the right
4
shows the next step of the connection.
4.3 Connect flowmeter
After a correct connection of the tablet and the verification tool , the ID and calibration
information will be shown on the left side of the window
1
, by pressing the button "Connect".
For electrical connections of a specific flowmeter see Information refer to
Device variants and
connections
on page 10
Verify if all connections are correctly made, before starting the measuring application
1. Information about OPTICHECK verification tool
2. Message and action to follow
3. Flow meter possibilities to choose
If a flow meter is not connected (correctly), the measuring system will automatically reply back
with a message.
Additionally the program will give the corrective and/or necessary actions to follow up
2
.
At the right side of the window, the possible flowmeters/converters to connect are displayed
3
.
Start window: OPTICHECK ready
Figure 4-1: OPTICHECK ready

