KRAMER: SIMPLE CREATIVE TECHNOLOGY
Operating the VP-472 SDI to HDMI Scaler
8
Parameter
Function
Value Range
Factory Default
R
Sets the output red value
0-255
128
G
Sets the output green value
0-255
128
B
Sets the output blue value
0-255
128
R OFFSET
Sets the output red signal level offset
0-63
32
G OFFSET
Sets the output green signal level offset
0-63
32
B OFFSET
Sets the output blue signal level offset
0-63
32
EXIT
Exits the Color submenu
6.2.1
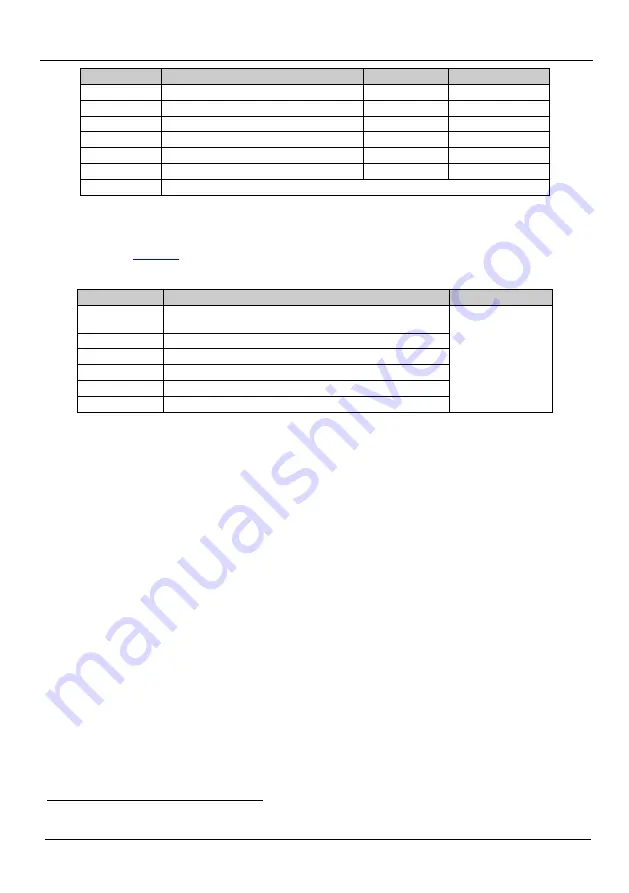
The SDI AUDIO Submenu
The SDI Audio submenu selects which SDI audio group to embed into the HDMI
output.
defines the SDI audio group options.
Table 6: The SDI Audio Submenu Parameters
Parameter
Function
Factory Default
AUTO
Automatically selects the lowest group
AUTO
this into the HDMI output
OFF
Audio is not embedded into the HDMI output
GROUP1
Group 1 audio is embedded into the HDMI output
GROUP2
Group 2 audio is embedded into the HDMI output
GROUP3
Group 3 audio is embedded into the HDMI output
GROUP4
Group 4 audio is embedded into the HDMI output
1 The selected audio group is embedded into the HDMI output