


Kramer Electronics Ltd.
VIA Capmus², VIA Campus² PLUS
– For Web Administrator: Configuring Settings – Gateway Management
Pages
61
Configuring Digital Signage
VIA Capmus², VIA Campus² PLUS
enables you to configure digital signage. The Digital
Signage feature enables you to use
VIA Capmus², VIA Campus² PLUS
to display dynamic
content and information on the main display when there is no meeting in progress. Use a
predefined template or create your own display layout with up to three frames of content that
appear simultaneously. Then, schedule the content to run automatically at specific dates and
times.
Configuring digital signage includes the following steps:
•
Creating and Uploading Digital Signage Media
•
Creating Custom Digital Signage Templates
•
Configuring a Digital Signage Campaign
•
Scheduling Digital Signage Campaign
•
Adding Fonts to Digital Signage
Creating and Uploading Digital Signage Media
VIA Capmus², VIA Campus² PLUS
enables you to create a library of media content to be
displayed through the digital signage feature. The types of media that can be displayed are:
•
URL
– Live web page.
•
Scrolling Text
– Custom text message that scroll across the screen.
•
Image
– Static image (allowed file extensions: jpg, jpeg, bmp, gif, png).
•
Video (allowed file extensions: avi, mpeg, wmv, mpg, mov, vob, mkv, mp4, m4v).
•
RSS feed
– Live RSS feed.
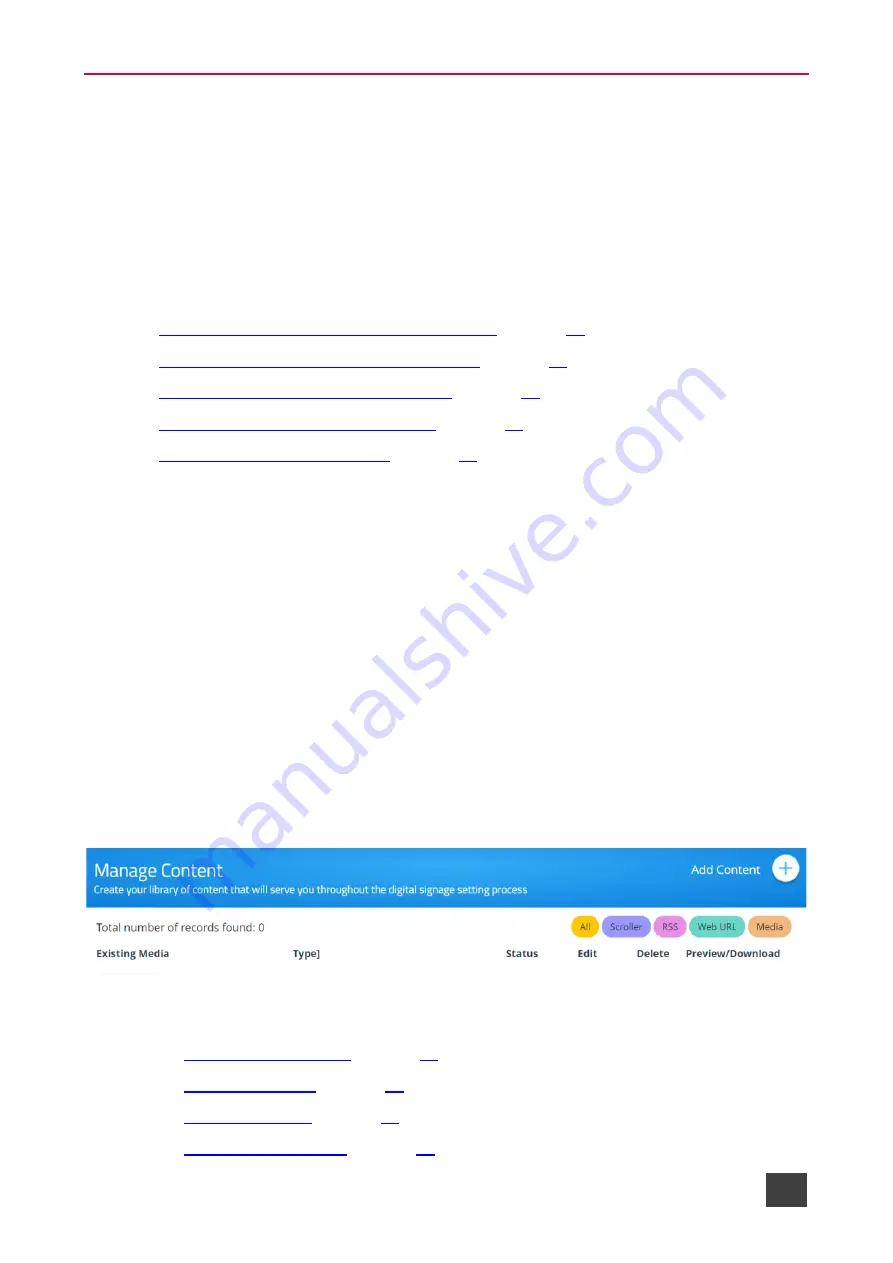
To create and upload digital signage media:
1. Click
Digital Signage
>
Manage Content
on the navigation pane.
The Manage Content page appears.
Figure 61: DSS Content Manage Page
2. Create and upload media, as required:
▪
▪
▪
▪