


Kramer Electronics Ltd.
VIA Capmus², VIA Campus² PLUS
– For Web Administrator: Configuring Settings – Gateway Management
Pages
67
Click the
Edit
icon to open the template builder screen and edit the selected template.
Templates that are In Use (i.e. they have been used to configure a campaign
(see
Configuring a Digital Signage Campaign
) cannot be edited.
Click the
Delete
icon to delete the selected template.
Configuring a Digital Signage Campaign
A Digital Signage Campaign defines what is displayed in each frame of a digital signage
template layout.
To configure a digital signage campaign:
1. Click
Digital Signage
>
Campaign Editor
on the navigation pane.
The Create Campaign page appears.
2. Click
Add Campaign
.
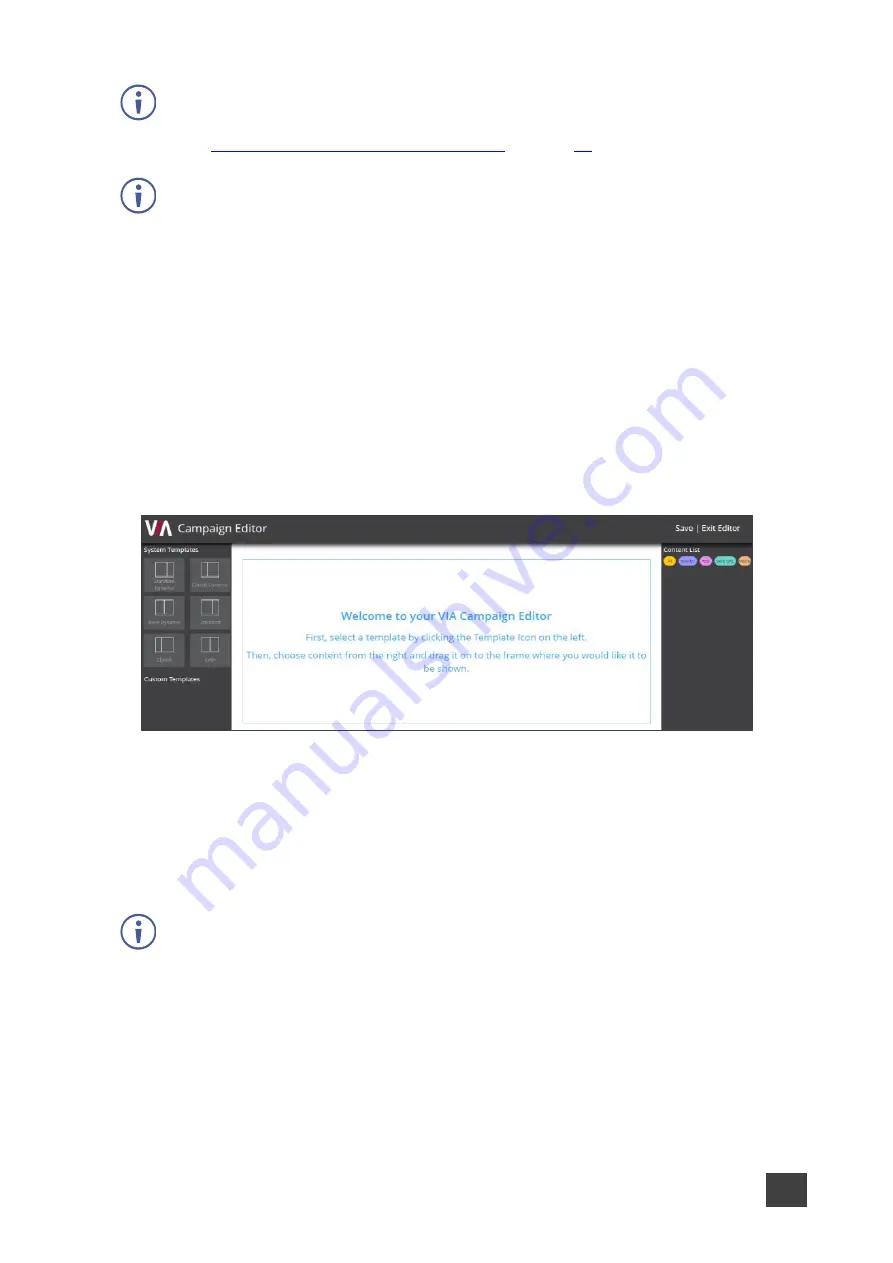
The Campaign Editor appears.
Figure 68: Campaign Editor Pane
3. Click a System or Custom Template.
The template appears in the preview box.
4. Click and drag one or more elements from the Content List into each frame.
The active frame turns blue, and a list of the content items appears below the preview.
5. Set a Playlength for relevant items of content in the frame.
Videos and other content that have a specific time length do not need to be set.
6. Click
Save
.
A message appears.
7. Enter a name for your Campaign and click
Ok
.
The Campaign is configured, and it appears on the Create Campaign page.