background image


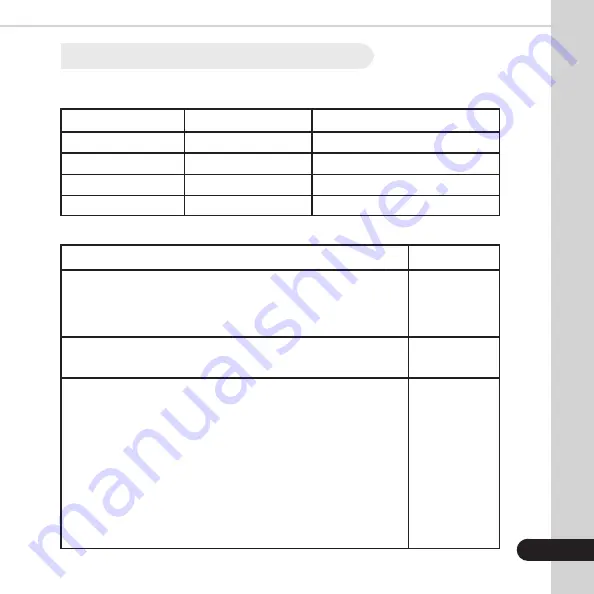
Indicator Light Combination Meanings

POWER (Green Light)

OFF
ON (Always)
ON (Always)
ON (Always)

BUTTON INSTRUCTIONS

Under the normal working status, paper will feed when the FEED 
button is pressed and held, when the FEED button is release the 
paper should stop feeding.
Power off the printer.
Hold the FEED and POWER button for 2 sec, then release.
- Power off the printer.
- Hold the FEED and POWER button. Keep holding.
- Both the Feed and Power indicators should turn on.
   The Feed indicator should go out, and turn on again, then
   release the FEED button.
*The density setting status will be printed out.
(It has 3 level settings for the printing density: Low, Mid, and High. 
To switch the density status, repeat the operation above)

FEED (Red Light)

OFF
OFF
Flash
ON (Always)

PRINTER STATUS

Printer Close
Printer open with paper roll
Printer open without paper roll
Printer has paper roll

FUNCTION

Feeding the 
printer paper

Run a self test

Checking and 
setting printing 
density

1.6 

Indicator Light and Button Operating Instuctions

4

Summary of Contents for KTP-1000

Page 1: ......

Page 2: ...ating your machine and keep it for future reference While every effort has been made to include all features into this user manual specifications stated may not reflect all features of the latest soft...

Page 3: ...Instructions_________________________________ 4 2 GETTING STARTED 2 1 Removing Protective Film From Battery__________________________________________ 5 2 2 Setting Up and Changing Printer Paper_______...

Page 4: ...e printer Don t put the battery into fire or water don t disassemble or modify the battery be cautious of short circuits otherwise may result in injury or fire or even explosion When storing the unit...

Page 5: ...digitally 1 4 Product Specifications Print Speed 90mm sec Resolution 203 dpi 8 dot mm Printing Width 48 mm Paper Roll Width 58 mm Paper Roll Diameter 40 mm Paper Type Thermal Paper Battery Rechargable...

Page 6: ...cutter 3 Battery Indicator 4 Error Indicator 5 Charge Indicator 6 Mode Button 7 Feed Button 8 Power Button 9 COM RS232 Port 10 USB Port 11 Power Port 1 5 Views of the KTP 1000 Portable Thermal Printer...

Page 7: ...ing Both the Feed and Power indicators should turn on The Feed indicator should go out and turn on again then release the FEED button The density setting status will be printed out It has 3 level sett...

Page 8: ......

Page 9: ...r Paper Open the top cover of the printer to make sure the paper roll is inserted properly Correct Incorrect Feed a bit of the paper outside of the printer then close the top cover Tear off excess pap...

Page 10: ...power port on the printer The printer will start charging the battery charging indicator light should turn on and can be turned on by pressing the power button Note When storing the unit for long per...

Page 11: ...nter and plug the cable into the port labeled COM on your printer 2 See table below to set up configurations 2 4 Connecting Your Printer Kolibri Unit Printer Port COM Printer Cable Adapter Cable RJ11...

Page 12: ...Kolibri Bill Counter please contact us at http kolibriusa com contact If you are experienceing issues with printing and the bill counter is not Kolibri please contact the manufacturer of your bill co...

Page 13: ...ys is not clear 3 The printer sounds noisy loud when feeding paper or printing 1 Make sure the printer is off before attempting to clean the printer 2 If the printer has recently been used please wait...

Page 14: ...are not met Company is not responsible for unit malfunction due to improper maintenance storage or transportation including but not limited to mechanical damage Manufacturer is entitled to introduce u...

Page 15: ...chnical Support please have the following available Product Model Located on the back of the machine Serial Number Located on the bottom of the machine Nature of the problem What happened and when did...

Page 16: ...Kolibri 2022 Printed in China Specifications subject to change without notice www KolibriUSA com KTP1000012022...

Reviews: