1
1293809-W2-E
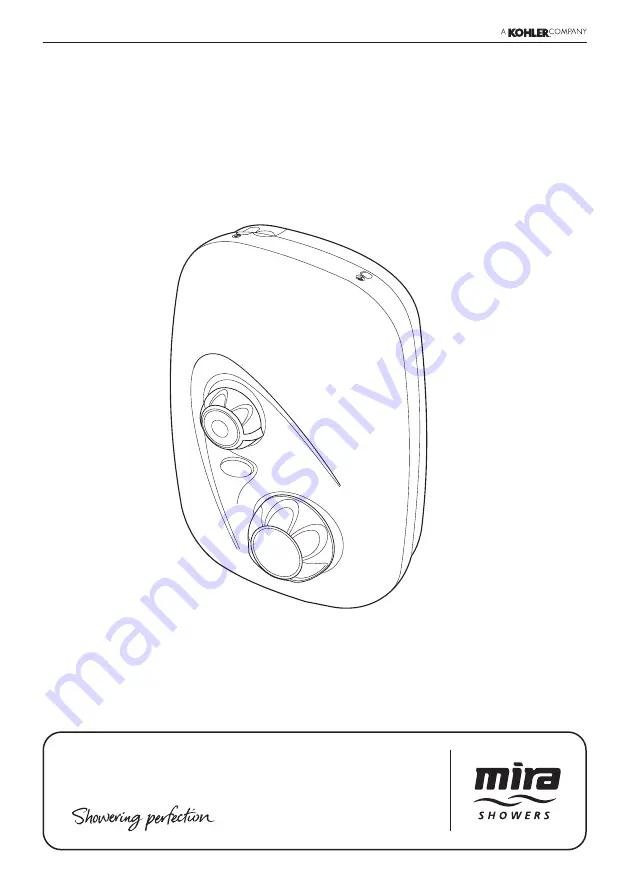
Installation & User Guide
These instructions must be left with the user
Mira Event XS
Thermostatic Power Shower
Page 1: ...1 1293809 W2 E Installation User Guide These instructions must be left with the user Mira Event XS Thermostatic Power Shower...
Page 2: ...ey are given supervision or instruction concerning use of the appliance in a safe way and understand the hazards involved 2 Children shall not be allowed to play with the shower 3 Cleaning and user ma...
Page 3: ...to shower 16 Switch the shower off at the electrical isolating switch when not in use This is recommended with all electrical appliances 17 Installation of the shower must be carried out in accordanc...
Page 4: ...or cut holes in the product other than instructed by this guide When servicing only use genuine Kohler Mira replacement parts 23 Always check the water temperature is safe before entering the shower...
Page 5: ...r to override the maximum temperature and select higher showering temperatures The button can be disabled if required The product is fitted with a 15 mm dual entry push fit inlet manifold which allows...
Page 6: ...s product has been designed for domestic use only Mira Showers guarantee this product against any defect in materials or workmanship for a period of one years from the date of purchase For terms and c...
Page 7: ...with the part names and to confirm that the parts are included 1 x Event XS T Thermostatic Power Shower 1 x Push Fit Release Tool 3 x Rubber Wall Plugs 3 x Fixing Screws 3 x Rubber Feet 4 x Case Inser...
Page 8: ...8 1293809 W2 E Dimensions are in millimetres 310 84 115 80 66 28 20 210 Dimensions...
Page 9: ...ithin 1 C with a 10 C change in the hot or cold water supply 1 4 2 The sensor effects a shut down to seepage in approximately 2 seconds if the cold supply fails 1 4 3 Shut down to seepage is achieved...
Page 10: ...ect the perceived noise level solid walls will provide a quieter operation 1 11 Maximum total head delivered 1 5m 2 Plumbing 2 1 Inlet 15 mm Push fit inlet manifold 2 2 Outlet BSP to BS2779 3 Electric...
Page 11: ...ra Event XS with wall entry inlet supplies it is recommended that the supply pipework is sealed to the wall to prevent water from leaking back into the wall 1 9 In solid wall installations the supply...
Page 12: ...When using surface mounted inlet supply pipework the use of polyethylene plastic pipe suitable for hot water is recommended to enhance the appearance of the finished installation Internal pipe suppor...
Page 13: ...e B x 20 x 20 D x 20 x 20 15 mm Elbow No of Elbows x 55 No of Elbows x 55 22 mm Elbow No of Elbows x 15 No of Elbows x 15 Add the minimum effective head required 80 Add the minimum effective head requ...
Page 14: ...t recommended because Adrop in cylinder water level could expose a top entry immersion element if fitted Air in water solution gathers at the edge of the cylinder and in the centre during the heating...
Page 15: ...e appropriate configuration for your installation TOP ENTRY SUPPLY CONFIGURATION Falling Water Supply Pipes Falling Electrical Supply in miniature trunking BOTTOM ENTRY SUPPLY CONFIGURATION Rising Wat...
Page 16: ...6 1293809 W2 E Bottom Cable Channel Top Cable Channel Thinned Section of Case Thinned Section of Case Full Case Insert Half Case Insert B Changing the Blanking Plugs WALL ENTRY SUPPLY CONFIGURATION 1...
Page 17: ...17 1293809 W2 E Using this procedure as a guide adjust the steps for bottom entry configurations as appropriate 2 3 1 3 6 5 4...
Page 18: ...ecide on a suitable position for the shower unit and fittings See Installation Plumbing for further details Installation of the Shower Unit 2 3 2 3 1 Hold the assembly against the wall and mark the po...
Page 19: ...l cable to the inlet of the shower unit For rear in let use an elbow fitting We recommend a falling supply to prevent air lock in the pipework 6 For a falling water supply pipe care fully remove the t...
Page 20: ...0 Fixing Points Rubber Feet Chamfer Caution Do not use stainless steel piping for inlet pipework If chrome plated copper pipework is used then all traces of chrome plate must be removed from the conne...
Page 21: ...21 1293809 W2 E 12 11 1 10 Fitting the Cover...
Page 22: ...n and User Guide packed with the fittings Important Align push the temperature control knob onto the temperature hub and ensure it fully clicks into position Fit the insert to lock the knob in place s...
Page 23: ...e to check the function and performance before using the shower for the first time Make sure that all users are familiar with the operation of the shower This guide is the property of the homeowner Tu...
Page 24: ...24 1293809 W2 E 5 6 1 min H H C C 2 3 5 6 7 8 9 Residual water may drain for a few minutes 7 8 Stop Start...
Page 25: ...ct operation of the shower control Warning Resetting the temperature of the temperature stop will also reset the maximum temperature obtainable with the override operated 2 Adjustable Maximum Temperat...
Page 26: ...te This will change the factory setting Turn the temperature spindle until the required maximum water temperature is obtained Caution When resistance is felt DO NOT USE FORCE to turn the spindle any f...
Page 27: ...ot in the thermostatic cartridge 9 Check the maximum temperature setting If necessary repeat the temperature adjustment until the correct the setting is achieved 2 3 5 6 7 8 9 10 11 Stop Start Refer t...
Page 28: ...electable showering temperature to the preset value This setting is recommended for the young the elderly the infirm or anyone inexperienced in the correct operation of the controls 2 3 5 6 7 8 9 Turn...
Page 29: ...29 1293809 W2 E 4...
Page 30: ...reasons this appliance is fitted with an adjustable maximum temperature setting This setting must be checked and adjusted as necessary to suit both site conditions and user s comfort Temperature Contr...
Page 31: ...red water temperature does not exceed 65 C Reset maximum temperature refer to section Commissioning Blend temperature unstable Spray plate blocked Inlet filter blocked Isolating valve partially closed...
Page 32: ...1 metre hot take off dimension Consider increasing cold feed pipe to cylinder to 28 mm diameter Shower runs cool after a short time 1 2 minutes then flow splutters Air ingress into hot pipework Refer...
Page 33: ...hler Mira for further advice Pump speed does not change PCB failure Renew the PCB Low or no water flow Isolating valves closed Inlet filters blocked Check valve fitted incorrectly Appliance sited abov...
Page 34: ...34 1293809 W2 E Front Cover Removal Maintenance 1 2 2 3 1 3 5 6 4 Switch electrical supply Off Turn off the water supply isolation valve...
Page 35: ...et filter meshes Inspect the O seals and renew if required Before refitting the inlet filter cap lightly grease O seals with a silicone based lubricant 4 5 6 Switch electrical supply on Turn the water...
Page 36: ...finishes should be cleaned with a mild washing up detergent or soap solution and then wiped dry using a soft cloth Always read the IMPORTANT SAFETY INFORMATION for your shower Cleaning the showerhead...
Page 37: ...37 1293809 W2 E MOTOR BROWN BROWN ORANGE BLUE THERMAL TRIP POTENTIOMETER SWITCH ON OFF SOLENOID VALVE L N E Wiring Diagram...
Page 38: ...ve Assembly identified D 453 14 Filter Cap Assembly 453 15 Seal Pack identified E 453 23 Mixer Valve Body identified F 453 27 Temperature Override Stop 453 28 Outlet Elbow Assembly identified H 1532 4...
Page 39: ...39 1293809 W2 E Notes...
Page 40: ...Cromwell Road Cheltenham Gloucestershire GL52 5EP 14648 Guarantee Your product has the benefit of our manufacturer s guarantee which starts from the date of purchase This guarantee only applies in the...