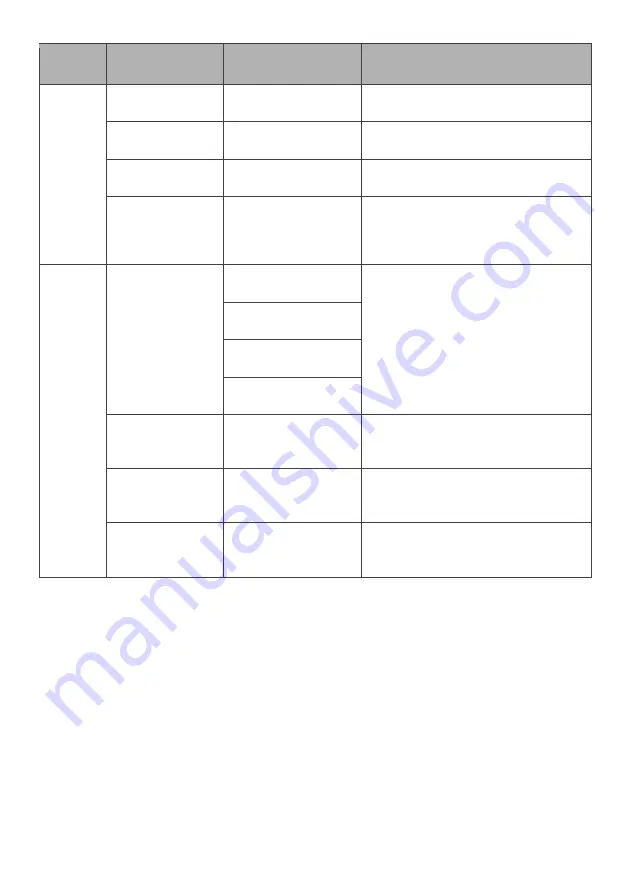
background image

Menu


Sub-Menu


Options


Description


Picture 

Brightness 

~0-100 

Adjust display brightness 

Contrast 

~0-100 

Adjust display contrast 

DCR 

On/ Off 

Turns dynamic contrast ratio on/off 

ECO 

Standard, Text, 
Game, Movie, FPS, 

RTS 

Preset colour modes 

Colour 

Colour 
Temperature 

Normal 

Select colour temperature mode or 

allow manual colour configuration 

(USER) 

Warm 

Cool 

USER 

Red 

~0-100 

Adjust red value 

(USER mode only) 

Green 

~0-100 

Adjust green value 

(USER mode only) 

Blue 

~0-100 

Adjust blue value 

(USER mode only) 


Summary of Contents for KAMN34RQUCSA

Page 1: ...34 CURVED WQHD ULTRAWIDE 144HZ USB C FREESYNC HDR GAMING MONITOR 3440 x 1440 KAMN34RQUCSA ...

Page 2: ......

Page 3: ...fireplaces or other sources of heat Place monitor in well ventilation room Do not position the monitor in unsafe locations If the monitor falls it may be damaged and may injure nearby people Unplug the monitor if it is not going to be used for an extended period Do not place heavy objects on the monitor its power cord or any connected cable Do not open the back panel of the monitor as it contains ...

Page 4: ...Monitor Stand arm Stand base Stand base screw M6 x 16mm VESA screws x4 M4 x 10mm DisplayPort cable USB upstream cable USB C cable Power adapter Power cable User guide COMPONENTS ...

Page 5: ...1 Power button 2 Power input 3 HDMI 4 DisplayPort 5 USB C 6 USB upstream 7 USB 3 0 8 USB 3 0 9 Audio out 3 5mm jack OVERVIEW ...

Page 6: ...x 2 Attach the stand base to the stand arm using the provided M6 screw 3 Insert the stand arm into the rear of the monitor and push down until it is firmly connected 4 Lift the monitor up straight and remove the bottom foam Stand the monitor up on the installed base ASSEMBLY WARNING The panel of the monitor is fragile Keep the foam underneath the monitor screen while assembling the stand Open ...

Page 7: ... monitor Press the release button to remove the stand plate If the monitor is already attached to the stand remove the stand 3 Assemble the mount as per the instructions provided with the mount VESA mounting pattern 100 x 100mm screw size M4 Note VESA mount or mounting accessories are NOT included Stand base Monitor Stand arm Stand plate Button VESA MOUNT ...

Page 8: ...ect the power adapter to the power outlet Audio 1 Connect a 3 5mm audio cable to the audio out on the monitor 2 Connect the audio cable to the 3 5mm port on your headphones or speakers Note The monitor may need to be set as the PC s default sound output device CONNECTIVITY Earphones not included Power cable Power adapter ...

Page 9: ...o USB 3 0 ports you will first need to connect the monitor to your computer through the USB upstream input USB The two USB 3 0 ports can be used to connect USB accessories to the monitor USB upstream cable included USB cable included ...

Page 10: ...USB C Use the included USB C cable to connect the monitor to your computer DisplayPort Use the included DisplayPort cable to connect the monitor to your computer DP cable included USB C cable included ...

Page 11: ...HDMI Use a HDMI cable to connect the monitor to your computer HDMI cable not included ...

Page 12: ...item Push right Exit from the main menu or return to the upper menu Push up Select menu items or increase the setting values of the selected menu item Push down Select menu items or decrease the setting values of the selected menu item FreeSync In order to use this feature ensure your hardware has FreeSync capability and the graphics drivers are fully up to date After connecting you may receive a ...

Page 13: ...on window 2 Press the Power button in to enter the OSD menu 3 Press the Power button up and down to navigate the functions 4 With the desired function highlighted push Power button in to enter the sub menu 5 After making your desired adjustments push the Power button in to confirm the settings and exit the current screen 6 Press the Power button left to exit the current screen 7 Refer to the follo...

Page 14: ...s dynamic contrast ratio on off ECO Standard Text Game Movie FPS RTS Preset colour modes Colour Colour Temperature Normal Select colour temperature mode or allow manual colour configuration USER Warm Cool USER Red 0 100 Adjust red value USER mode only Green 0 100 Adjust green value USER mode only Blue 0 100 Adjust blue value USER mode only ...

Page 15: ...w long the OSD remains open after last input Setup Input Source Auto Source DP USB C HDMI Select input source or allow manual selection Mute On Off Enable or disable monitor speaker output Volume 0 100 Adjust monitor speaker volume Audio Source USB C DP HDMI When open Multi Window allows you to select an audio source from different sources USB Select PC USB C When open Multi Window PC or USB C can...

Page 16: ...ustment Low Medium High Max High Response Time On Off Enable or disable overdrive for faster response time FreeSync On Off Enable or disable AMD FreeSync HDR On Off Auto Enable or disable HDR LED Mode On Off Press to turn the display backlight on or off MPRT On Off When the refresh rate reaches 85Hz MPRT can be turned on ...

Page 17: ...n the second window Sub Win3 Input USB C DP HDMI Select source to be displayed in the third window PIP Size Small Medium Large Change the size of the sub window in PIP mode PIP Position Top Right Change the position of the sub window in PIP mode Top Left Bottom Right Bottom Left Swap Main Window Swap between the main and sub window Sub Window ...

Page 18: ...t Movie Game FPS and RTS These modes are designed to optimise settings according to your activity Standard mode is suitable for most activities Gameplus Press the Power button down to switch Gameplus modes These overlay icons are primarily designed to assist aim during first person shooter games DISPLAY MODES GAMEPLUS ...

Page 19: ...Signal input 1 x HDMI 2 0 1 x DP 1 4 1 x USB C 3 x USB3 0 Power DC24V 5A Audio Speakers Yes Audio out Yes Accessories Power cable Yes DisplayPort cable Yes USB C cable Yes USB3 0 cable Yes Additional functions Low blue light Yes Flicker free Yes Physical dimensions Dimensions with stand 807 5 x 463 4 x 249 2mm mm Dimensions without stand 807 5 x 364 0 x 130 2mm mm Net weight 7 65kg Gross weight 10...

Page 20: ...tion We hope that this user guide has given you the assistance needed for a simple set up For the most up to date guide for your product as well as any additional assistance you may require head online to help kogan com ...

Reviews: