background image

4

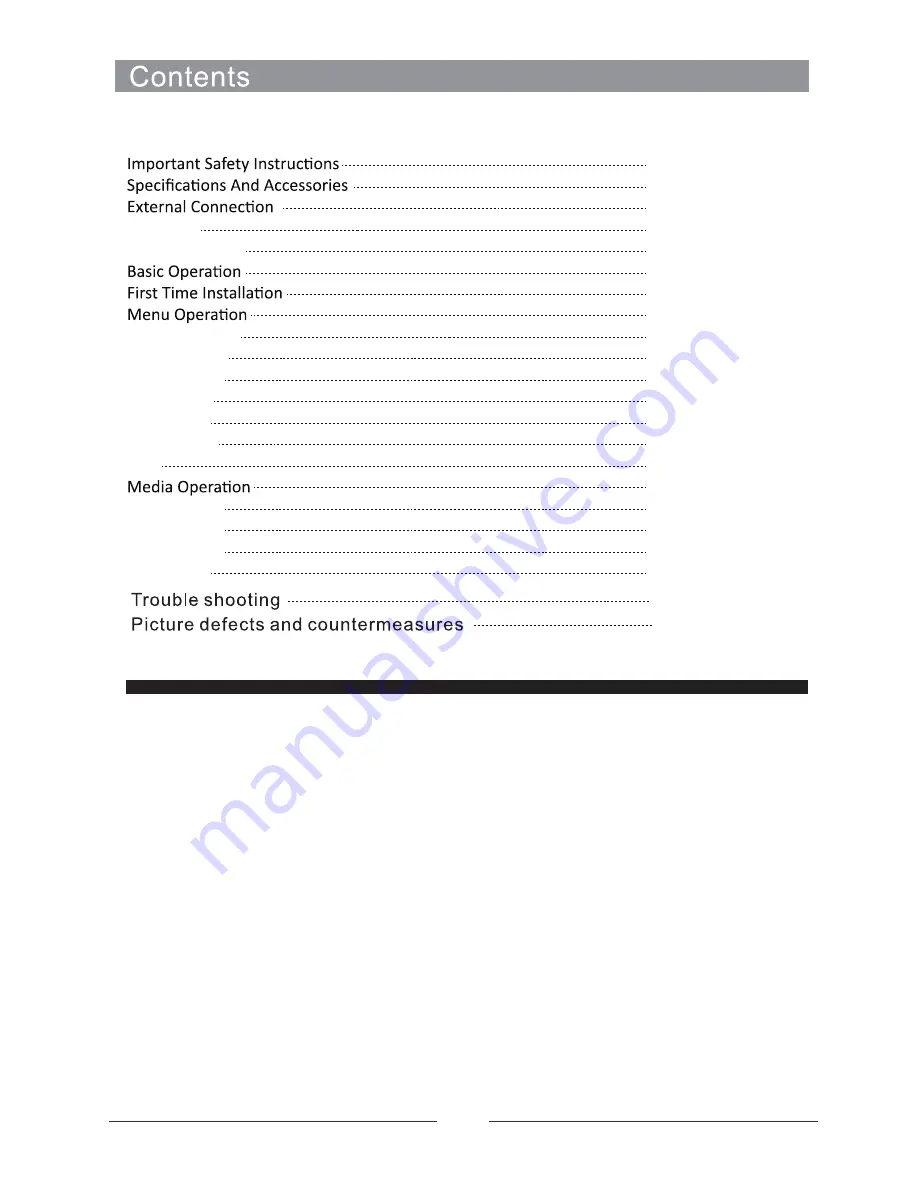
Overview

Remote Control

Channel Menu

Picture Menu

Sound Menu

Time Menu

Lock Menu

Setup Menu

PVR 

Photo Menu

Music Menu

Movie Menu

Text Menu

1

5

6

7

8

10

10

11

11

14

16

17

18

20

23

25

25

26

26

27

28

29

IMPORTANT INFORMATION 

    If a television is not positioned in a sufficiently stable location, it can be potentially hazardous 
due to falling. Many injuries, particularly to children, can be avoided by taking simple precautions 
such as:
     Using cabinets or stands recommended by the manufacturer of the television. 
     Only using furniture that can safely support the television. 
     Ensuring the television is not overhanging the edge of the supporting furniture. 
     Not placing the television on tall furniture (for example, cupboards or bookcases) without 
anchoring both the furniture and the television to a suitable support. 
    Not standing the televisions on cloth or other materials placed between the television and 
supporting furniture. 
    Educating children about the dangers of climbing on furniture to reach the television or its 
controls.   

Summary of Contents for KALED65UHDNSZA

Page 1: ...LED TV KALED65UHDNSZA OWNER S MANUAL ...

Page 2: ......

Page 3: ......

Page 4: ......

Page 5: ...le precautions such as Using cabinets or stands recommended by the manufacturer of the television Only using furniture that can safely support the television Ensuring the television is not overhanging the edge of the supporting furniture Not placing the television on tall furniture for example cupboards or bookcases without anchoring both the furniture and the television to a suitable support Not ...

Page 6: ...65 180W 110 240V 50 60Hz KALED65UHDNSZA Quick Start Guide 5 3840X2160 ...

Page 7: ...6 Optional BM4X20mm 3pcs BM4X20mm 3pcs ...

Page 8: ...ite video 2 3 R L Composite Audio or Component Audio 4 YPbPr Connect them to the YPbPr video output terminal of DVD with the Converter cable 5 RF IN Connect antenna or cable 75 Ohm coaxial to receive TV signal 7 8 9 10 HDMI1 HDMI2 HDMI3 HDMI4 Connect it to the HDMI of DVD or other equipment 11 USB USB jack for update media and PVR 12 COAXIAL Digital coaxial output 6 ...

Page 9: ...t angle ANGLE Press to choose a differrent angle DVD LANGUAGE Access the on screen menu DVD MENU Change audio mode left right mono stereo AUDIO NICAM Favourite program channel button FAV Used t o select the c orresponding coloured items on the screen during DTV mode Press to display EPG information Electronic Program Guide EPG Press EXIT to exit menu of sub menu EXIT INPUT MUTE REPEAT A B ...

Page 10: ...ubtitle language DVD SUBTITLE Press to record the program immediately REC T SHIFT Press the button to panse current DTV program and start recording Eject in DVD Source Press to turn the Teletext On and Off TTX Display a sub page of upper options S PAGE Before turning off the m ain power o r switching off the power supply yuo must switch t he TV by pressing the Power botton on the TV set or on the ...

Page 11: ...quit Options DTV ATV AV Component HDMI1 HDMI2 HDMI3 SMART TV Media First Time Installation Connect an RF cable from the TV s input called ANT IN to your TV Aerial socket Select Language Press button to select the language to be used for menus and message Select Country Press button to highlight country menu Press button to select the country you want to 10 Tune Type DTV ...

Page 12: ...V tuning Channel Menu Auto Tuning Press MENU button to display the main menu Press button to select CHANNEL in the main menu 1 Press button to select the option that you want to adjust in the CHANNEL menu 2 Press Enter button to adjust 3 After finishing your adjustment Press Enter button to save and return to the previous menu 11 ...

Page 13: ...er button to enter ATV Manual Tuning Current CH Set the channel number Color System Select the color system Available System AUTO PAL SECAM Sound System Select the Sound system Fine Tune Adjust the frequency of the channel finely Search Start searching channel 12 ...

Page 14: ... available for analog channels the button to skip the selected channel Blue Press Fav button to add or remove the channel to or from your favorite list Your TV set will skip the channel automatically when using CH to view the channels Schedule List Press button to select Schedule List then press Enter button to enter sub menu It is available in source This displays the list of programs for which y...

Page 15: ...nishing your adjustment Press MENU button to save and return back to the previous menu Contrast Brightness Color Tint Sharpness Press button to select option then press button to adjust Contrast Adjust the highlight intensity of the picture but the shadow of the picture is invariable Brightness Adjust the optical fiber output of the entire picture it will affect the dark region of the picture Colo...

Page 16: ...e image noise and improve picture quality Press button to select Noise Reduction then press OK button to enter sub menu Cold Increase the blue tone for the white Normal Standard colour temperature for a vivid image Warm Increase the red color for the white Off Select to turn off video noise detection Low Detect and reduce low video noise Middle Detect and reduce moderate video noise High Detect an...

Page 17: ... press Enter button to enter sub menu Press button to select Standard Music Movie Sports Personal Note Produces a balanced sound in all environments Preserves the original sound Good for musical programs Enhances treble and bass for a rich sound experience Enhances vocals for sports Select to customize picture settings Auto Volume level Reduces the difference between channel and program s volume a...

Page 18: ... menu OSD Timer Auto Standby Press button to select Auto Standby then press Enter button to enter sub menu Press button to select Tips If no operation is done using the remote control during the specified time it will close down automatically If you do any operation it will reset the time Press button to select OSD Timer then press Enter button to enter sub menu Press button to select Sleep Timer ...

Page 19: ...er button to adjust 3 After finishing your adjustment Press MENU button to return back to the previous menu Press button to select Lock System then press Enter button to make the following 3 options valid and if you forget what you set Default password is 0000 please call the Customer Service Set Password Press button to select Set Password then press Enter button to enter sub menu to set new pass...

Page 20: ...panel button Channel Lock Press button to select Channel Lock then press Enter button to enter sub menu to block programs that are unsuitable for children Parental Guidance Press button to select Parental Guidance then press Enter button to enter sub menu to select the number of age which is suitable for your children 19 ...

Page 21: ...utton to select the option that you want to adjust in the SETUP menu 2 Press Enter button to adjust 3 After finishing your adjustment Press Enter button to save and return to the previous menu TT Language Press button to select TT Language then press Enter button to enter sub menu Press button to select TT language 20 ...

Page 22: ...then press Enter button to enter sub menu Press button to select the primary of Subtitle Language Press button to select the Subtitle Language Hearing Impaired Press button to select Hearing Impaired then press Enter button to select On or Off PVR File System Press button to select PVR File System then press Enter button to enter sub menu Press button to select Check PVR File System then press Ent...

Page 23: ...updates HDMI CEC Press HDMI CEC Control allows you to control multiple CEC enabled devices connected using HDMI with a single remote control button to select HDMI CEC then press Enter button to enter the sub menu HDMI CEC Press button to turn the HDMI CEC on or off HDMI ARC Press button to turn the HDMI ARC on or off Audio Return Channel ARC returns audio through the same HDMI channel that is used...

Page 24: ...menu Press the button to start the recording Press the button to display next date Press the button to set a reminder for the program you want to see RED GREEN YELLOW BLUE Press the button to display prev day Record You can schedule programs to be recorded by selecting the program from the EPG list and pressing Record on the remote control This will take you to Scheduled Record from where you can ...

Page 25: ... is playing under the DTV Source to start Timeshift USB memory device is required for this operation Insert the device into the USB port labelled USB The white bar indicated the recording progress The blue bar indicated the playback progress 24 ...

Page 26: ...enter Photo Menu Press button to select PHOTO in the main menu then press Enter button to enter Press Exit button to return to the previous menu and exit menu to quit Press button to select the file you want to watch in the file selecting menu then press media button to display picture When highlighting the option you select the file information will appear on the right and picture will be preview...

Page 27: ...o the previous menu Movie Menu Press button to select drive disk you want to watch then press Enter button to enter Press media button to play the selected movie Press display button to select menu in the bottom you want to run then press Enter button to operate Press Exit button to back to the previous menu and exit button to quit the entire menu Press button to select MOVIE in the main menu then...

Page 28: ...in menu then press Enter button to enter Press Exit button to return to the previous menu and exit menu to quit Press button to select drive disk you want to watch then press Enter button to enter Press button to select return option to back to the previous menu 27 ...

Page 29: ...28 ...

Page 30: ...29 ...

Page 31: ......

Reviews: