27
3
Selecting a White Balance for Indoor Pictures
If you use your camera indoors where flash is prohibited, your pictures may take
on a green tint if captured under fluorescent tube lighting, or a reddish-orange tint
if captured under tungsten household lighting. You can correct this problem using
the White Balance feature on the camera. Use the Auto setting for everyday
pictures. Use the Daylight, Fluorescent, or Tungsten setting for taking pictures
under these lighting conditions without flash.
1
Set the Mode dial to Capture.
2
Slide the POWER switch to the right to turn
on the camera.
3
Press the Menu button.
The LCD displays the main Menu screen.
4
Press a
button until the
icon is
highlighted.
5
Press the DO-IT button.
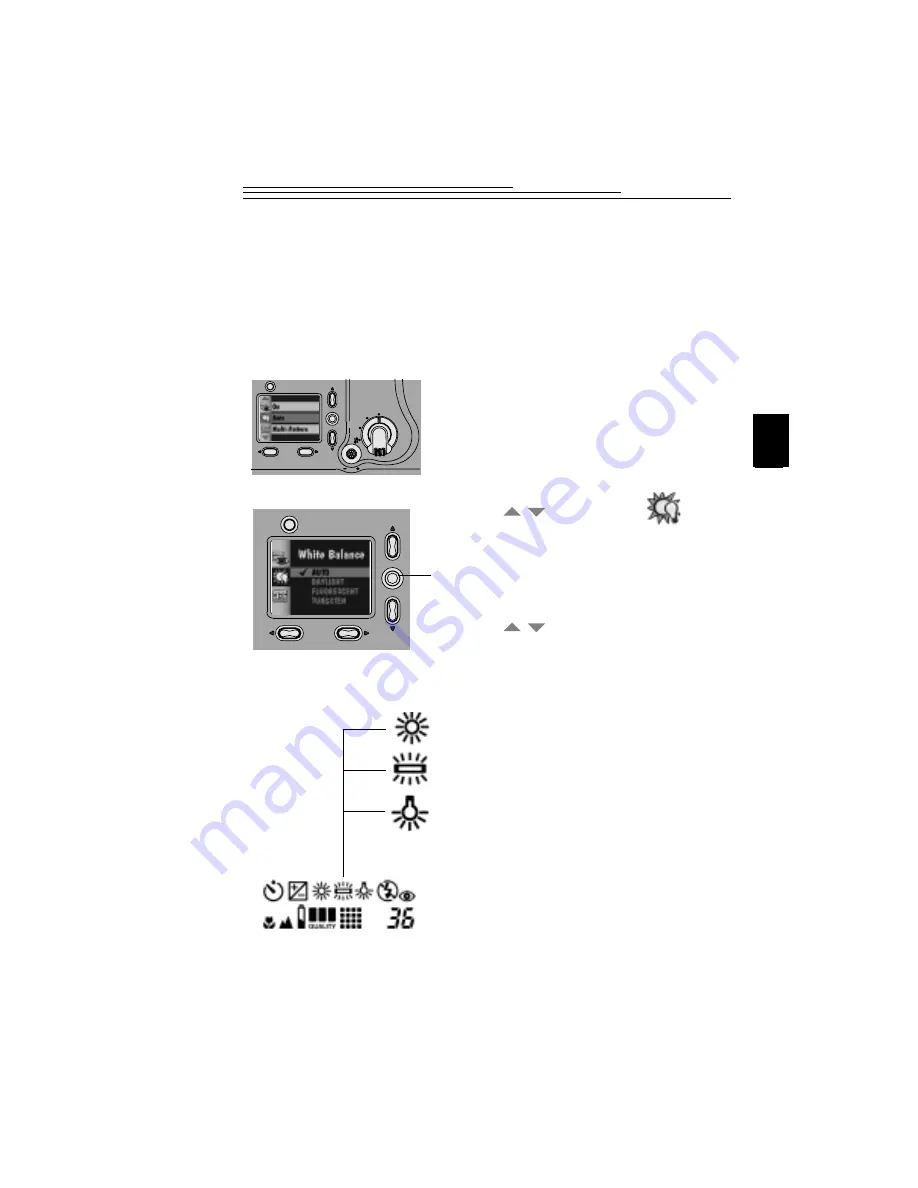
The LCD displays the White Balance screen.
The current setting is checked (
ä
).
6
Press a
button until the White
Balance option you want is highlighted.
q
Auto (No Icon)—automatically adjusts
the white balance.
q
Daylight—balances for natural daylight
lighting.
q
Fluorescent—corrects for the green cast
of fluorescent lighting.
q
Tungsten—corrects for the orange cast of
tungsten light bulbs.
7
Press the DO-IT button.
The main Menu screen reappears as the
White Balance icon you selected appears in
the Status Display.
Your camera automatically resets to Auto
when the camera is turned off. To change the
defaults, see page 51.
Menu
Capture
Setup
Review
/
/


