19
2
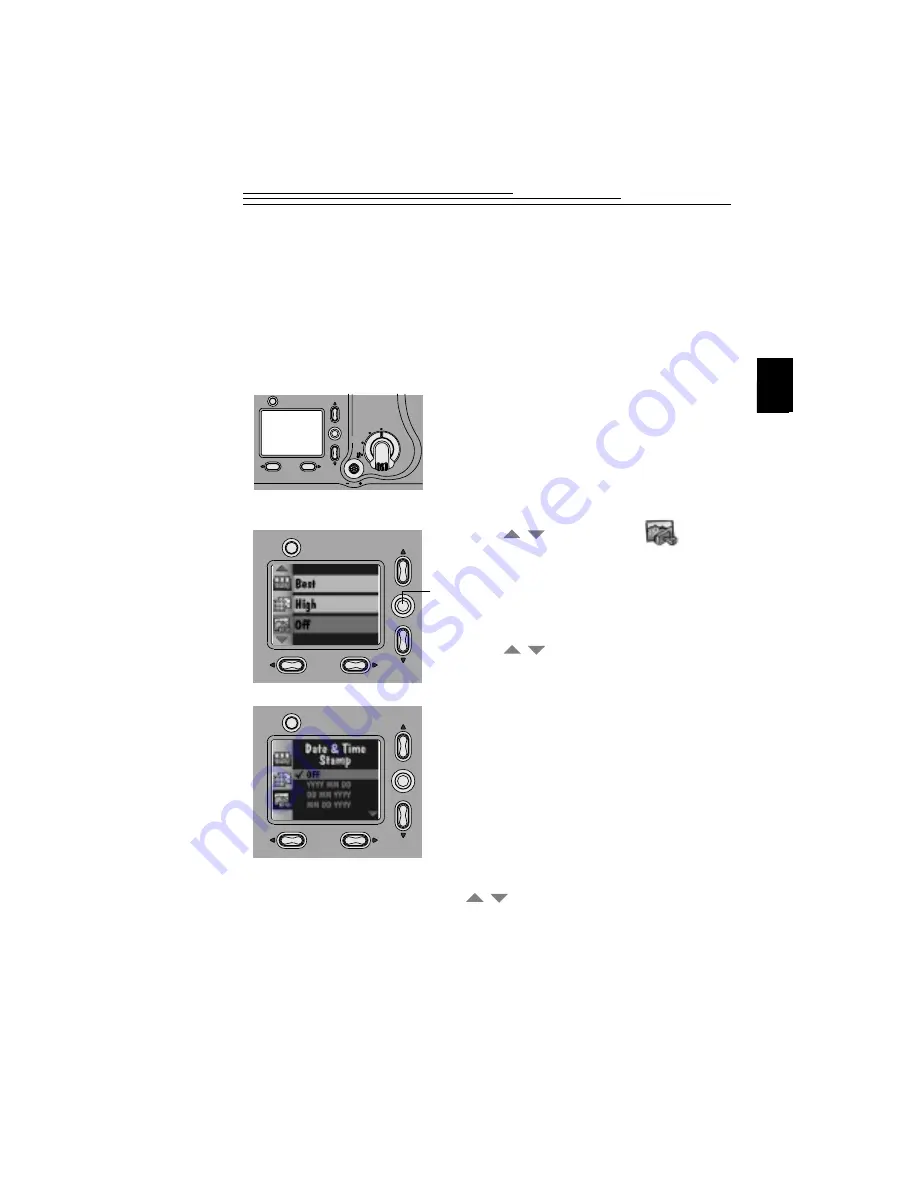
Adding the Date to Your Pictures
You may want to keep track of when a picture was taken, perhaps to record a
child’s first picture or for an insurance claim. Whatever the reason, your camera
has the ability to record the date and time directly on your picture using the Date
Stamp feature. In order for the feature to imprint the correct date and time, you
need to set the camera clock. See page 6 for details. Once a picture is taken with
the date stamp, the date stamp cannot be removed.
1
Set the Mode dial to Capture.
2
Slide the POWER switch to the right to turn
on the camera.
3
Press the MENU button.
The LCD displays the main Menu screen.
4
Press a
button until the
icon is
highlighted.
5
Press the DO-IT button.
The LCD displays the Date Stamp screen.
The current setting is checked (
ä
).
6
Press a
button until the Date Stamp
option you want is highlighted.
7
Press the DO-IT button.
The main Menu screen reappears.
The next time you take a picture the date or
date and time is recorded in the lower right-
hand corner of the picture. The Date Stamp
icon appears on the LCD screen if Quickview
(page 14) or Preview
(page 10) is turned on.
8
To turn off Date Stamp, press
a
button until OFF is highlighted,
then press the DO-IT button.
Menu
Capture
Setup
Review
/
/
/


