5
KOBE
P R O F E S S I O N A L
AIR TOOLS
ASSEMBLY
8
KOBE
P R O F E S S I O N A L
AIR TOOLS
TROUBLESHOOTING
KOBE
P R O F E S S I O N A L
AIR TOOLS
COMPONENTS
POSSIBLE CAUSE
Air leaks at connections.
The non-return valve seal
is defective.
The overload cut-out has
operated because of the
motor overheating or the
voltage supply to the
motor is low.
The motor windings have
burnt out.
The capacitor has burnt
out.
The air compressors head
gasket has broken or the
valve is faulty.
The air compressors head
gasket has broken or the
valve is faulty.
The pressure switch needs
adjusting.
The tank is full of water
due to condensation.
SOLUTION
Let the compressor build pressure in the tank;
to the maximum pressure if possible. Switch
off. Brush soapy water on air connections and
look carefully for air bubbles. Tighten leaking
connections. If the fault persists, contact your
local Kobe agent.
Let the air in the tank flow out until all the
pressure is released. Then remove the non
return-valve plug and clean the valve seat. If
necessary replace the ‘O’ ring seal and then re-
mount all the components (See fig. 11).
Check that the mains voltage corresponds to
the specifications. An extension cable, which is
too thin and too long, can cause the motor to
overheat. Leave the air compressor to cool
down as the thermal cut out has operated. Use
heavy duty extension cables. Ensure that the
compressor is plugged into a socket as near to
the consumer unit/fuse box as possible.
Contact your local Kobe agent.
Replace the starter capacitor.
Stop the air compressor and contact your local
Kobe agent.
Stop the air compressor and contact your local
Kobe agent.
Stop the air compressor and contact your local
Kobe agent.
Connect an air hose with a low gun fitted and
release the pressure. Open the drain valve
underneath the air compressor and release the
water within the tank.
FAULT
Pressure drops.
The pressure switch valve
leaks when the
compressor is idle.
The compressor has
stopped, does not start or
starts slowly
The compressor has
stopped, does not start.
The motor does not start
and makes a humming
noise.
The air compressor is
noisy with metallic clangs.
The air compressor does
not reach the maximum
pressure.
The air compressor
doesn’t seem to provide
as much air as it did when
new and the air
compressor cuts off within
a much shorter time
period.
Repairs must be performed in a dirt-free environment by a qualified person who is familiar
with this type of equipment. Make sure the air receiver tank is de-pressurised before
carrying out any repairs.
Fig. 1
Fig. 3
Fig. 4
Fig. 2
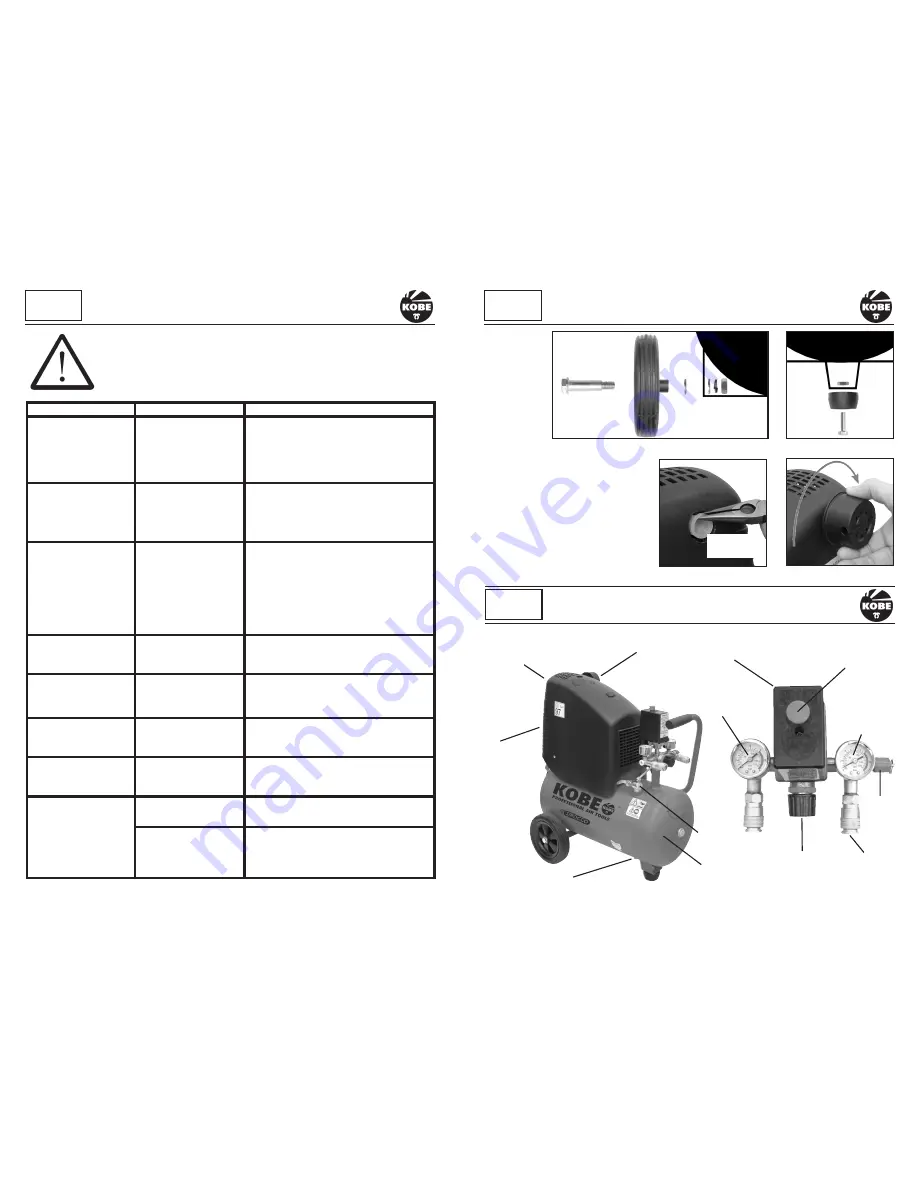
TOOLS NEEDED:
14 and 17mm spanners and a snipe nose
plier.
Assemble the wheels (See fig. 1) and the
rubber foot (See fig. 2).
Remove the temporary air filter cap (See
fig. 3) and install the air filter assembly
(See fig. 4).
Never use the air compressor
without having the air filter installed.
Drain valve
Fan
inside
cover
Motor and
pump unit
Air receiver
tank
Non
return-valve
Red
on/off
button
Line
pressure
gauge
Pre-set pressure
switch
Line
pressure
gauge
Air outlet
pressure
regulator
Quick
connect
coupler
Safety
blow off
valve
Air filter
assembly


