background image

©2022 Kingston Technology Corporation. All rights reserved. All trademarks and registered trademarks are the property of their respective owners. 

IronKey VP80ES External SSD User Manual 

 Rev. 1.0 


User Manual 

IronKey Vault Privacy 80 External SDD 


FIPS 197 Certified 

Hardware-Based 

Advanced Encryption Standard (AES) 

256-bit Encryption in XTS Mode 


Summary of Contents for IronKey Vault Privacy 80

Page 1: ...ks and registered trademarks are the property of their respective owners IronKey VP80ES External SSD User Manual Rev 1 0 1 User Manual IronKey Vault Privacy 80 External SDD FIPS 197 Certified Hardware...

Page 2: ...ional Windows Configuration Changes 10 Disabling Windows 10 Power Save 10 Disabling Windows 10 Selective Suspend 10 Formatting Your VP80ES 11 Selecting the Correct File System 11 Formatting Your VP80E...

Page 3: ...ology Corporation All rights reserved All trademarks and registered trademarks are the property of their respective owners IronKey VP80ES External SSD User Manual Rev 1 0 3 Language 31 Drive Informati...

Page 4: ...state The VP80ES uses a Common Criteria EAL5 certified secure microprocessor to protect against drive tampering Updating Your Drive Updated software and documentation are available for download at ou...

Page 5: ...d entry screen are randomized on each use The randomization willkeep alphabetic character rows in order but mix the rows or rearrange the numbers randomly on the keypad screen The randomization is a s...

Page 6: ...le phone or bank card where you authenticate by selecting the numbers on a touch screen In this case alphabetic characters are not required in the password Alphanumeric or Passphrase As people have mo...

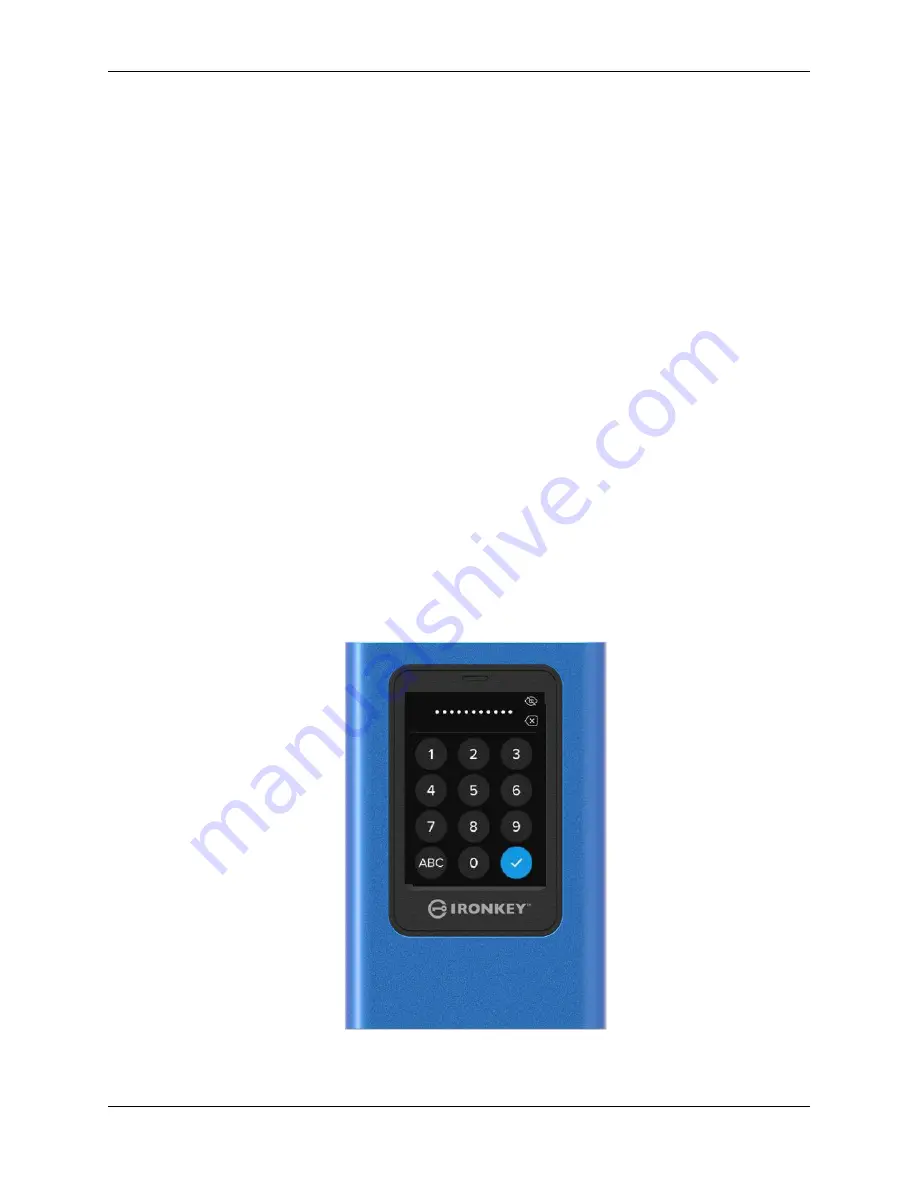
Page 7: ...ill then be prompted to create a password Tap the Enter key to continue You will see the first screen where you can enter your password we have entered 2B OR NOT 2B as an example below Note The initia...

Page 8: ...g READ ONLY MODE will connect the drive with read only access This allows data to be read from the drive but not modified or deleted Tapping the Gear icon on the screen will take you to the Admin setu...

Page 9: ...to the drive Windows Users 1 Right click the Safely Remove Hardware icon located on the lower right hand corner of the Windows taskbar 2 Once the popup menu appears click the VaultPrivacy80ES to safel...

Page 10: ...ble to make changes when you open Drive Manager Please contact your administrator for further assistance if required 2 Unlock your VP80ES drive 3 Right click the Start button and select Drive Manager...

Page 11: ...nly and Linux read only Note Reformatting your VP80ES drive will erase all your files but will not erase your drive password and settings As such formatting should not be used as a method of securely...

Page 12: ...f their respective owners IronKey VP80ES External SSD User Manual Rev 1 0 12 7 Select Format 8 Choose an appropriate Volume Label and File system Click OK a 9 You will be warned that all data will be...

Page 13: ...al SSD User Manual Rev 1 0 13 Formatting Your VP80ES on macOS 1 Go to Applications under your Finder 2 Click Utilities and open Disk Utility You will receive a warning message that the drive is not re...

Page 14: ...ctive owners IronKey VP80ES External SSD User Manual Rev 1 0 14 6 Click Erase The drive will begin formatting 7 When it is finished formatting you may get a popup message asking if you would like to b...

Page 15: ...ork they might run in USB 2 0 mode which can be significantly slower You can check your kernel version by typing the following command in the terminal uname r In most newer distributions the drive sho...

Page 16: ...1 0 16 Using VP80ES Features Admin Administrator Menu Tap the Gear icon when you have unlocked the VP80ES to access the Admin Menu Your configurations are saved when you disconnect the VP80ES VP80ES s...

Page 17: ...d Rules Enable Numeric or Alphabet options for increasing password strength Applies to both Admin and User passwords Password Length Set the acceptable minimum password length Default 6 max 64 Applies...

Page 18: ...ly locks Brightness Change the level of brightness for your drive s touch screen Language Set your preferred language for the drive Touch Sounds Enable or disable touch sounds Accessing the Onboard Ad...

Page 19: ...Enter key You must confirm using the same password you entered in Step 2 5 Upon successful completion the drive defaults to page 1 of the Admin menu NOTE The initial password entry screen will display...

Page 20: ...this User profile will be set when the drive is next plugged into a workstation and the User option is selected for log in Detailed steps for the user profile configuration are below The User login wi...

Page 21: ...p the Setup Gear icon 3 Tap SET USER and tap DISABLE CONNECT Power off on 4 Unlock again using Admin password Tap the Setup Gear icon 5 Tap SET USER to ENABLE CONNECT power off on 6 Enter and confirm...

Page 22: ...ions that can be used in any combination NUMERIC Will require at least one number in the password when enabled ALPHABET Will require at least one alphabet character or space when enabled When both opt...

Page 23: ...ulatively towards the Password Counter The counter will reset upon a correct password attempt if Secure Erase was not yet activated after the maximum number of allowed retries The default PASSWORD COU...

Page 24: ...follow these steps 1 Tap AUTO LOCK TIME from the Admin menu 2 Configure the desired number of minutes the drive can remain unlocked and idle NOTE You can increase or decrease this limit in increments...

Page 25: ...ur desired language 2 Tap Back from the upper left to save and exit to the Admin menu NOTE The Admin and User can both select their own preferred language from their respective menus Secure Erase Driv...

Page 26: ...d Deleted Admin Config Settings Saved Reset to factory defaults Drive Data and Encryption Key Deleted Deleted For assistance with either process please see the steps outlined below How to Secure Erase...

Page 27: ...se process you will see PLEASE INITIALIZE AND REFORMAT THE DRIVE Tap Enter key to continue NOTE You must now follow the initialization process as shown in the Initializing and Connecting Your VP80ES s...

Page 28: ...with a pen or stylus and properly select the touch points that are displayed Touch Sounds The VP80ES touch sounds are enabled by default To disable these sounds follow these steps 1 Tap the TOUCH SOUN...

Page 29: ...ed the wrong key you can tap on the Backspace button to erase it 4 Re enter the password to confirm and tap the Enter key You must confirm using the same password you entered in Step 2 5 Upon successf...

Page 30: ...d by default To disable these sounds follow these steps 1 Tap the TOUCH SOUNDS feature from the user menu 2 Tap the ENABLE or DISABLE button 3 Tap Back from the upper left to save and exit to the user...

Page 31: ...nglish French German Spanish To set a preferred language follow these steps 1 Tap the LANGUAGE option from the user menu 2 Tap your desired language 3 Tap Back from the upper left to save and exit to...

Page 32: ...ingston is not liable for technical or editorial errors and or omissions contained herein nor for incidental or consequential damages resulting from the furnishing or use of this material The informat...

Reviews: