


PA G E 6
I N S T R U C T I O N M A N U A L
K D M 4 0 1 a
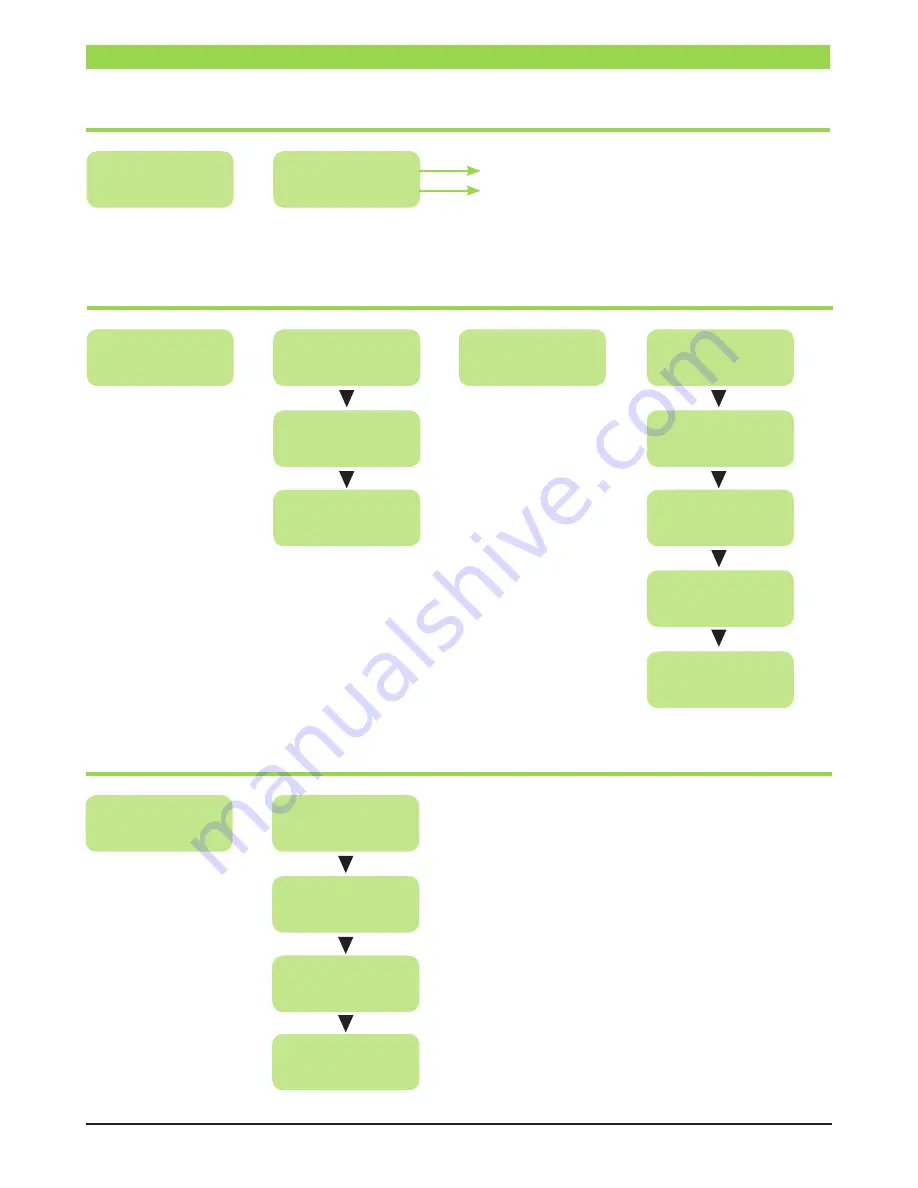
SYSTEM BOOTING
SUBMENU IN ADVANCED MENU
RF Output
Advanced
RF Output
Quick Setup
RF Output
Retrieve Status
OK
Advanced Menu
RF Output
RF Output
Set RF Output
Boot system
Please wait . . .
KDM401a
564 .500 MHz
Model name
RF Output frequency
MAIN MENU
Frequency:
C33 (564 .500)
Output level:
85 dBuV
OK
Main Menu
Basic
Country:
Australia
Advanced Menu
Video
Advanced Menu
Audio
Advanced Menu
Stream
OK
Advanced Menu
RF Output
Main Menu
Advanced
Advanced Menu
System
QUICK MENU GUIDE


