9
Now, select the serial port on which the robot is connected. This selection depend
on which port you use and the type of computer you have. This choice must be made for
every module that you will use.
Then click once on the run arrow
at the top of the window.
A stop icon
appears for a few seconds, after what the front panel returns to
its initial state.
That's all! The serial link with Khepera is set to 9600 baud. It will remain so until
you quit LabVIEW
®
.
6.2
Khepera selection
The radio base station can communicate with several Khepera. To communicate
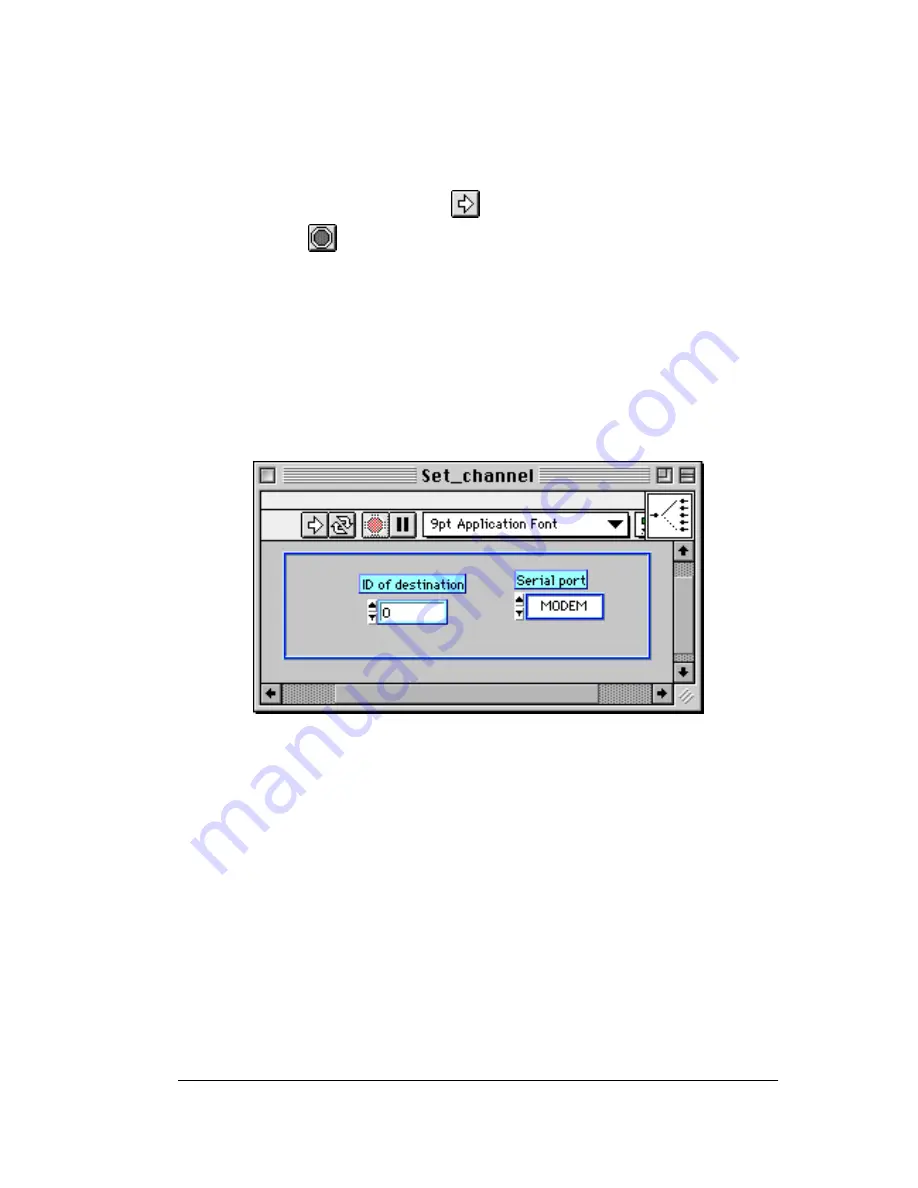
with a specific Khepera you have to select it. The selection is made by the Set_channel
VI. If you open it, the panel illustrated in figure 8 should appear.
Figure 8: Set_channel panel for selection of the robot you want to communicate with.
Now, select the robot you want to address (number 1 in our test example). Then
click once on the run arrow at the top of the window. The radio base will now send and
receive data only to and from the Khepera with radio turret with ID number 1. You can
change the channel by running again this same VI with another ID.
At this stage your configuration works like a wired connection to robot having ID
1. All standard VIs you run will work correctly and act on robot with ID 1.
6.3
Motors
We will now control the displacement of the robot. Open the Motors VI that comes
with the Khepera robot (the original one). Now your screen displays the following panel:


