5
KSNAS
‐
120
product
installation
process:
For
the
installation
process
you
may
choose
to
do
“full
‐
system”
installation
or
“headless”
installation.
A
“Full
‐
System”
installation
is
where
you
connect
to
the
KSNAS
box
a
computer
monitor
(not
included
in
the
purchased
package)
a
computer
keyboard
(not
included)
and
a
computer
mouse
(not
included).
The
full
system
installation
lets
you
work
directly
on
the
KSNAS
server
utilizing
its
user
friendly
windows
desktop
user
interface
(Not
a
Microsoft
Windows).
A
“Headless”
installation
does
not
require
monitor,
keyboard
and
mouse
connection
and
the
KSNAS
setup
and
control
is
done
through
a
web
‐
browser
from
another
system
using
Firefox
Internet
Browser,
available
free
for
download
at
‐
http://www.mozilla.org/en
‐
US/firefox/new/
,
you
should
use
only
the
Firefox
browser
for
setting
up
and
connecting
to
the
KSNAS120
web
based
control
program.
The
above
2
methods
:
Full
‐
System
&
Headless
are
interchangeable
you
can
always
switch
between
them
or
do
both
at
the
same
time
meaning:
have
monitor,
keyboard
and
mouse
connected
and
working
locally
on
the
KSNAS
desktop
and
at
the
same
time
connect
to
it
from
another
computer
over
the
network
using
Firefox
Internet
Browser.
System
setup
steps:
1.
A
special
note
on
power
connection:
a.
It
is
strongly
recommended
that
you
connect
the
KSNAS
to
the
power
outlet
through
a
surge
protection
or
UPS
unit
(not
included)
it
will
reduce
the
chance
for
system
failure
due
to
power
issues
and
extend
the
life
of
the
KSNAS
and
the
installed
hard
drives!
You
may
find
examples
for
surge
protection
products
at
‐
http://www.cyberpowersystems.com/products/surge
‐
protectors/office
‐
pro
‐
surge.html
You
may
find
example
for
UPS
products
at
‐
http://www.cyberpowersystems.com/products/ups
‐
systems/soho
‐
ups.html
A
300
‐
600
VA
products
are
good
for
the
KSNAS
if
it
is
the
only
device
connected.
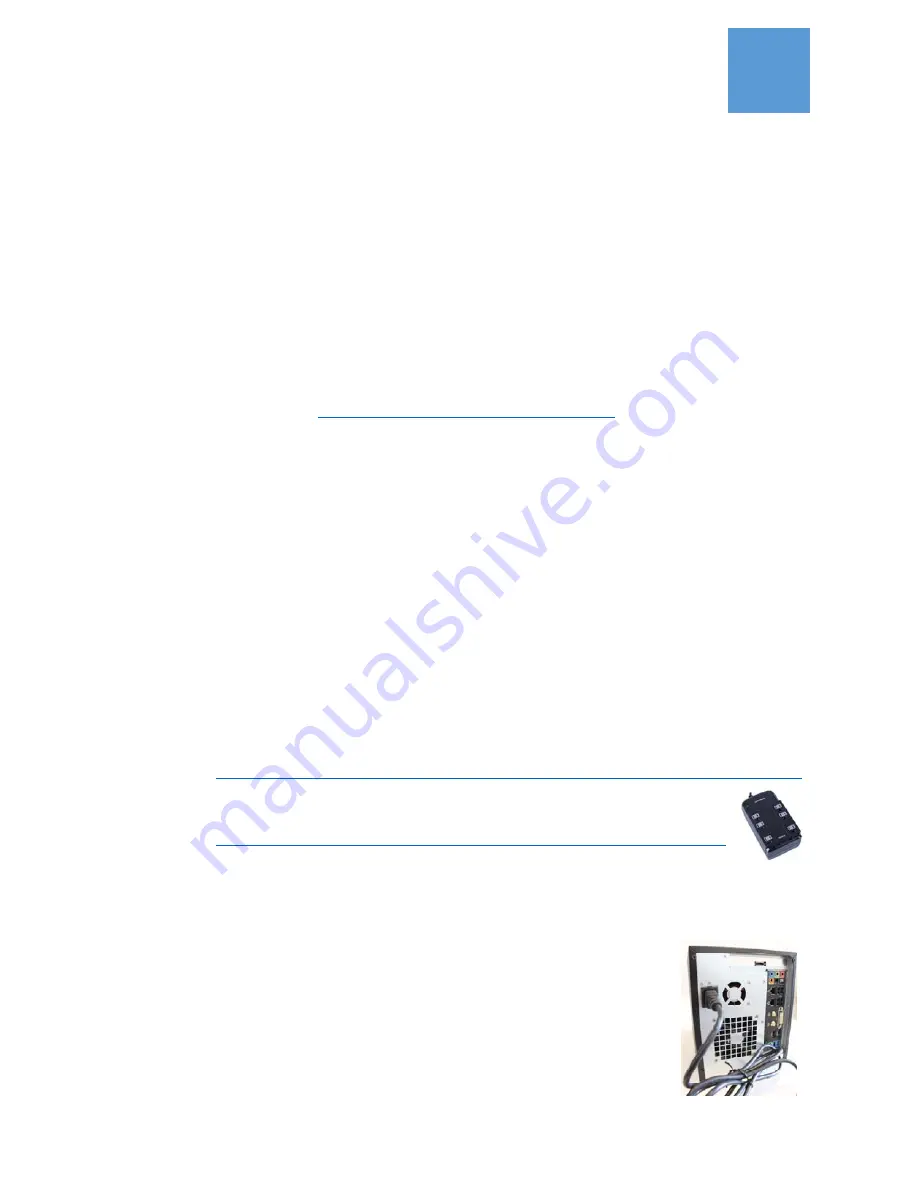
b.
When
connecting
the
KSNAS
power
cord
connect
it
first
to
the
KSNAS
and
then
to
the
power
outlet
(or
the
UPS
or
Power
surge
protection).
2.
Remove
the
4
drives
plates
from
the
system,
when
you
start
the
system
for
the
first
time
the
drives
plates
should
be
removed.
3.
Connect
power
cable
to
the
KSNAS
product
and
to
a
power
outlet.

