KD-VPHD3 Operating Instructions
Page
KD-VPHD3 Operating Instructions
Page
33. Factory Default Yes / No
FDF
Set all properties by Factory Default Value
34. Still Screen (Image freeze) Off
STO / STF
Still On, Still Off
35. Audio Mute
Off
MUO / MUF
Mute On, Mute Off
36. Video Mute
Off
VMO/VMF
Video Mute On/Video Mute Off
37. LCD Contrast
0
LCU/LCD/ LCI (#)
Contrast Increase/Contrast Decrease/ Set to Value -20~+20
38. 3D NR
On
NRO/NRF
Enable/Disable 3D NR
39. 3D YC
On
YCO/YCF
Enable/Disable 3D YC
40. Time Based Correction
On
TCO/TCA/TCF
Time Based Correction On/Auto/Off
41. VGA Aspect Ratio
VG1
VG1
VGA Aspect Ratio 1024X768
VG2
VGA Aspect Ratio 1280X768
VG3
VGA Aspect Ratio 1366X768
42. Power On / Off
PWO / PWF
Power On, Power Off
43. Status
STA
Displays the current system status
44. Help Menu
HLP
Displays help menu
* Audio input port codes for A/V association assignment via RS-232:
Audio Input
Code
HDMI PCM
0
Stereo Input 1
1
Stereo Input 2
2
Stereo Input 3
3
Stereo Input 4
4
PCM Input 1
5
PCM Input 2
6
PCM Input 3
7
PCM Input 4
8
Optical Input 1
9
Optical Input 2
10
None
11
Examples of RS-232 Commands
1. Input Switching
IVx
x = desired input
Example: To switch to component video input 3, issue the command IV3
2. Picture Contrast Adjustment
CTU/CTD/CTI# # = setting between -50 ~ 50
Example: To increase the contrast, issue the command CTU
Example: To decrease the contrast, issue the command CTD
Example: To set the contrast to a value of 15, issue the command CTI15
3. Picture Aspect Adjustment
AP#
# = aspect setting 1 ~ 6
Example: To set the picture aspect to ‘letter box’, issue the command AP2
4. PAL 2:2 Auto Detect Mode On/Off*
PON/POF
Example: To turn PAL 2:2 on, issue the command PON
Example: To turn PAL 2:2 off, issue the command POF
➔
➔
➔
➔
*The PAL 2:2 pull down process is used specifically for conversion when viewing content filmed at 24 frames/second on
50hz displays. The KD-VPHD3 default setting is ‘On’, which means it automatically detects the need for this conversion
process. If the source signal is noisy, then this process can sometimes yield jagged edges and, therefore, we offer the
option to turn off ‘auto detect’.
5. Screen Horizontal Picture Adjustment
HPU / HPD / HPI#
# = setting between -20 ~ 20
Example: To shift the picture left, issue the command HPU
Example: To shift the picture right, issue the command HPD
Example: To set the horizontal position to a value of 5, issue the command HPI5
6. Audio/Video Association Set
AVx #
x = desired video input
# = desired audio input
Example: To associate PCM input 2 with component input 3, issue the command AV5 6
Please not that there is a space necessary between ‘x’ and ‘#’
7. Output Resolution Set
OR#
# = output resolution 1 ~ B
Example: To set the output resolution to 1920X1080i, issue the command OR2
8. HDMI Input Color Space Conversion
IC#
# = setting between 1 ~ 3
Example: To set the HDMI input CSC to YCbCr, issue the command IC1
9. Output Test Pattern Set
OP#
# = setting between 1 ~ A
Example: To set the output test pattern to color bars, issue the command OP3
10. Power On/Off
PWO/PWF
Example: To turn the power on, issue the command PWO
Example: To turn the power off, issue the command PWF
➔
➔
➔
➔
➔
➔
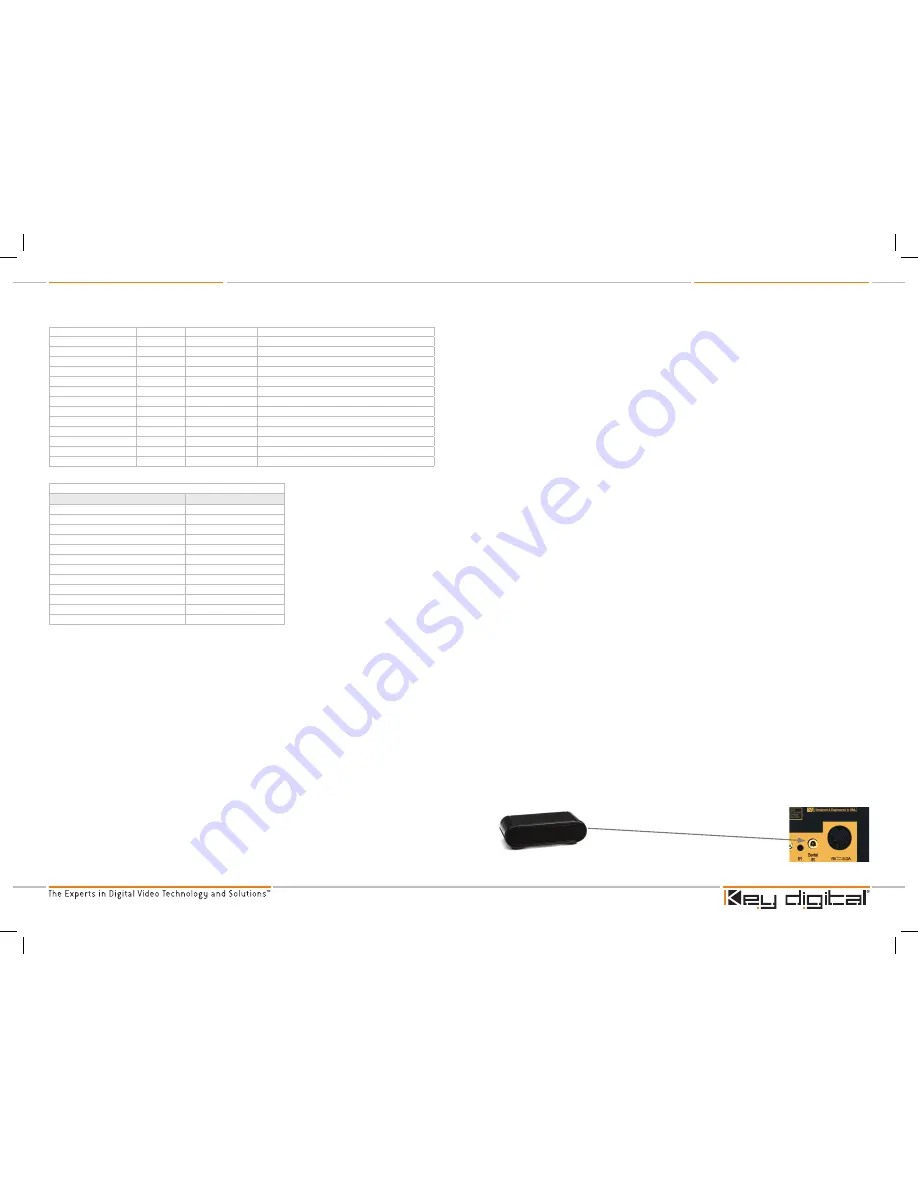
Serial IR with IR Extender
You may also want to use an IR extender with serial IR:
A wired IR serial connector is provided on the rear panel
›
Wired IR Extender
KD-VPHD3 Unit
3.5mm male-to-male mono cable
KD-VPHD3_Manual_Final.indd 16-17
10/17/07 1:21:21 PM


