


KERN & Sohn GmbH
Ziegelei 1
D-72336 Balingen
E-Mail: [email protected]
Tel: +49-[0]7433- 9933-0
Fax: +49-[0]7433-9933-149
Internet: www.kern-sohn.com
Service manual
Analytical balances
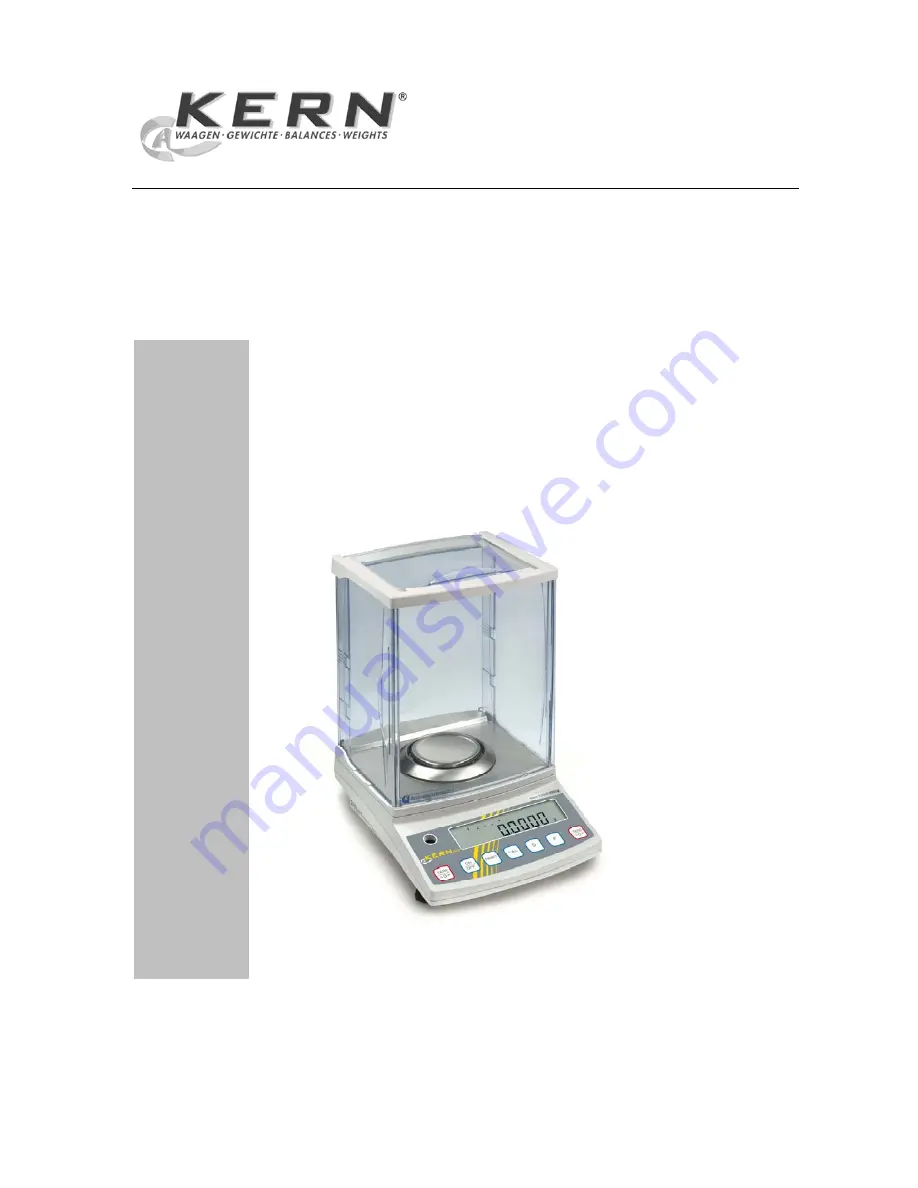
KERN AEJ/AES
Version 1.0
4/2009
GB
AEJ/AES-SH-e-0910
1
Summary of Contents for KERN AEJ
Page 5: ...3 Electric Electronic Construction 3 1 Block Diagram Calibration Weight Unit AEJ only PRINT 5 ...
Page 6: ...3 2 Whole Wiring Calibration Weight Unit AEJ only PRINT 6 ...
Page 7: ...4 Troubleshooting 4 1 Troubleshooting Procedure 7 ...
Page 11: ...4 4 Check of Electric Electronic Parts 1 Check of HT DP board 11 ...


