


20
APPs
APPs
You can use an App of the connected iPod touch/
iPhone/Android on this unit.
• For Apps you can use on this unit, visit
<http://www.jvc.net/cs/car/>.
Preparation
1
Connect the iPod touch/iPhone/Android.
•
For Android:
Connect the Android device via
Bluetooth. (Page 38)
•
For iPod touch/iPhone:
Connect iPod touch/
iPhone with a cable. (Page 63)
– Be sure to select the appropriate connection
method of iPod touch/iPhone on
<iPod
Setup>
. (Page 18)
– You cannot watch video when connecting a
Lightning connector model.
2
Select the iPod touch/iPhone/Android
device to use on the
<APP Setup>
screen.
(Page 46)
When connecting the device for the first time, the
setup screen (for connection, etc.) appears. Follow
the procedure on the setup screen to configure
the settings.
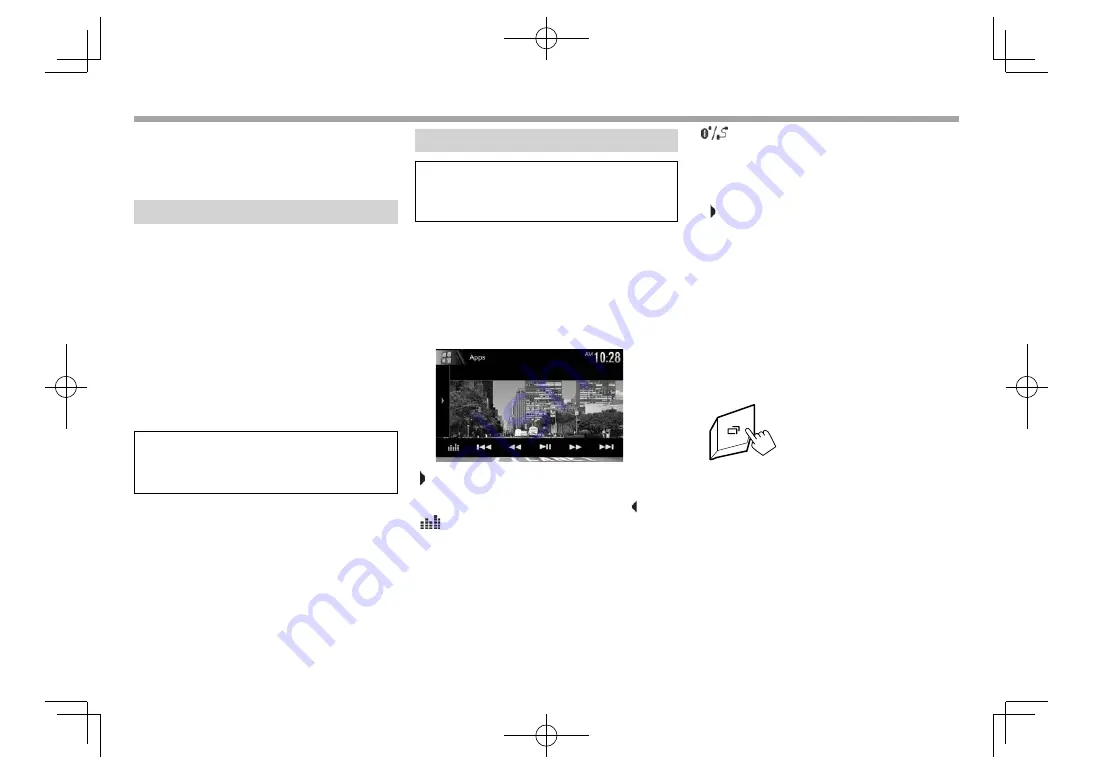
Using an App
When the operation buttons are not displayed on
the screen, touch the screen to show them.
• To change settings for video playback, see
page 50.
❏
Playback operations
1
Start the App on your iPod touch/iPhone/
Android.
2
Select
“Apps”
as the source. (Page 8)
❏
Operation buttons on the source
control screen
[ ]
Displays the other operation button
window.
• To hide the window, press [ ].
[
]
Displays the
<Equalizer>
screen.
(Page 47)
[
S
] [
T
]
Selects an audio/video file.
[
O
] [
N
]
Reverse/forward search.
[
IW
]
Starts/pauses playback.
[
I
]
Starts playback.
[
W
]
Pauses playback.
[
]
Switches the device between iPod
touch/iPhone connected with a cable
and Android device connected via
Bluetooth.
• To display all available operation buttons, press
[ ] to display the other operation button window.
• You can operate some functions of the App on the
touch panel.
• You can also play back the audio (for iPod touch/
iPhone/Android device) and video (for iPod touch/
iPhone) on the stated devices itself, instead of the
unit.
❏
Switching to the Apps screen while
listening to another source (when using
iPod/iPhone)
• Select
[iPhone]
for
<Navigation>
beforehand.
(Page 56)
2017̲KW-V̲Entry̲K.indb 20
2017̲KW-V̲Entry̲K.indb 20
2016/06/02 21:22
2016/06/02 21:22


