21
DNX4280BT/5180/5280BT/5380/5380M
/5380BT/5580BT/6040EX/6180/6480BT/6980
Key Speci
fi
cation
Next
: Transfer to the next Adjustment screen.
Cancel :
Transfer to the previous Adjustment screen.
(Transfer to the Test Mode Main screen while
displaying the top left screen of Figure 2.2.5)
Table1~10 : Selection of table for key illumi.
Step0~4 : Fine tuning.
Down/Up : Right and Left Adjustment.
Return
: Transfer to Test Mode Main screen.
∗
Background color will be blue when “Write OK” is dis-
played.
∗
Background color will be red when “Write NG” is dis-
played.
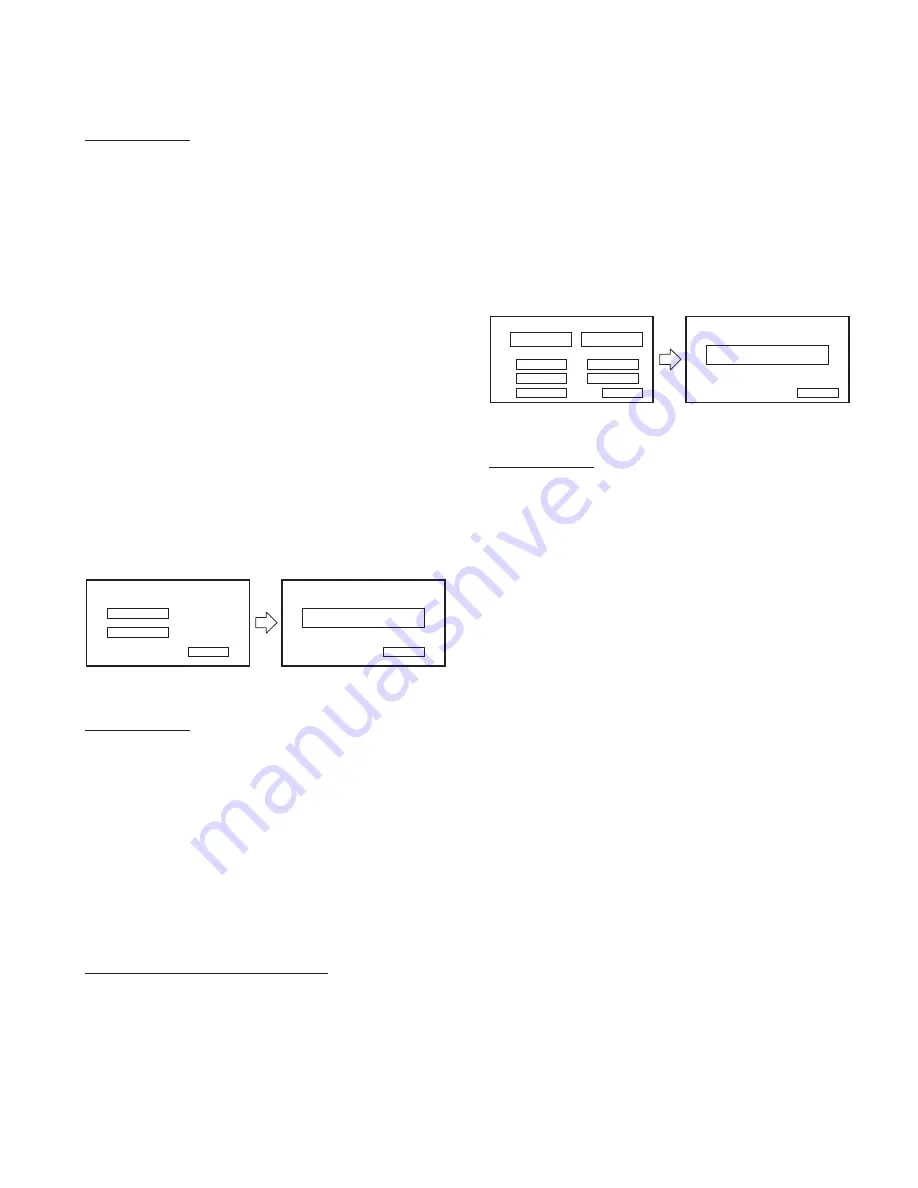
2.2.6 iPod screen
Check communication for iPod authentication.
The iPod Authentication Chip Confirmation screen is dis-
played in Figure 2.2.6.
Switch to video connected to the iPod video line by press-
ing the [iPod V-Play] key. (Switching to iPod video can be
performed regardless of connection with the iPod.)
Cancel
iPod Check
iPod V-Play
iPod
iPod Check
iPod OK/NG
Return
Figure 2.2.6 iPod screen
Key Speci
fi
cation
iPod Check : Start the verification operation check of the
iPod veri
fi
cation chip.
iPod V-Play : Transfer to iPod video screen.
Cancel
: Transfer to Test Mode Main screen.
Return
: Transfer to iPod screen. (left of Figure 2.2.6)
∗
Background color will be blue when “Write OK” is dis-
played.
∗
Background color will be red when “Write NG” is dis-
played.
[iPod V-Play] key operation speci
fi
cation
A key to play back the Video contents in the iPod with 1 op-
eration.
Following sequence of operation is performed by pressing
the [iPod V-Play] key.
q
Turn ON the [Video] key in the iPod Source Control
screen
w
Select “Movie” in the Video contents List screen
e
Select the
fi
rst
fi
le (start play back)
Transfer to Test Mode Main screen by pressing the [MENU]
hard key from the iPod video screen.
2.2.7 LCD Adjustment screen
This screen is used to perform adjustment of LCD.
The displayed contents of the LCD Adjustment screen is
displayed in Figure 2.2.7.
Return
All Auto
Flicker
W.B. Auto
DVD W.B. Auto
AGC Auto
HPOSI Auto
Video W.B. Auto
LCD Adjust
LCD Adjust
Write OK/NG
Return
Figure 2.2.7 LCD Adjustment screen
Key Speci
fi
cation
All Auto
: Start Auto Adjustment. (The following
fi
ve
Auto adjustments are executed continu-
ously)
W.B. Auto
: Start the W.B. Auto adjustment.
AGC Auto
: Start the AGC Auto adjustment.
DVD W.B. Auto : Start the DVD W.B. Auto adjustment.
HPOSI Auto
: Start the HPOSI Auto adjustment.
Video W.B. Auto : Start the Video W.B. Auto adjustment.
Flicker
: Transfer to the Flicker Adjustment screen.
Return
: Transfer to Test Mode Main screen.
∗
Background color will be blue when “Write OK” is dis-
played.
∗
Background color will be red when “Write NG” is dis-
played.
Set the DVD wallpaper to color bar with this adjustment
screen.
10 model was adjusting the W.B. adjustment and HPOSI
adjustment with the Navigation video, but 11 model will not
perform W.B. adjustment or HPOSI adjustment with the
Navigation video.
2.2.7.1 Flicker Adjustment screen
This screen is used to perform adjustment of the Flicker.
Transfer to this screen also when Tenkey0 on the remote
controller is pressed.
The displayed contents of the Flicker Adjustment screen are
displayed in Figure 2.2.7.1.
TEST MODE


