Setting Up
60
Display Setup
1
Press the
[
MENU
]
button.
h
h
Popup menu appears.
2
Touch
[
SETUP
]
.
h
h
SETUP screen appears.
3
Touch
[
Display
]
.
h
h
Display screen appears.
4
Set each item as follows.
■
Dimmer
Select dimmer mode.
OFF
: The display and buttons do not dim.
ON
: The display and buttons dim.
SYNC
(Default): Turns the dimmer function
on or off when the vehicle light control
switch is turned on or off.
■
OSD Clock
Select if you want to display the clock while
watching DVD video, etc.
"ON" (Default)/ "OFF"
■
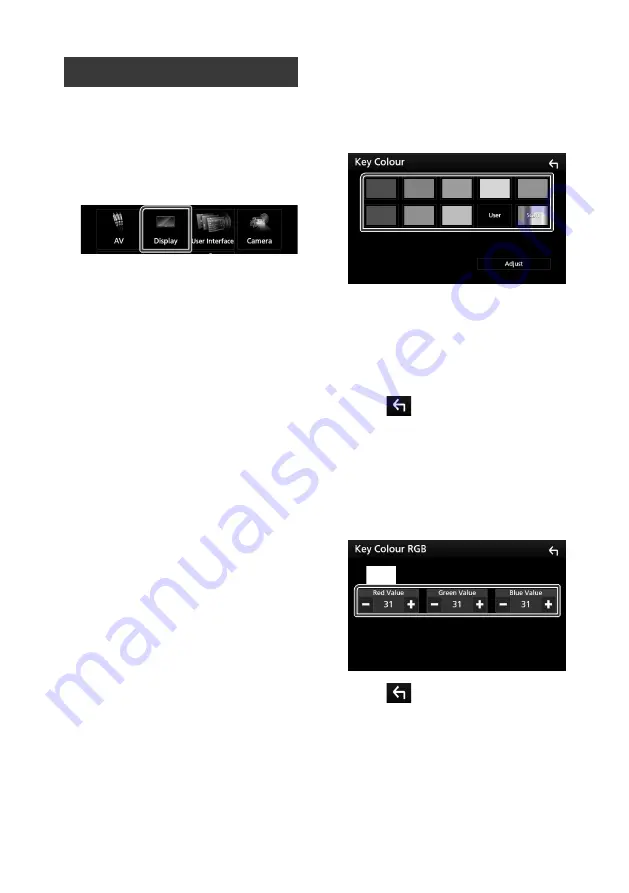
Key Color
You can set the button illumination color.
■
Background
Changing background image or color.
■
Viewing Angle
If it is hard to see the image on the screen
even after adjusting the front panel angle,
adjust the viewing angle. The smaller the
(negative) value, the more whitish the image
on the screen looks.
"0" (Default)/ "-1"/ "-2"/ "-3"
Ñ
Customizing the key color
You can set the button illumination color.
1
Touch
[
Key Color
]
in the Display screen.
2
Touch the desired color.
■
User
The color you have set in the process of
[
Adjust
]
is registered.
■
Scan
You can set the key color to continuously
scan through the color spectrum.
3
Touch
[
]
.
To register original color
You can register your original color.
1
Touch
[
User
]
in the Key Color screen.
2
Touch
[
Adjust
]
.
3
Use
[
−
]
and
[
+
]
to adjust each color value.
4
Touch
[
.


