15
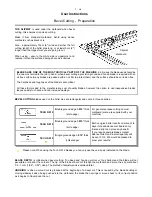
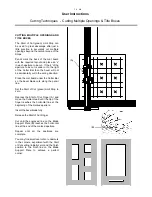
Place the fallout face down and position the mat on it using
the light pencil mark as a guide to place the pieces back
correctly.
Tape the mount and the fallout together along the cut lines.
NOTE:
Use the thin tape or the thickness could upset
the blade depth.
Take the assembled mat board and cut a mat inside the V-
Groove in the normal way.
User Instructions
Cutting Techniques - Cutting a V-groove
GB
Pencil mark
CUTTING A V-GROOVE
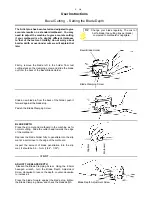
Lightly mark the back of the mat board with a pencil and
then cut a mat.
Remove the mat and fallout and retain both.
Remove slip mat.
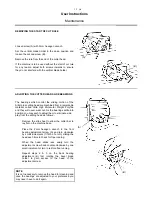
Set the Mat Guide forward so it is approximately 2mm
(1/16”) away from the Cutter Bar. This is only an initial
setting and adjustment may be necessary after a trial cut,
changing the width of the V-Groove is explained below.
Place the fallout (coloured face up) under the cutter bar
against the Mat Guide.
Fully depress the blade and draw it through the card.
Take care to remove the trimming.
Repeat on the remaining three edges of the fallout.
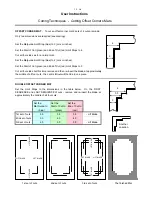
CHANGING THE V-GROOVE WIDTH
If the trial cut results in the V-Groove being too wide or
narrow the gap set between the Margin Guide and Cutter
Bar can be adjusted. Once a desired gap has been found
a spacer can be made from board, plastic, wood, etc. so
the setting can be returned to.


