


- 13 -
29.
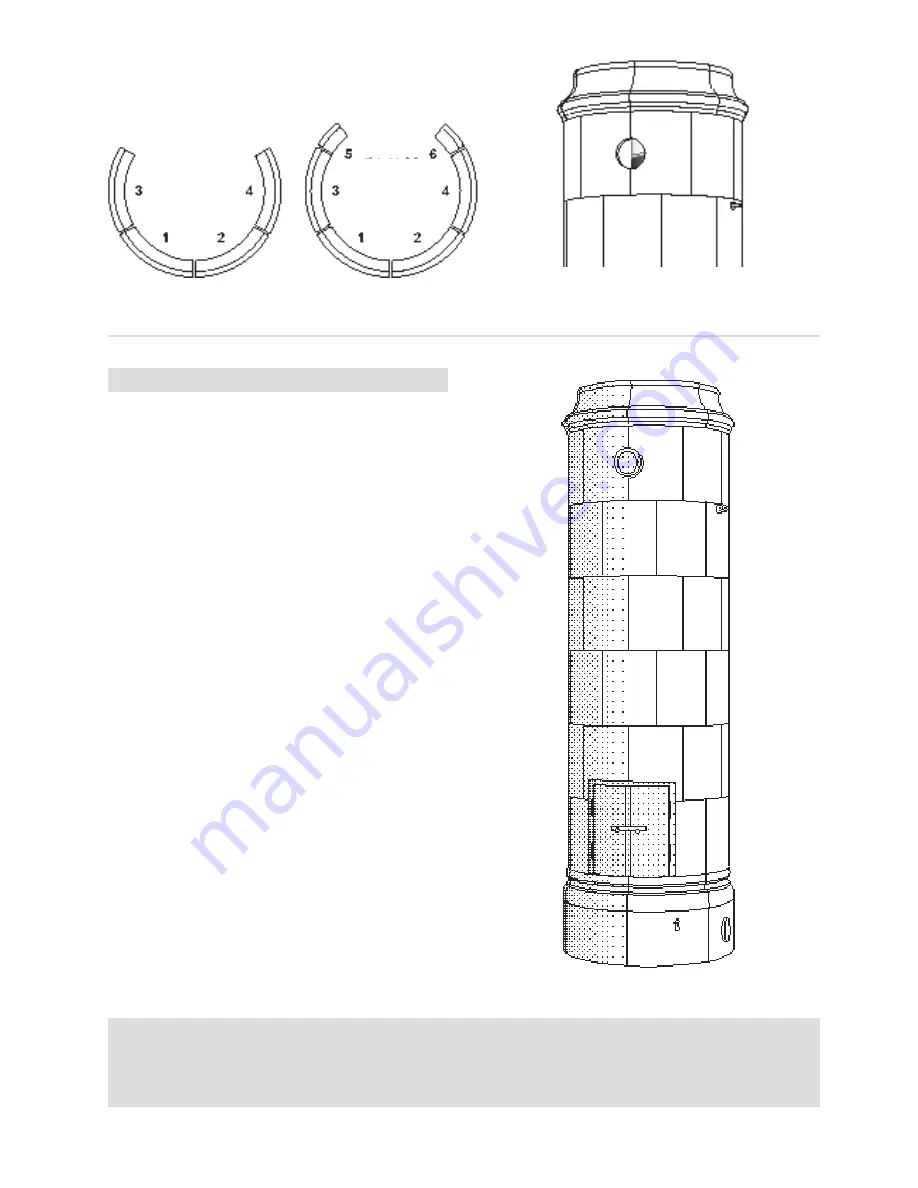
Assemble
tile course 8
(the wide, upper, tile mould
-
ing) in adhesive. The joint between tiles 1 and 2 must be
in line with the tile joint in the course below.
Do not fire your Christineberg for at least one week after completing the installation to allow for the
hardening times.
The first ten fires should be calm, to give the tile stove the opportunity to stabilise and dry. Therefore, fire these
ten first fires in damper position NORMAL and with only half the recommended amount of wood, see also the
Care & Firing Instructions on the following pages.
FINAL INSTALLATION AND GROUTING
30.
Install the upper cleaning cover connection sleeve by
applying a string of silicone (transparent) on the connec
-
tion sleeve's rear end and pushing it from the inside and
out through the hole in the tiles, so the space between
the connection sleeve and the tiles remains free of sili
-
cone along the front edge. The connection sleeve must
protrude approx. 1 cm from the outside of the tiles (so
that the cleaning cover can be pressed in place later). Fix
temporarily using tape.
31.
Also install the lower cleaning cover connection
sleeves by applying a string of silicone (transparent) on
the inner end of each connection sleeve and pressing the
connection sleeve against the lower safety case sleeve
connection. Fix temporarily using tape.
32.
Mix the grout with water to a smooth consistency.
Grout the tiles with the rubber spatula. Wash off any ex
-
cess grout from the tiles, using a wet sponge when the
grout begins to set (dry). Dry the tile stove with cotton
pulp a couple of hours after grouting.
33.
Install the brass door and the damper feedthrough
against the tiles using silicone (transparent). Fix tempo
-
rarily using tape. Screw the damper knob in place.
34.
Assemble the damper feedthrough and the knob for
the air supply using silicone (transparent).
35.
Once the silicone has hardened (after approx. one
week), press the three brass cleaning covers, two at the
two bottom and one at the top, into their respective loca
-
tions.
A
B
Tile course 8
Tile course 8
Summary of Contents for Christineberg
Page 1: ...Christineberg Installation Instructions Care and firing instructions ...
Page 19: ......
Page 20: ...01 03 2012 www keddy se ...


