WES Mesh Wireless System Operations Manual
NODE INSTALLATION & OPERATION (CONTINUED)
A.
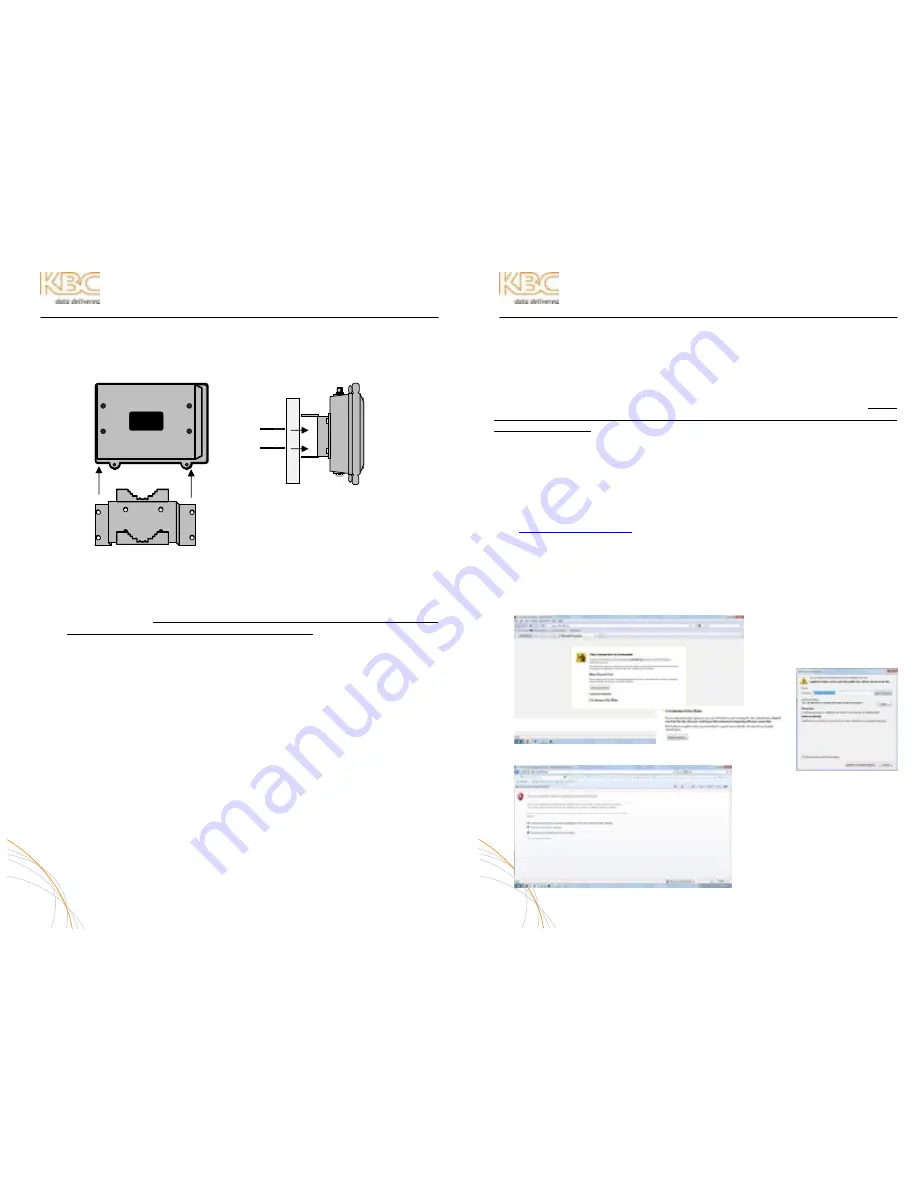
MOUNT MESH NODE
Attach the pole mount to the Mesh node case using the hardware kit.
B.
CONFIGURE CABLE
Determine the length of Cat5 cable that will be needed and where the PIM will
be located. The total cable length from the radio to the Ethernet device cannot
exceed 100 meters, however, the PIM can be located anywhere along the 100
meters of cable. The PIM and power supply are not weather proof and must
be placed indoors or in an environmental enclosure. On the Mesh node end,
feed the CAT5 cable through the supplied assembled weatherproof connector
kit. Crimp an RJ45 CAT5 connector on the end of the cable and configure as a
straight-through patch cable.
C.
CONNECT MESH NODES
Connect the cable to the Ethernet Port on the node. Slide the cable jacket up
to the base of the connector. Slide the weatherproof connector over the cable
jacket and screw it into the node and tighten. Tighten the clamping nut until
the Cat5 cable is sealed in the connector.
D.
ESTABLISH LINK
Follow above steps, A through E, for all nodes of the system to be established.
E.
VERIFY CONNECTION
Connect the first node to a laptop and open Command Prompt once again. The
node LAN port should be accessible at https://192.168.1.10. At this point, the
second node should be accessible at https://192.168.1.11 unless otherwise
noted. The subsequent nodes should be accessible at https://192.168.1.12;
1.13; 1.14, etc upon connection. Refer to the provided Configuration Table for valid IP
Addresses.
NOTE: In some cases, depending on the physical and RF environment, a
useable throughput rate may not be possible. Contact KBC for more
information – 888-366-4276 or [email protected].
9
WES Mesh Wireless System Operations Manual
ADVANCED OPERATION
WEB BROWSER INTERFACE
Each Mesh node has a web browser interface to access the advanced setup functions.
If changing advanced settings, be sure to connect and power the radios individually.
To access this interface, connect the node to the Ethernet port on a computer, launch
the web browser and type in the default IP address at https://192.168.1.10. Please
note that the “s” must be included as the IP alone or along with http:// will not
access the interface. The configuration of the computer used to access the node may
need to be changed depending on its IP settings. The IP address of the computer
should be set to 192.168.1.xxx. The xxx setting can be any address 2 – 254
excluding 10 or any other IP address(s) you wish to use for a node on that subnet (or
Encoder/Decoder/WES product if applicable). The Subnet mask should be
255.255.255.0. If you have any questions or concerns about changing these
settings, please contact your network administrator.
Note: The GUI interface is only accessible via a secure web browser address
(i.e,
https://192.168.1.10
)
ACCEPTING THE WEB BROWSER SECURITY CERTIFICATE
In order to reach the ID/password log in, the web browser must ensure its security.
The browser will believe that the connection is not safe but it is OK to accept the
certificate and access the interface.
Mozilla Firefox (Recommended Browser) Users:
1.
Click “I Understand the Risks”
2.
Click “Add Exception”
3.
Click “Confirm Exception”
MS Internet Explorer Users:
1.
Click “Continue to this
Website”
2.
Enter ID and password at
prompt
10
1
2
3
1


