-
2
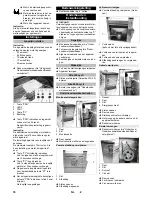
Note:
If the mat is released, it will move through
the device and be ejected at the mat ejec-
tor.
Note:
The adjustable run time applies to the in-
sertion of one of the following coins:
– 50 Eurocents
– 50 British pence
– 1 Swiss franc
– 1 Polish złoty
– 5 Norwegian Kroner
Remove the lid (see "Maintenance and
care/Maintenance tasks/Removing the
lid").
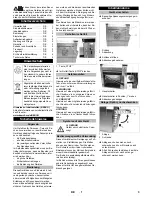
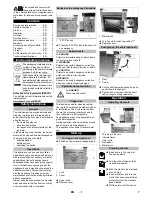
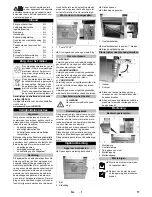
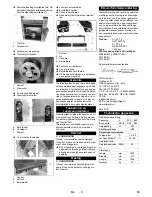
1 "PRG" button
2 LED 3
3 LED 1
4 "P1" button
5 Control
Press the "PRG" button and hold it
down until LED 3 illuminates.
The "adjustment" operating mode is ac-
tivated.
Note:
The "adjustment" operating mode will end if
no buttons have been pressed for 10 sec-
onds.
The adjustment begins with a run time of 0
seconds.
Maximum run time is 10 minutes. If this set-
ting is reached, LED 1 will flash quickly.
Press the "P1" button briefly.
LED 1 flashes quickly and the run time
is increased by 5 seconds.
Press and hold the "P1" button.
LED 1 flashes slowly and the run time is
increased by 30 seconds.
Set the desired run time by pressing the
"P1" button repeatedly.
To confirm the set run time, press the
"PRG" button until LED 3 flashes quick-
ly:
The run time has now been saved.
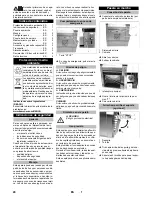
Set main switch to “0”.
DANGER
Risk of injury due to inadvertently starting
up device and also due to electric shock.
Before starting any maintenance and
care work, turn the main switch off "0"
and ensure that it will not be turned on
accidentally.
Empty the coin cassette (see "Mainte-
nance tasks").
Empty the dirt receptacle (see "Mainte-
nance tasks").
Check the general condition of the de-
vice.
Have damaged parts replaced.
Remove dirt from the mat ejector.
Clean the device.
Lubricate the locks with penetrating oil
(Caramba, WD 40).
Replace the brush (see "Maintenance
tasks").
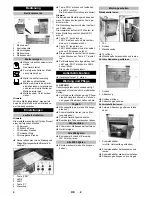
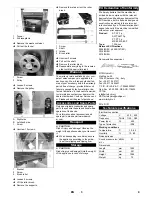
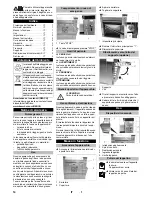
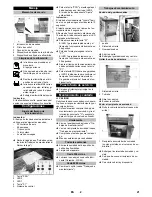
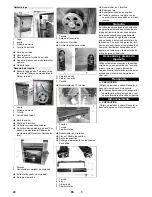
1 Door
2 Lock
3 Coin cassette
Open door.
Remove and empty the coin cassette.
1 Lock
2 Cover
Open locks.
Remove cover.
Remove the front cover (see above).
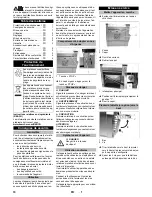
1 Dirt receptacle
(not included in delivery)
Remove and empty the dirt receptacle.
Reinsert the dirt receptacle.
Install and lock the cover.
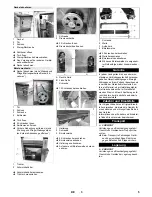
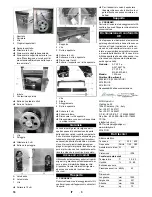
1 Cover
2 Door
3 Lock
4 Star handle screw
Open locks.
Open door.
Unscrew the star-knob screw.
Repeat the procedure on the other side
of the appliance.
Remove the lid.
Remove the lid (see "Maintenance and
care/Maintenance tasks/Removing the
lid").
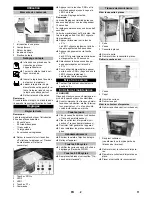
1 Door
2 Lock
3 Screw
4 V-belt
Open door.
Loosen 4 screws.
Remove V-belt.
Remove the front cover (see "Mainte-
nance and care/Maintenance tasks/Re-
moving the front cover").
Settings
Setting the run time
Shutting down
Maintenance and care
Daily
Weekly
Every 500 cycles
Every 8000 cycles
Maintenance Works
Emptying the coin cassette
Removing the front cover
Emptying the dirt receptacle
Removing the lid
Exchanging the brush
8
EN
Summary of Contents for MA 80-3
Page 2: ...2...
Page 42: ...3 1 2 3 4 1 2 3 4 4 1 2 1 2 2 A B 1 12 1 2 3 4 1 2 3 4 2 www kaercher com 42 EL...
Page 77: ...3 1 2 3 4 1 2 3 4 4 1 2 1 2 2 A B 1 12 1 2 3 4 1 2 3 4 2 www kaercher com T o 77 BG...
Page 90: ...3 1 1 2 3 4 1 2 3 4 4 1 2 1 2 2 A B 1 12 1 2 3 4 1 2 3 4 2 www kaercher com 90 UK...


