


5. OPERATING THE KANGURU DATABANK
Once the DataBank has been installed you can connect or disconnect individual Kanguru Disks at anytime without powering down the
DataBank or your system. Please follow the steps below when you want to remove a drive while the DataBank is still running:
5.1 Connecting your Kanguru DataBank:
Step1
Plug the USB cable into the back of your Kanguru DataBank.
Step2
Plug the USB cable into the USB 2.0 port of computer.
Plug the AC power cord to the INLET of your Kanguru DataBank and
turn on the power switch on your Kanguru DataBank
Step3
If you have properly installed the drivers, your computer will recognize the built in 80GB hard drive plus
any additional Kanguru Disks in your DataBank.
NOTE: Make sure you have properly inserted the Kanguru Disks into your DataBank. To do so push the Kanguru Disks
firmly into the DataBank until you feel it snap into place. Also you shouldn’t move the Kanguru Disks from side to side while
they are in the DataBank, as this may cause them to disconnect from the system.
5.2 Disconnecting your Kanguru DataBank:
5.2.1 Windows 98:
Step1
Click the green Unplug or Eject hardware
icon in system tray and click the device that
you want to remove.
Step2
When the system prompts
‘You may safely remove this device
’.
Unplug the USB cable from the USB port
of computer.
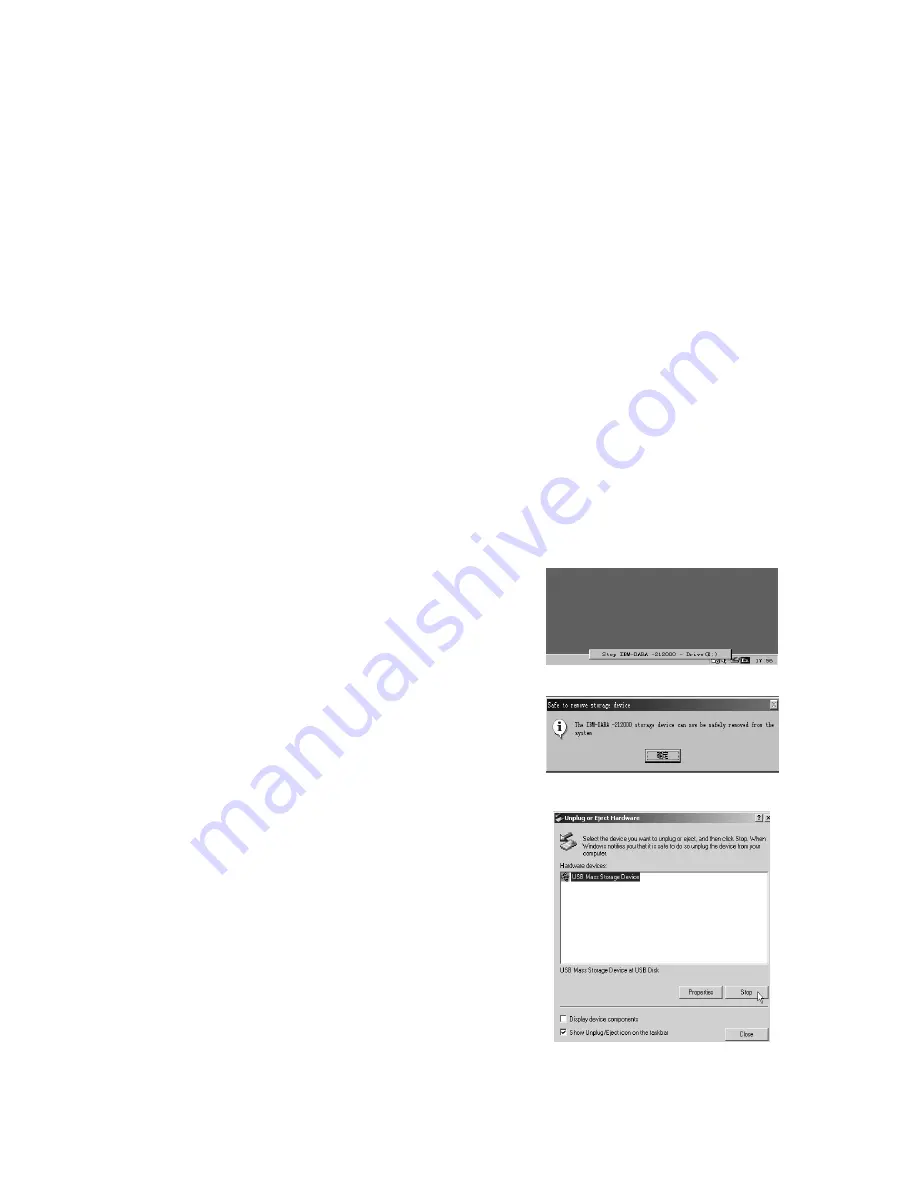
5.2.2 Windows 2000:
Step1
Double-click on the
[Unplug or Eject Hardware]
icon in system tray.
Dialog box appears as seen to right.
Step2
Highlight the [
USB Mass Storage Device]
in the dialog box, click on
[Stop]
, choose
the Kanguru DataBank USB 2.0 External Drive that you want
to disconnect, then click on
[OK]
.
Step3
Wait for few seconds, the system prompts
“
You may safely remove this device”
.
Unplug the USB cable from the USB port of computer.


