41
• Multiview Layout Selection:
This a scrollable list of premade multiviewer layout
designs. Click on the design that best matches your preferred layout and source
count requirements to place it in the layout window to the right.
Note: Customized layouts are not currently supported.
• Transmitter Selection:
This is a list of all available transmitters in the system. Drag
and drop each transmitter to it’s preferred position within the multiview layout
above the list. After placement, each transmitter’s name will be displayed within the
selected window in the multiview layout and the window will turn red or green. A
green window indicates that a source has been assigned and is active, a red window
indicates that a source has been assigned but is not active, and a blue panel indicates
that no source has been assigned yet.
• Save Preset:
Click this button to save changes to the current multiview configuration
without activating it.
• Execute:
Click this button to save changes to the current multiview configuration and
then activate the preset on the display defined by the “Receiver” setting.
6.7 Telnet Control
Before attempting to use Telnet control, please ensure that both the unit and the PC are
connected to the same active networks.
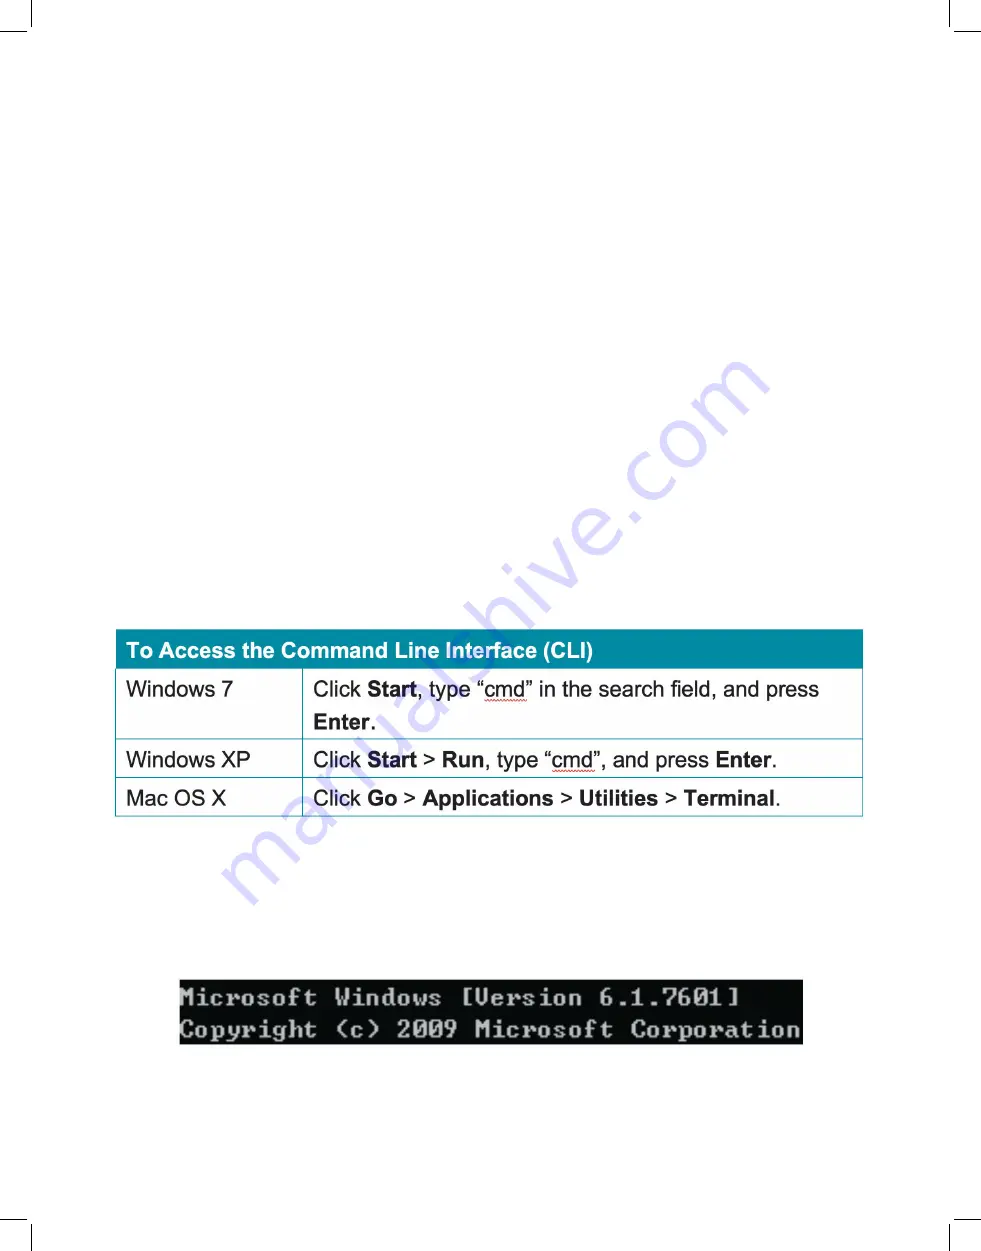
Once in the Command Line Interface (CLI) type
“telnet”
followed by the IP address
of the unit (and the port number if it is non-standard) and then hit
“Enter”
. This will
connect us to the unit we wish to control.
Note 1: If the IP address is changed then the IP address required for Telnet access will also change
accordingly.
Note 2: This unit defaults to DHCP mode. The current IP address can be verified using the HDMI
output or RS-232 if the Device Discovery software is not available.
Summary of Contents for EXT-PROCTRL
Page 42: ...42 6 8 RS 232 and Telnet Commands...
Page 43: ...43...
Page 44: ...44...
Page 45: ...45...
Page 46: ...46...
Page 47: ...47...
Page 48: ...48...
Page 49: ...49...
Page 50: ...50...
Page 54: ...54 8 2 Video Specifications...
Page 56: ...56 9 ACRONYMS...


