


15
14
Sleep Mode
The fan speed self regulates within the
low wind speed range in accordance
to how it’s been programmed,
dropping various wind speed levels
every half an hour until the fan
reaches the lowest wind speed range.
The fan will then continue to run
constantly at this lower wind speed
until it is manually switched off or has
reached the end of it's preset time.
NOTE:
The fan will automatically
switch off after 12 hours if no
action takes place.
Comfort Mode
The fan will automatically regulate
its wind speed by increasing or
decreasing within the medium wind
speed range depending on the
ambient temperature of the room.
If the fan is on, and the ambient
temperature surrounding the fan
cools down below 18° Celsius, the fan
will temporarily go into standby mode.
When the ambient temperature
surrounding the fan increases above
18° Celsius, the fan will automatically
switch back on.
Silent Mode
The fan will run at the lowest speed,
generating a light air flow without
making much sound, circulating the
air but keeping the fan noise and
vibration to a minimum level.
Using Your Kambrook Pedestal Fan
Continued...
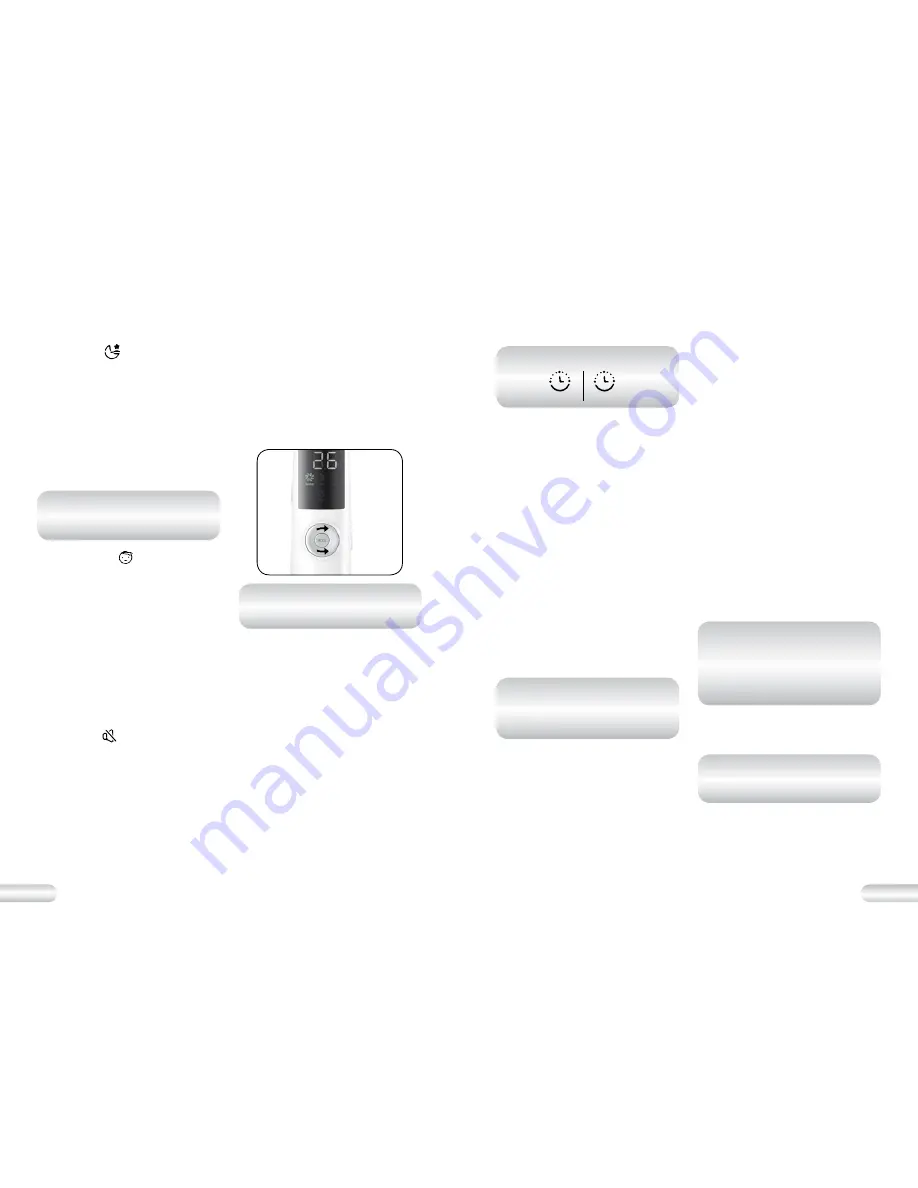
c) Speed control in normal mode
This fan has 26 speed levels
(wind speeds) which can be adjusted
when using Normal mode only. Rotate
the drive plate clockwise to increase
the speed and counter-clockwise
to decrease the speed. The speed is
displayed on the digital display.
Fig. 13b
NOTE:
You can only set your
preferred speed when in Normal
Mode.
d) OSC button (Oscillation)
The oscillation works in all modes.
Press the oscillation button once, and
the fan will begin to oscillate from left
to right.
Press again and the oscillation will stop.
Setting the timer
You can use either the control panel
or the remote control to set the timer.
The timer is used to turn the fan on or off
after a predetermined length of time.
Timer Icons Guide
Pre-set the timer to turn the fan on via
Remote Control or via Control Panel
Press and hold the mode button of the
control panel or press the timer button
once on the remote control until the
pre-set icon and 0.0
H
is displayed on
the screen.
Immediately rotate the drive plate
clockwise to increase the pre-set time
by 0.5 hours, up to a maximum time of
12 hours.
Once your preferred pre-set time is
chosen, do not press any buttons or
rotate the drive plate.
After 30 seconds only the pre-set icon
will continue to illuminate on the
screen. This indicates that the timer has
successfully been set.
When the pre-set time is reached, the
fan will switch ON automatically.
NOTE:
To check the pre-set time
left on the LED screen press the
OSC button once on the control
panel or on the remote control.
To cancel the pre-set on time and turn
on the fan, press the power button
once. The pre-set icon will no longer
be displayed on the LED display.
Pre-set the timer to turn the fan off via
Remote Control or via Control Panel
To pre-set the timer to turn the fan off,
ensure the fan is switched on and the
display is illuminated. Press and hold
the mode button of the control panel
or press the timer button once on the
remote control until the timer icon
and 0.0
H
is displayed on the screen.
Immediately rotate the drive plate
clockwise to increase the set time by
0.5 hours, up to a maximum set time
of 12 hours.
Once your preferred time is chosen,
do not press any buttons or rotate
the drive plate. The timer display will
flash and the unit will beep once to
indicate you have successfully set
the timer. The illuminated timer icon
will be added to the chosen mode
display.
When this set time is reached, the fan
will switch OFF automatically.
NOTE:
To check the pre-set time
left on the LED screen press the
OSC button once then press
and hold the mode button on the
control panel or press the timer
button twice on the remote control.
To cancel the pre-set off time
simply switch off the fan by
pressing the power button.
NOTE:
The timer display will
continuously flash on the screen
until a preset time is selected.
Increase Speed
Decrease Speed
Pre-Set
Timer


