Software Installation and Setup
Complete the following steps to install the software:
1.
Logon to the PC system as a user with Local Admin (or higher) rights in order to successfully install the software.
2.
Verify that your Windows operating system is at the latest service level. (See your Window's Help and Support function if you need assistance
with this.)
Caution
Be extremely cautious in bringing the Windows operating system to the latest service level. With the release of Windows 7,
running a Windows Update on a Windows Vista system will update the operating system to Windows 7.
3.
Check the PC Date and Time Properties (date, time, time zone, DST adjustment setting) from the Control Panel to ensure accuracy. Adjust, if
necessary, before proceeding.
Note
It is strongly recommended that you close all other applications before installing the Cencon software. It is also recommended that you
review the Cencon Reference Manual before installing the software.
4.
If you have a previous version of Cencon installed, you should ensure that data has been archived in accordance with the customer archive
requirements and then backup the current Cencon database.
5.
Insert the Cencon 4 Install CD into an appropriate CD-ROM drive on the PC.
If the Cencon installation program does not start automatically:
a.
Select the Start icon in the lower left of the Windows screen.
b.
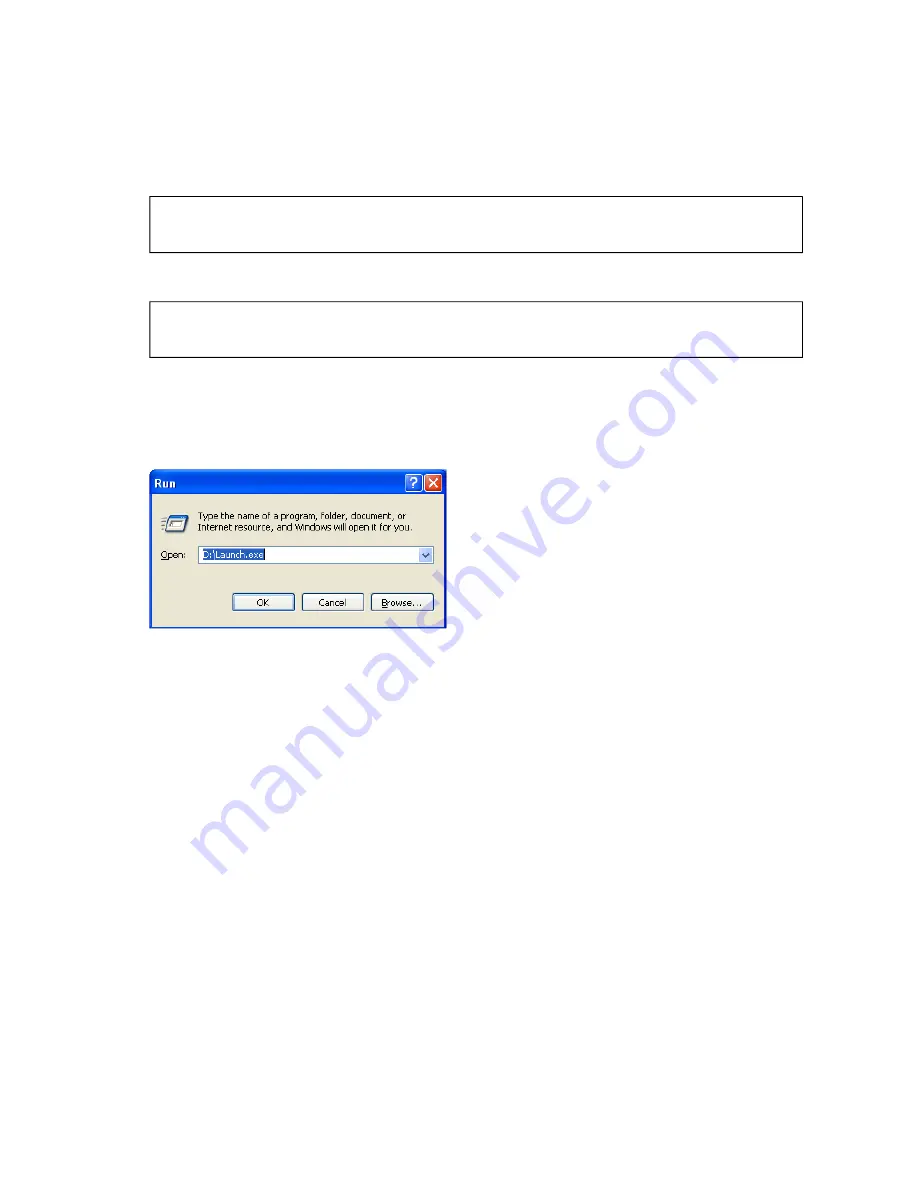
Next select the Run icon from the Windows menu. The Run Window is displayed.
c.
Enter the letter designation for the CD-ROM drive followed by launch.exe as shown above.
d.
Click on the OK button.
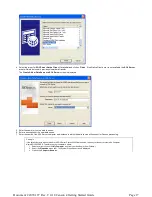
The Cencon Version 4.0 Software Installation dialog is loaded and the Main Menu is displayed:
Page 8
Document # 2070.127 Rev. C 4/10 Cencon 4 Getting Started Guide


